Built a Tadpole? Great. But that’s just the beginning. In Subnautica 2, navigating the launch vehicle is like setting out on an inflatable boat in the open ocean. You’ll get the hang of it on the surface, but any deeper and you’re stuck.
To explore the truly interesting places (those Alien Ruins and what lies beneath them), you’ll need to invest heavily in upgrades. Without upgrades, you won’t be able to reach the lower layers of the ocean—the game won’t let you. First, build a modification station at your base and get the blueprints. Incidentally, this doesn’t just apply to vehicles: your personal devices—the Scanner and the Sonic Resonator—also require upgrading.
Table of Contents
Upgrade priorities in Subnautica 2 submarine or equipment
Submarine modules are your priority. Without them, you’ll be stuck at mid-depths. And when you reach the wreckage of the alien power plant, an upgraded scanner is also essential. So, level up in parallel, but with an emphasis on transport.
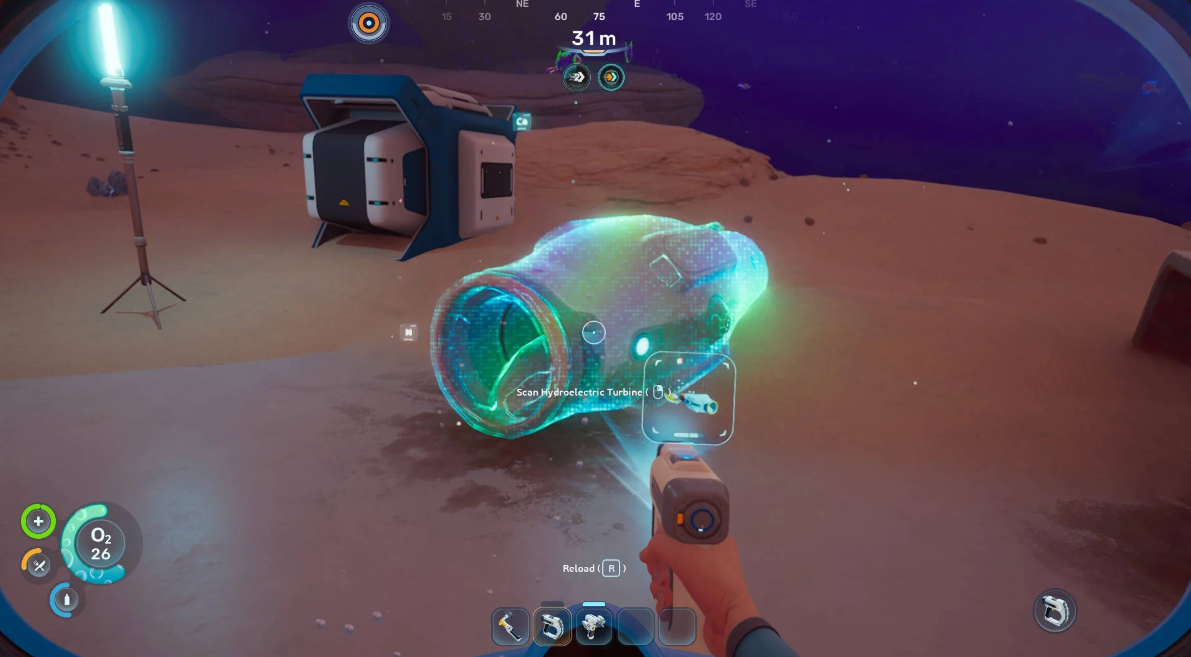
How do I upgrade the Bioscanner and Reflected Wave Resonator?
Currently, there are only two upgraded versions of personal devices in the game. Both radically change the gameplay.
Where can I find the Bioscanner blueprint and what is this biomod for?
Where to find the blueprint: swim 540 meters at a 125-degree angle from the Alien Ruins. Inside the destroyed base.
What you need for crafting: Scanner (1x), Enameled Glass (2x), Conductive Crystal (3x).
Why do you need it? The Bioscanner unlocks Biomods—passive and active enhancements. You scan a creature again (even if you’ve done it before) and gain a useful skill. Convenient? Of course.
But that’s not all. Without the Bioscanner, you won’t be able to repair the broken turbine at the alien Power Plant—a mandatory quest in the story campaign. So don’t delay upgrading.
How to craft a Reflected Wave Resonator for long-range cleaning?
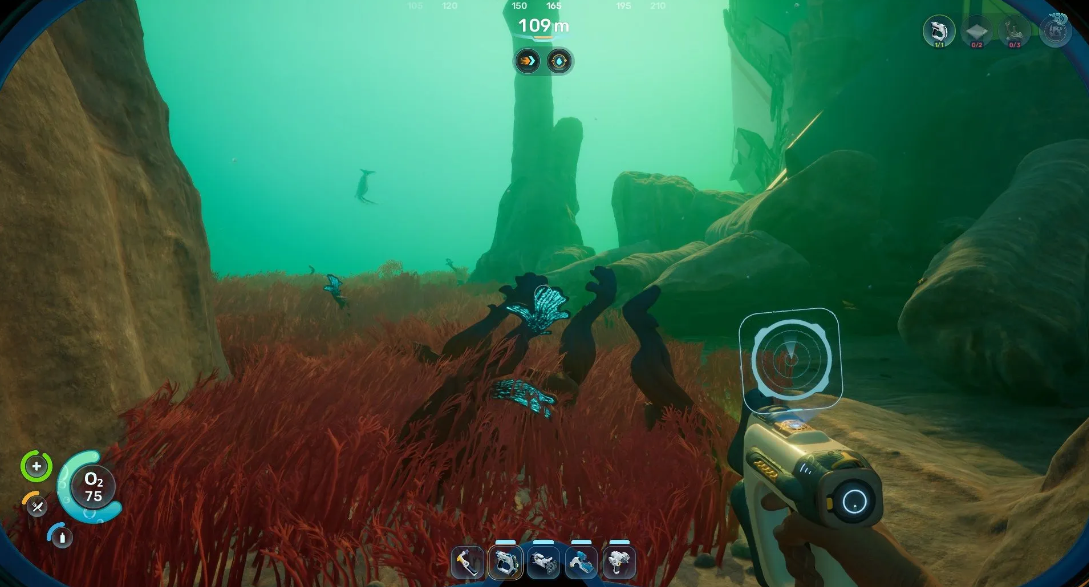
A regular Sonic Resonator forces you to literally poke the barrel into resource nodes and Blight Biofilm. It’s tiring, especially when there are a lot of these nodes.
Where to find the blueprint: The first piece is next to the pool in the Metal Extractors location. Landmark: swim northeast from the Angel Comb Jelly (Alien Ruins region). The second is also there, on the platform at the far end of the green pools.
Recipe: Sonic Resonator (1x), Enameled Glass (2x), Conductive Crystal (2x), Strontium (2x).
A good advantage is range. The Reflected Wave Resonator allows you to shoot from afar. And this isn’t just a convenience: without it, cleaning the Angel Comb Jelly in the second region will turn into a hellish struggle. And with him – a couple of shots from a safe distance, and that’s it.
Subnautica 2 Device Upgrades and Deep Survival Summary
In Subnautica 2, upgrading isn’t a whim, but a necessity. Without a Bioscanner, you won’t see half the biomods and won’t be able to complete the story. Without a Reflected Wave Resonator, you’ll be exhausted clearing locations. Without modules for the Tadpole… well, you get the idea. The depths won’t forgive you.
Best Tadpole Modules and Upgrade System Blueprints
The basic version of the submarine will, of course, give you oxygen autonomy. But calling it an “ocean tank” is a stretch. Its durability is too low.
To truly dive into the abyss, you’ll need to find the blueprints, craft the modules, and fit them into available slots. The first thing you’ll need is a Depth Module.
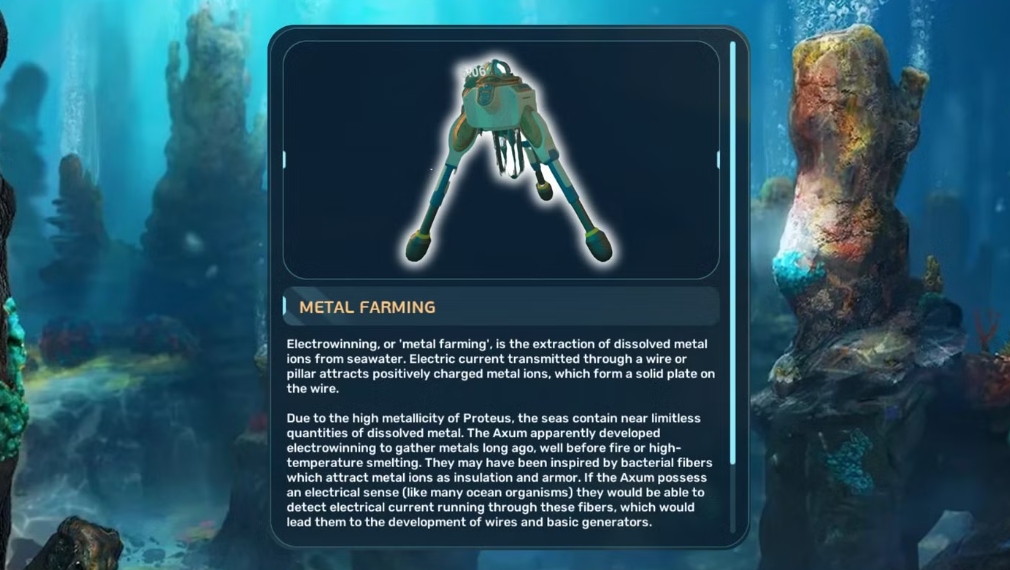
Where can I find the Depth Module Mk 1 for safe diving?
Where to find the blueprint: swim 268 meters at an angle of 155 degrees. You’ll find a hole in the rock below. Dive through the passages—near the broken Tadpole you’ll find the fragment you’re looking for.
Crafting requirements: Celestine (3x), Enameled Glass (2x), System Chip (1x).
Why did he even give up? Without it, you won’t be able to access most of the high-tech materials. Some of these resources lie deeper than 400 meters. And even if you physically swim to them, the oxygen limit simply won’t allow you to collect anything.
That’s why the Depth Module is your number one priority. With it, you can easily research Metal Extractors. Plus, getting rid of Blight Biofilm with the Reflected Wave Resonator will be much easier. This, in turn, unlocks the power-up inside the Angel Comb Jelly.
Where is the Shock Defense blueprint for protecting the submarine?
Where to find the blueprint: the same broken base where you found the Bioscanner. The landmark is still the same: 540 meters at a 125-degree angle from the Alien Ruins. Only now the blueprint is hidden inside the Cicada wreckage. Yes, I’ll have to dig around.
Recipe: Copper Ingot (1x), Concentrated Acid (1x), Troilite (1x).
At first glance, it all seems easy. But it’s this detail that saves the Tadpole from interacting with negative fauna and pressure changes at great depths. Without it, one awkward maneuver and the submarine will be nothing but memories. Prioritize it after the Depth Module, otherwise you risk being stranded without transport in the most unpleasant part of the ocean.
Subnautica 2 Tadpole Upgrade Order Full Route
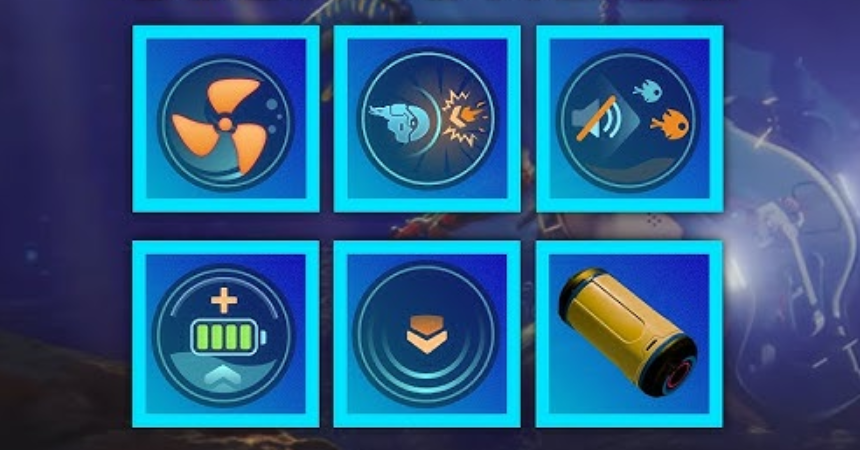
Subnautica 2 offers eight upgrades for your pocket submarine, but their value varies dramatically. Collecting modules randomly is a questionable idea. Players often waste resources on unimportant items and then lose their vehicle in a panic. To make things easier, we’ve put together a logical progression chain. Here, each new upgrade really helps you reach the next one.
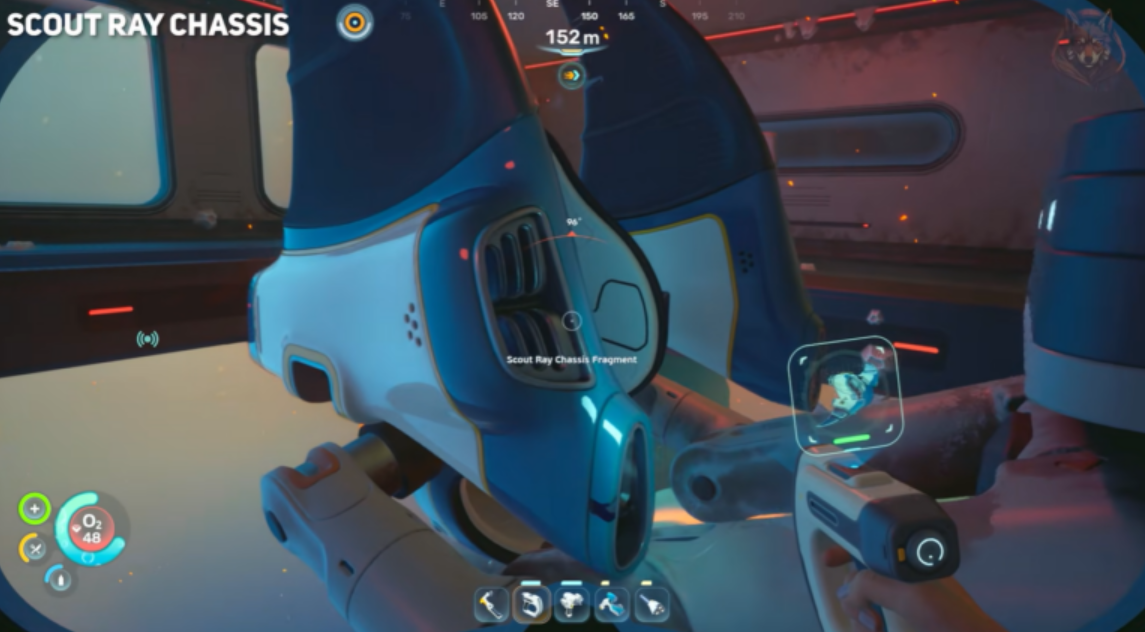
Scout Ray Chassis in the Tadpole Nursery Stage 1 Blueprint
The first must-have is hidden away from the others—go to the Tadpole Nursery (approximately 666 meters east of the launch capsule). There’s a subtle nuance here. The Scout Ray module is assembled strictly through the Vehicle Fabricator; the traditional Modification Station won’t work. The result is hydrofoil wings: they significantly boost the craft’s speed and maneuverability. Believe me, without this thing, the trek to the alien bases will be excruciatingly slow. You’ll need: Plasteel Ingot (2x), Advanced Wiring Kit (1x), Dedicated Core (1x), and Concentrated Acid (1x).
Assembling Research Outpost modules in the second stage
Next up is the Research Outpost. It’s located at 1300 meters east of the start. It’s literally a goldmine for a diver. In one trip, you can (and should) snag three critically important blueprints:
-
Engine Efficiency (Titanium Ingot 1x, Glass 2x, System Chip 1x). Reduces energy consumption by 20%. The trick is that the effect stacks up to 4x, giving a whopping -80% consumption at its maximum. It’s recommended to install two copies at once—you’ll feel the difference in battery life immediately.
-
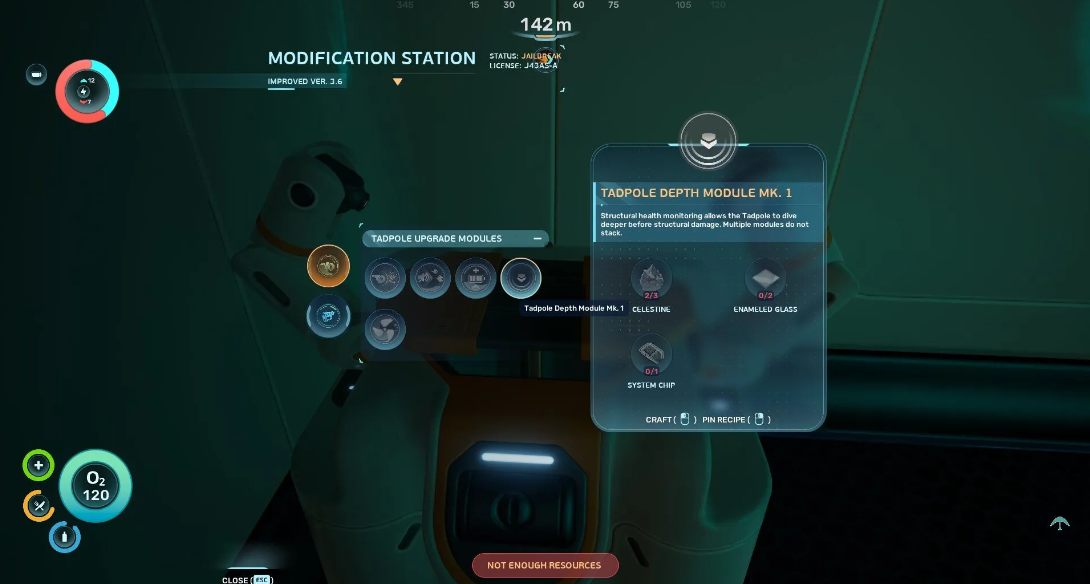
Depth Module Mk. 1 (Celestine 3x, Enameled Glass 2x, System Chip 1x). The cornerstone of survival. Extends the dive limit from 250 to 450 meters (unfortunately, it doesn’t stack). To avoid getting lost, check the NOA terminal inside the outpost—it will give you a precise bearing of 165°.
-
Shockproof Protection (Copper Ingot 1x, Concentrated Acid 1x, Troilite 1x). Excellent protection against pressure changes and the local negative fauna. Look for the wreckage of the Cicada starship at a depth of 540 meters (take a bearing of 125° directly from the wreckage).
Cavitation Dampener and Photovoltaic Charger on the Cicada
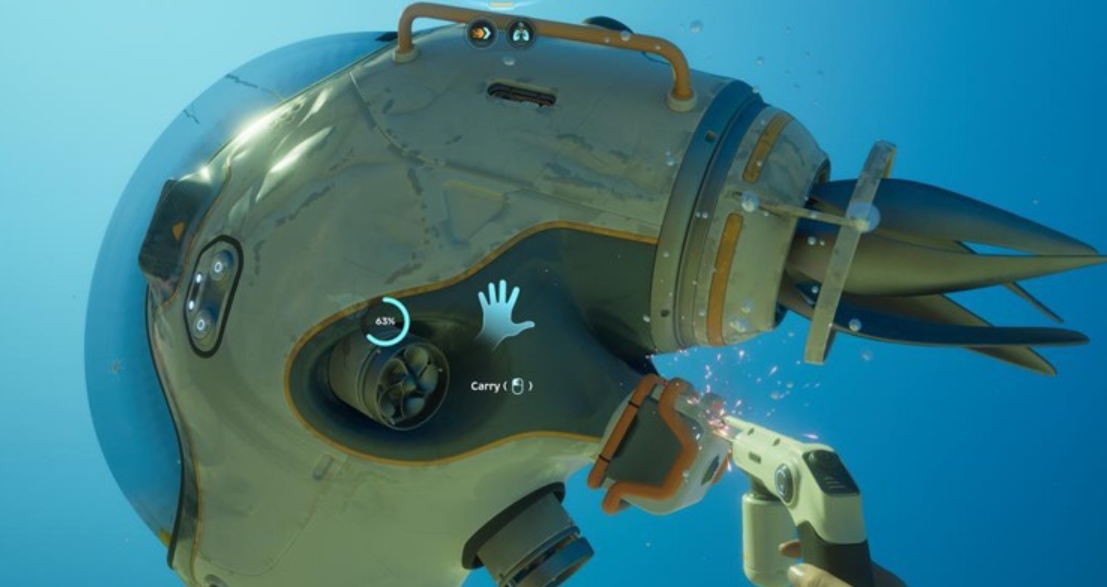
Now, let’s move on to comfort. The Photovoltaic Charger is located in the EVA Prep section of the same “Cicada” (depth 120 m, bearing 120° from the outpost). The door there is jammed shut, so craft a Repair Tool in advance. The module won’t turn you into a perpetual motion machine, but passively recharging in shallow water during the day will significantly extend the battery’s life while farming resources.
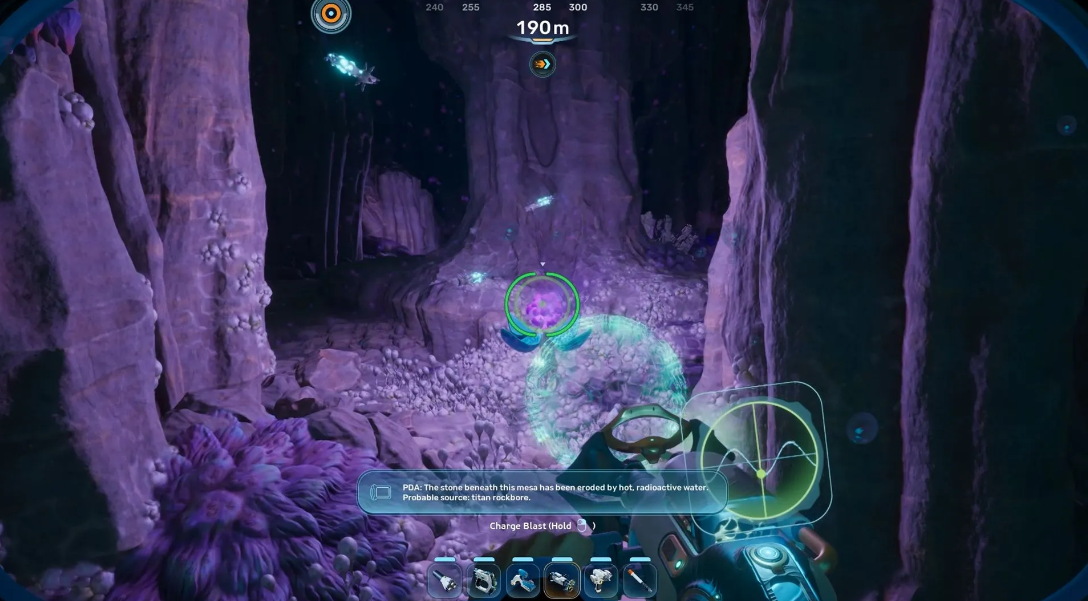
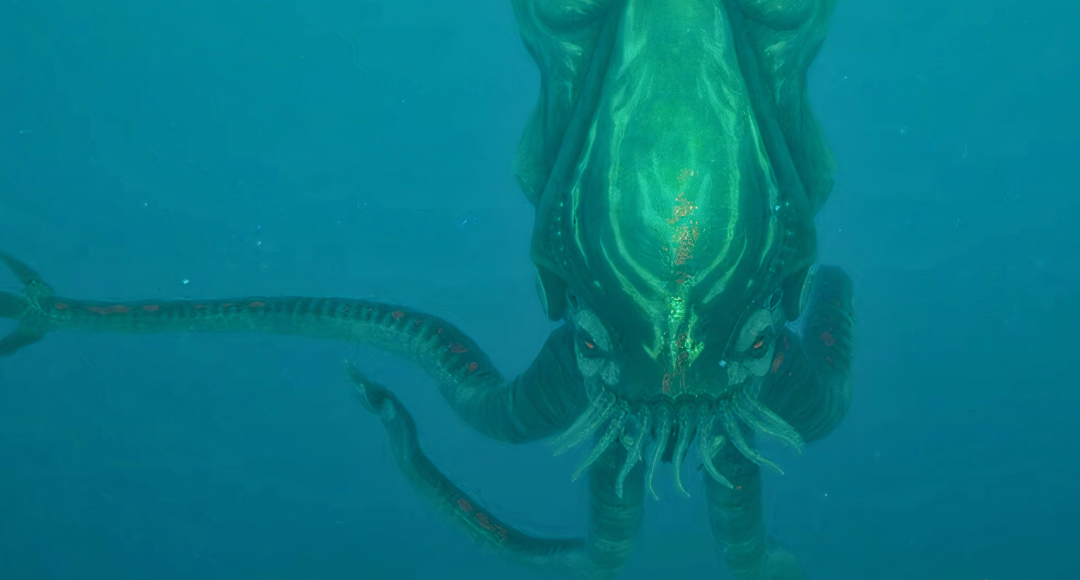
Next, fly for the Cavitation Dampener. The location is the Metal Trusses biome, southeast of the Alien Ruins, almost at the very edge of the map. It’s a deadly spot. A Leviathan patrols nearby, so the tactic is extremely simple: fly in, quickly scan, and hit the gas. In deep zones, this upgrade will save your life—the sonic signature is reduced, and predators will aggro much less.
How to build a Haul cargo chassis in the Angel Comb biome?
The final chord. Three fragments of this cargo chassis are scattered around the area between the outpost and the Angel Comb zone. What’s the point? If you’re playing in co-op, you’ll get four-player slots. For solo play, the bonus is even better: huge catamaran containers can be attached. Fewer return trips to base, more loot per expedition. The perfect way to finish off your leveling.
We also recommend: Where to Find Biological Enamel?