The second chapter of the remake drops us into the Swamp Camp – and at first, it seems the quest will be limited to searching for a missing apprentice and a forgotten almanac. But it quickly becomes clear: this is just a cover. The real goal is to reach the Focus Stones, and the path to them lies through the creature-infested mines. And yes, there’s a personal encounter with the Mine Beast Queen waiting for you – quite a joy.
Before diving into the inferno, it’s worth getting a couple of useful items. Visit Cor Kalom – squeeze every bit of dialogue out of him; he’ll be generous with healing items and Scrolls of Light. The latter will not only illuminate the path in the pitch darkness but also allow you to keep your weapons at the ready, which is crucial in narrow tunnels.
Table of Contents
How to complete the Old Mine in the second chapter of Gothic 1 Remake
The quest for the crawler jaws is the first serious challenge, where Gothic 1 Remake unceremoniously punishes carelessness. Entering the Old Mine unprepared simply means dooming yourself to an endless save loading loop. The locals are unforgiving: crawlers overwhelm you with numbers, pin you down in narrow tunnels, and literally tear apart clumsy newcomers. The secret to success lies in proper preparation, which must be done on the surface—in the Swamp Camp, before you speak with Lester.
Best Gear and Tactics Against Crawlers
The first and foremost rule of surviving underground is choosing the right gear. Going after crawlers with a toothpick is useless; you’ll need a powerful weapon:
-
Melee Weapon: Look for a blade with at least 30 pure damage. With such a weapon, an average crawler dies in just three or four accurate hits. The ideal choice is the two-handed axe Krush Pach, which can be obtained by completing the quest “The Missing Apprentice.” While it’s rather unwieldy, it can break a creature’s spine in three swings, and its wide range allows you to hit multiple spiders at once in a narrow passage.
-
Ranged Weapons and Magic: Even if you’re leveling a tough melee warrior, don’t ignore ranged combat. Crawlers have critically low resistance to fire magic. The Firebolt rune literally vaporizes their health bar, and in the battle with the Crawler Queen, flame will be your main salvation. If you’re not a mage, be sure to stock up on a good bow and arrows—this will allow you to pick off the nymphs from a distance and safely engage the boss.
-
Resources and Defense: Mages are critically important to collect as many Mistcaps as possible—they grow right in the dark corners of the mine and will help quickly restore mana. Without a solid supply of magical energy, approaching the Queen of Crawlers is pure suicide. And don’t forget to visit your faction’s blacksmith to upgrade your armor as much as possible. Every additional point of defense will protect you from poisonous spit and heavy blows.
Stats and Minimum Level for Clearing
In the remake, the developers remained true to tradition: there are no artificial level restrictions, and theoretically you can descend underground even at the very beginning of the game. However, in practice, your combat effectiveness is assessed by three specific factors: the quality of your equipment, combat skills learned from trainers, and your supply of healing potions.
To comfortably navigate the Old Mine, you’ll need very specific stats:
-
Strength or Dexterity: Level these stats up until they allow you to wield a weapon with at least 30 damage. Strength types should aim for heavy swords, while agility types should aim for bows and fast swords. It’s not worth wasting extra training points on this stage.
-
Combat Skills: Without training, your attacks will remain slow and clumsy, and crawlers will simply call out to you with their paws. Before descending, be sure to level up your weapon mastery—a visit to Kor Angar is recommended for this.
-
Acrobatics: Perhaps the most important skill for surviving the second phase of the fight with the Creeper Queen. A quick roll is the only reliable way to evade her devastating ramming attack.
-
Alchemy and Supplies: Healing herbs and elixirs should be in abundance. Before you reach the Queen’s lair, you’ll have to clear the tunnels of dozens of common creatures and dangerous nymphs.
Optimal Archetype Progression
Brief summary: Without ranged combat, the mine will be incredibly difficult. A dedicated swordsman will certainly be able to carve a path, but a mage or skilled marksman will spend three times less time, nerves, and valuable healing items on the Queen of Crawlers.
Kor Angara Quests and Preparation for Descent
The next must-do is a visit to Kor Angara. His training ground south of the camp is marked with crossed swords, so don’t get lost. Angar will offer to test your combat skills in a sparring match with his best fighter, Gor Na Dun. He wields a two-handed sword—his blows are heavy and slow, but have a huge reach. The advice is simple: dodge and take advantage of the pauses between his combos. Your goal is to knock him down, but not finish him off (and don’t leave the training ground under any circumstances). After defeating him, Angar will teach you how to properly extract the mandibles and send you straight to the Old Mine to find Lester.
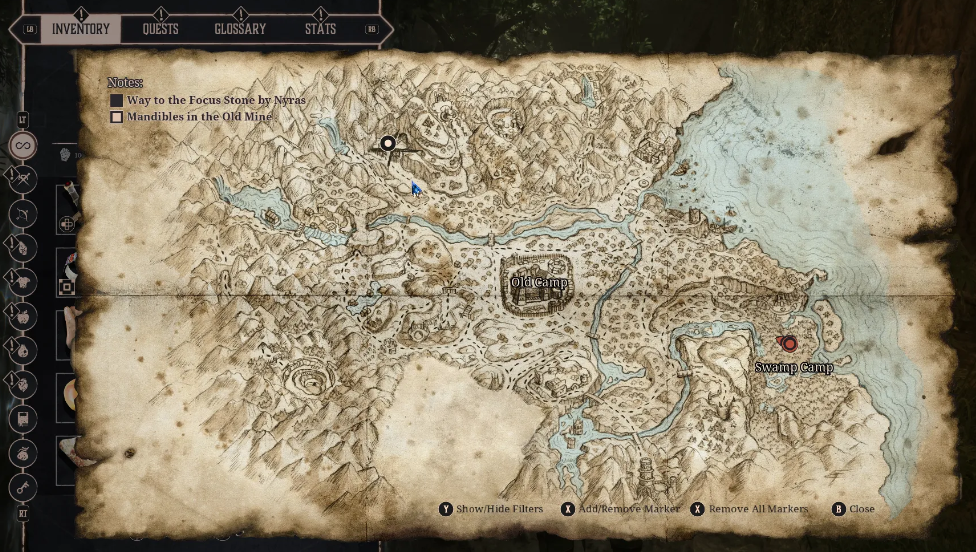
Speaking of the mine: it’s located northwest of the Colony. From the Swamp Camp, head north to the Old Camp, cross the stone bridge, and turn left—then keep going up and left. It’s not the most obvious path, but it’s easy to remember.
How do I find the gear and get Ian’s permission?
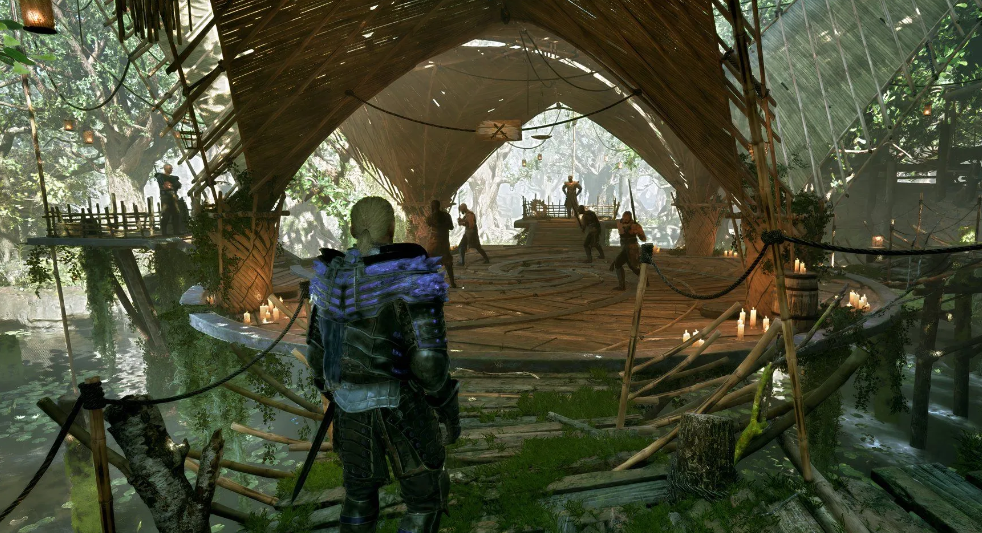
On the lowest level of the mine, you’ll find Lester and Asgan standing by a locked gate. Asgan is stubborn: he won’t open the cave entrance without Ian’s permission. Lester asks you to find three templars willing to help. They’re easy to find—men with names starting with “Gor Na”:
-
Gor Na Kosh—sitting by a fire on the lower level, next to the hut.
-
Gor Na Vid—right there, nearby.
-
Gor Na Bar—one floor above, guarding a tunnel with creatures. He won’t let you pass without a hitch: he demands 4 mandibles. You’ll have to clear the nearest tunnel and get them (spoiler: the mine creatures roam there in packs).
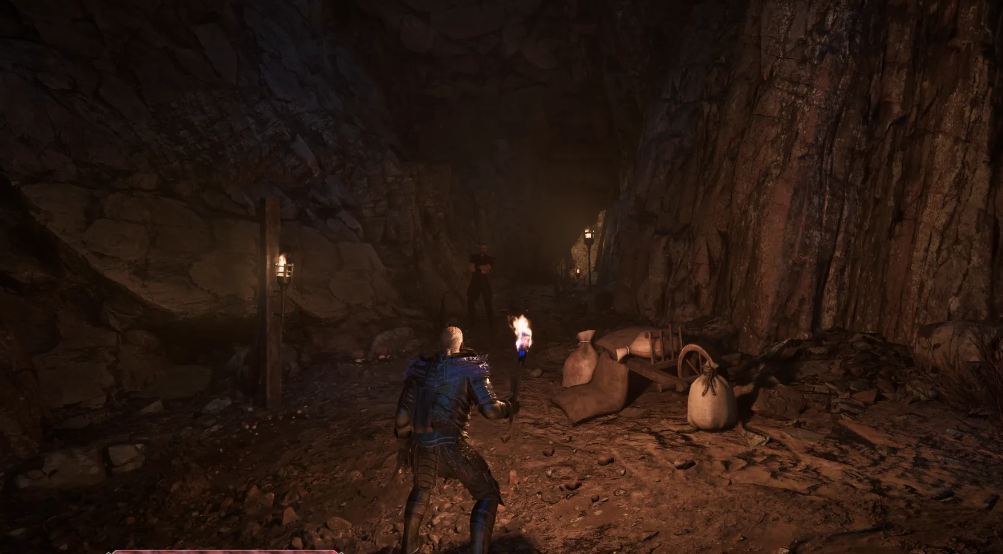
Now go up to Ian—he’s one floor above Gor Na Bar, standing by a table. Ian is quite a character: he’ll only agree to help if you bring him the lost gear. It’s in a cave tunnel, right in the creatures’ lair (this is the “Gear in the Wheel” side quest). Descend three levels down – look for a broken handcart and white bags at the entrance. Inside is a narrow corridor with wooden planks, and spiders are everywhere. Kill them, take the gear, and while you’re at it, search the corpse in the corner – there’s an Essence of Agility there, which wouldn’t hurt.
Return to Ian, hand him the find… and he still refuses to clear the passage. But he gives you 25 ore nuggets – at least some compensation. Lester is waiting for you outside the gate to discuss the next step.
Where should I plant the explosives before the collapse
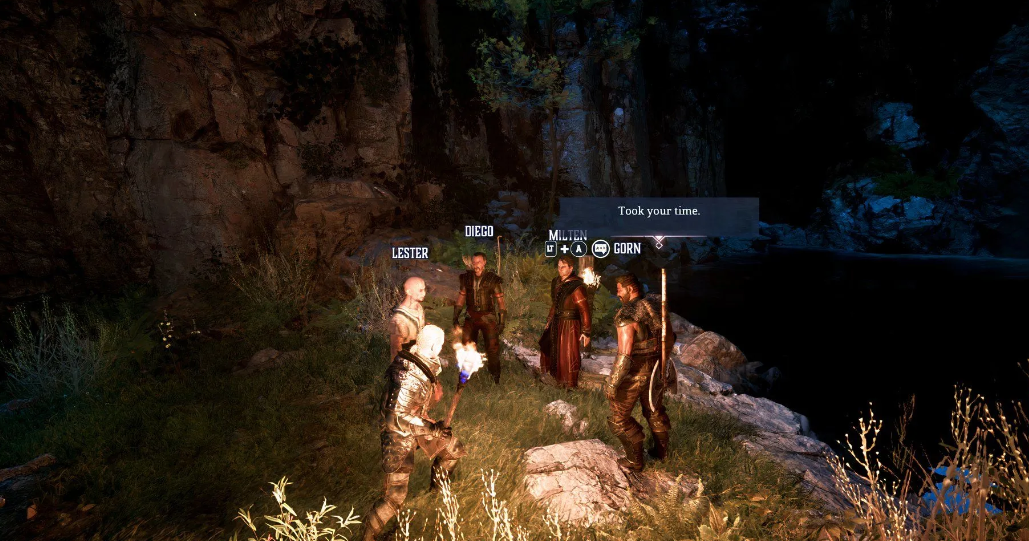
Lester leads you to the lake, where Diego, Milten, and Gorn have already gathered. They reveal the plan and hand over the explosives and the spell scroll. If the cutscene doesn’t start, reload your last save (it’s a rare bug, but it does happen). Diego will lead the group back into the mine, have a chat with Ian, and he’ll finally give the go-ahead. Your task is to approach Asgan and say, “Everything will be fine.” After that, plant the explosives near the rubble.
A tip from experienced players: make a hardsave right before this moment—you’ll face a battle with the Mine Beast Queen, and she’s unforgiving. Once the rubble collapses, help the templars finish off the remaining beasts and move deeper. You’ll encounter nymphs and regular spiders along the way—don’t linger, the main objective is still ahead.
Another thing to add: before the fight with the Queen, it’s a good idea to level up your agility—the Essence found on the corpse is perfect for this. I also recommend stocking up on stamina potions: the narrow corridors require a lot of dodging, and it’ll drain your energy. And don’t forget about Scrolls of Light—they not only illuminate the path, but are also rumored to slightly disorient smaller creatures, giving them a few extra seconds to attack.
Reward and loot after killing the Queen
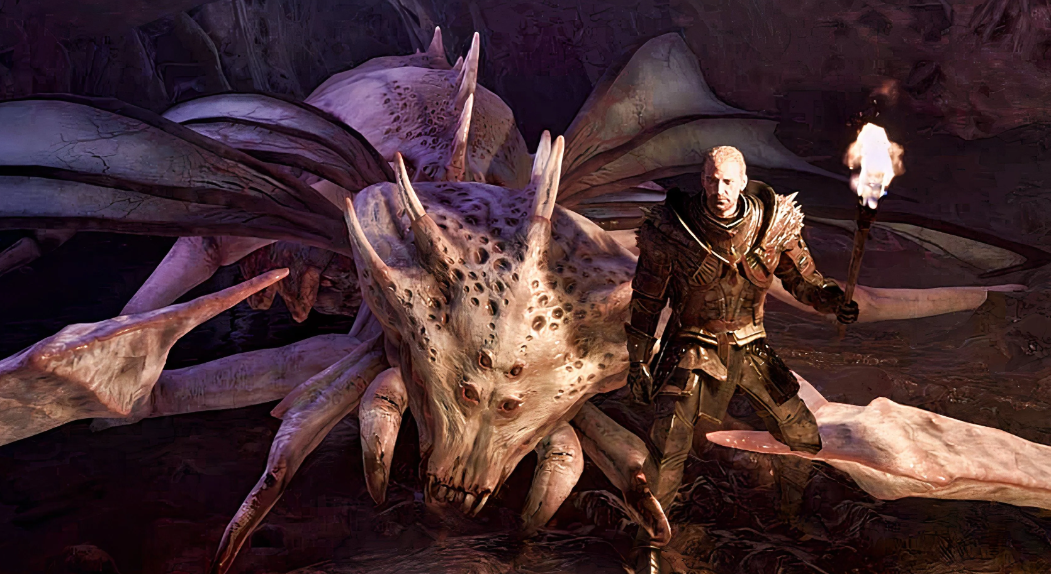
You’ll find the Minebeast Queen sitting in one spot in an open area of the tunnel. She has two attacks: a ranged spit attack and a sweeping attack when you get close.
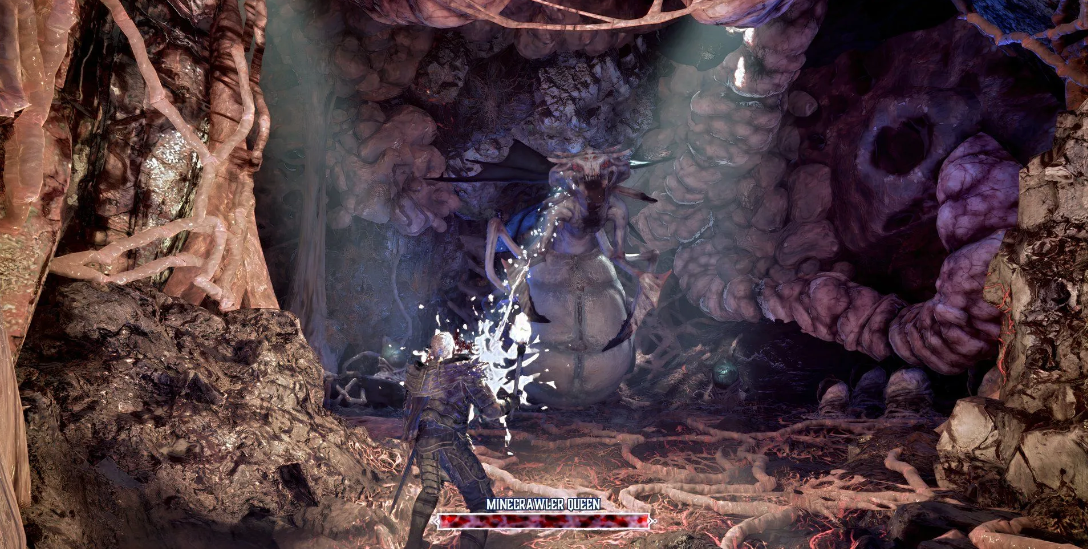
Use a bow or the Fireball ability in combination with a melee weapon, alternating powerful blows and ranged attacks. The Queen will also summon Nymphs (small spider-like creatures), but they’re more of a nuisance than a serious threat.
When you first defeat her, she’ll retreat into the tunnels. Follow her to another area where she can move freely. She can now use a swinging attack and a crushing blow while simultaneously summoning Nymphs. Constantly dodging and firing arrows or fireballs will help you deal damage while staying out of range. Heal whenever possible, but be sure to stay out of her devastating attack, which can stun you and leave you vulnerable to attacks.
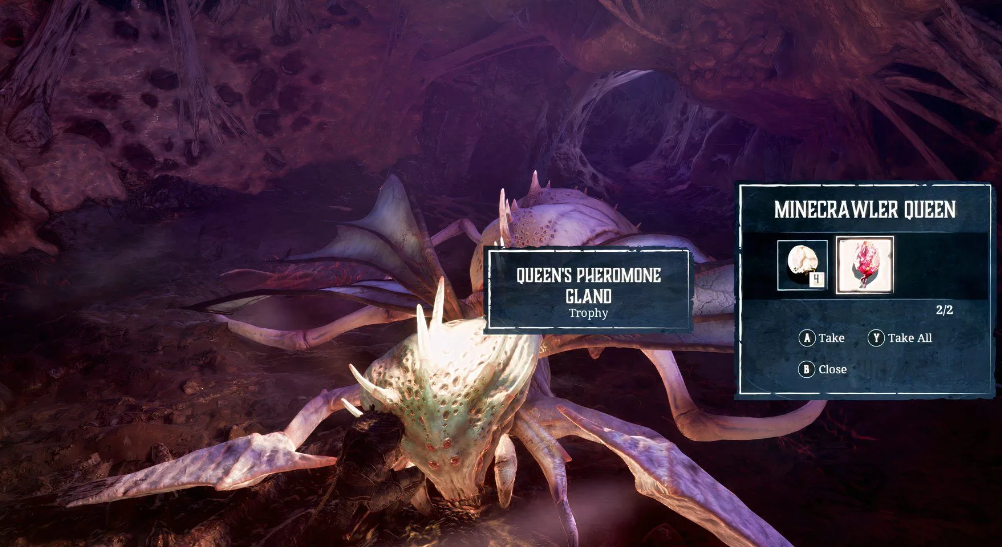
After defeating her, you can loot her body for a Minebeast Egg and the Queen’s Pheromone Gland, then return to the Swamp Camp. Speak with Kor Kalom to complete the quest and receive 2,500 experience, as well as 750 experience for the side quest “A Cog in the Wheel.”
Two-Phase Battle Tactics for the Creepy Queen
So, you’ve reached the Queen. She’s sitting in the center of a spacious tunnel, clearly not expecting any visitors. The first phase is a classic “boss in place” fight: a long-range spit and a wide, sweeping attack if you get too close. The best option is to keep your distance and alternate between bows or fireballs and melee lunges. The Queen will summon nymphs—tiny spiders that run and bite, but pose no serious threat. Just don’t ignore them completely, or they’ll start getting in the way.
As soon as you take down her first hit point, she’ll dash deeper into the tunnel. Follow her—the second arena is more spacious, and here the Queen will no longer sit still. She’s now mobile, and her arsenal has been expanded to include a swing and a crushing blow. The latter is especially dangerous: it stuns you for a couple of seconds, and if any nymphs are nearby at that moment, you’re knocked out. Keep your distance, dodge, and continue to rain arrows or spells down on her. You can heal, but only when you’re sure she’s not charging a devastating blow.
After defeating her, don’t forget to loot the carcass: inside is a Mine Creature Egg and a Queen’s Pheromone Gland. What to do with them is still a mystery, but in the remakes, such items are often useful for crafting or quests. Return to the Swamp Camp to see Kor Kalom. He’ll give you 2,500 experience for the main quest and another 750 for the gear side quest. A nice level boost, considering Chapter 3 and its surprises are still to come. And yes, save separately before this fight—it will come in handy if you want to replay with a different tactic or check how many arrows it actually takes to kill the Queen (spoiler: a lot).