The developers of Crimson Desert rolled out patch 1.04 — and it brought more than just bug fixes. The home storage system expanded, new armor sets were added, and each of the three characters got fresh combat moves. But the main thing that stirred up the community is the feathered pets.
Table of Contents
Taming Birds in Crimson Desert: Feeder Guide
Tamed birds in Crimson Desert pull their weight no worse than the usual cats or dogs: they collect loot from defeated enemies and even help out in fights. But they have one killer feature — they do not get stuck in textures. They simply fly over any obstacle and always follow their owner. Sounds like an unprecedented level of convenience, does it not?
You will not just pet an eagle or a parrot out of the blue. You need a specific device — the Totem Pole of Unity (also known as the feeder). Without it, taming will not even start. This guide covers where to grab the pole, what to feed different birds, and how to boost their trust.
Where to Find the Totem Pole of Unity in Patch 1.04
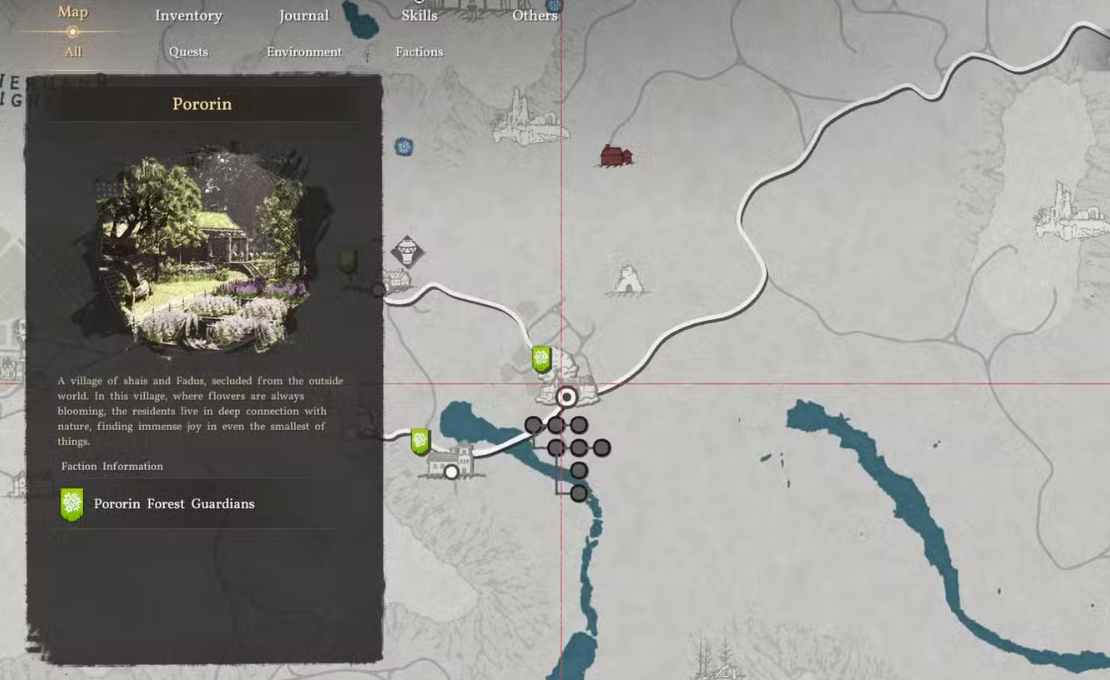
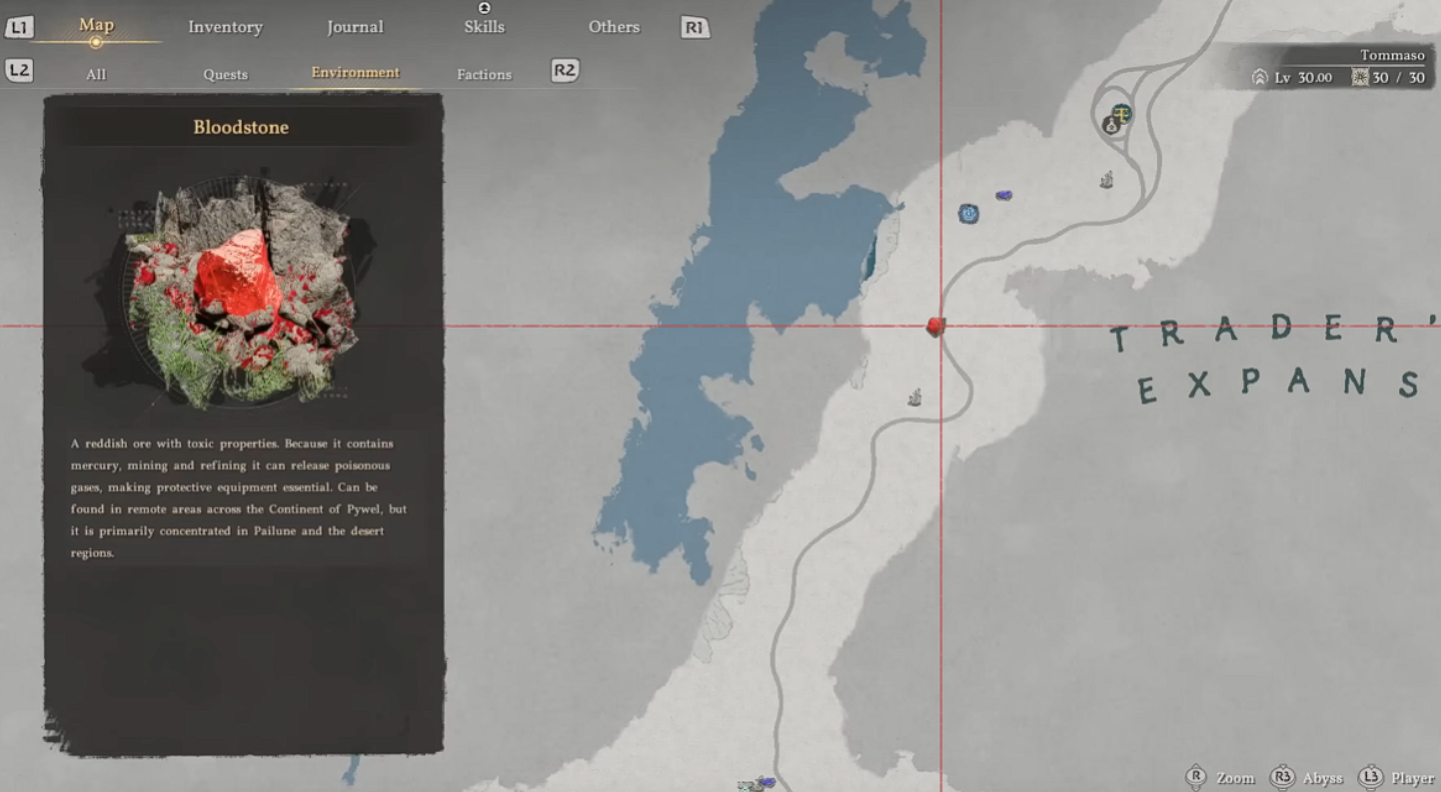
The most reliable method is to take on the Trembling Forest quest chain for the Pororin Forest Keepers. The village of Pororin sits in the southern part of Hernand (we left the map marker above).
But there is a catch. Many players who jumped into Crimson Desert after patch 1.04 found the pole already sitting in their inventory or personal storage. This is an automatic gift for those who reached Chapter 5 of the main campaign. Newcomers, on the other hand, will receive the tool through one of the side quests. Dig around the stash at the Howling Hills camp and you will definitely find it, provided you have already finished the Trembling Forest quest.
How to Enter Pororin When Guards Keep Throwing You Out
Trying to walk into Pororin will end with you being knocked out and politely escorted away by the local Shai guards. Do not give up — go in again. And again. On the third attempt, after a cutscene, you will wake up next to Arkin, who sings to animals. Talk to her — she will tell you about a missing relic.

Run to the marked spot, stand by the cliff next to Arkin, and wait until a giant sentient tree appears. Climb to the top — the relic is wedged between the branches. Grab it, hand it to Arkin, and pick up the Totem Pole of Unity. Once your inventory is properly geared up, you can move on to taming birds — happy hunting!
Bird Food and Leveling Up the Trust Bar
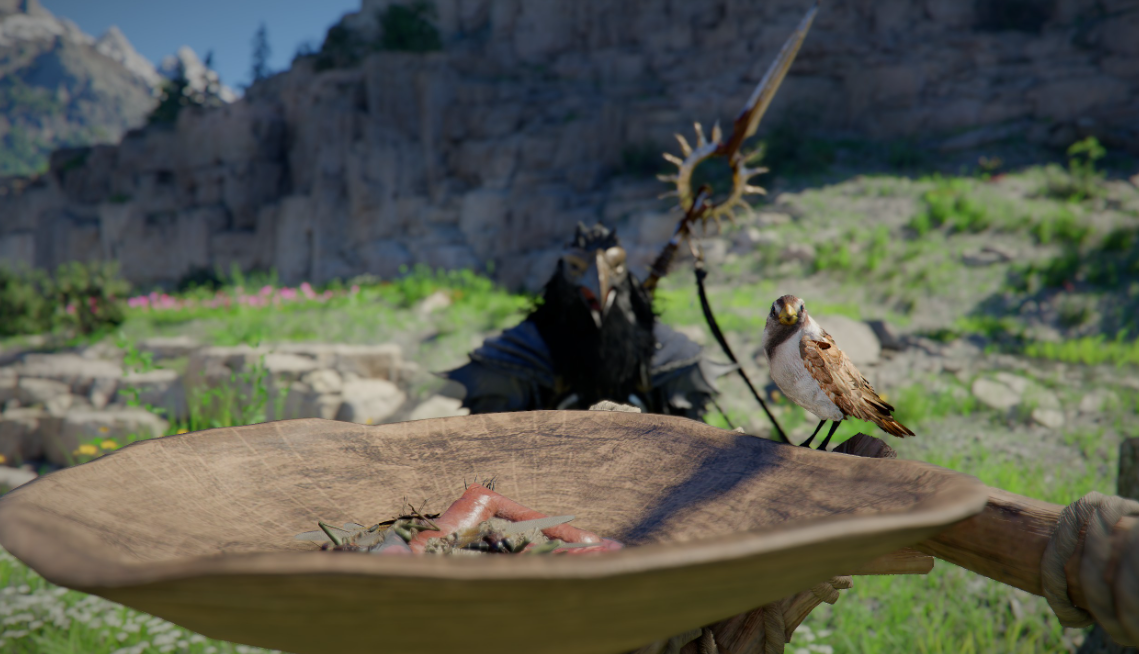
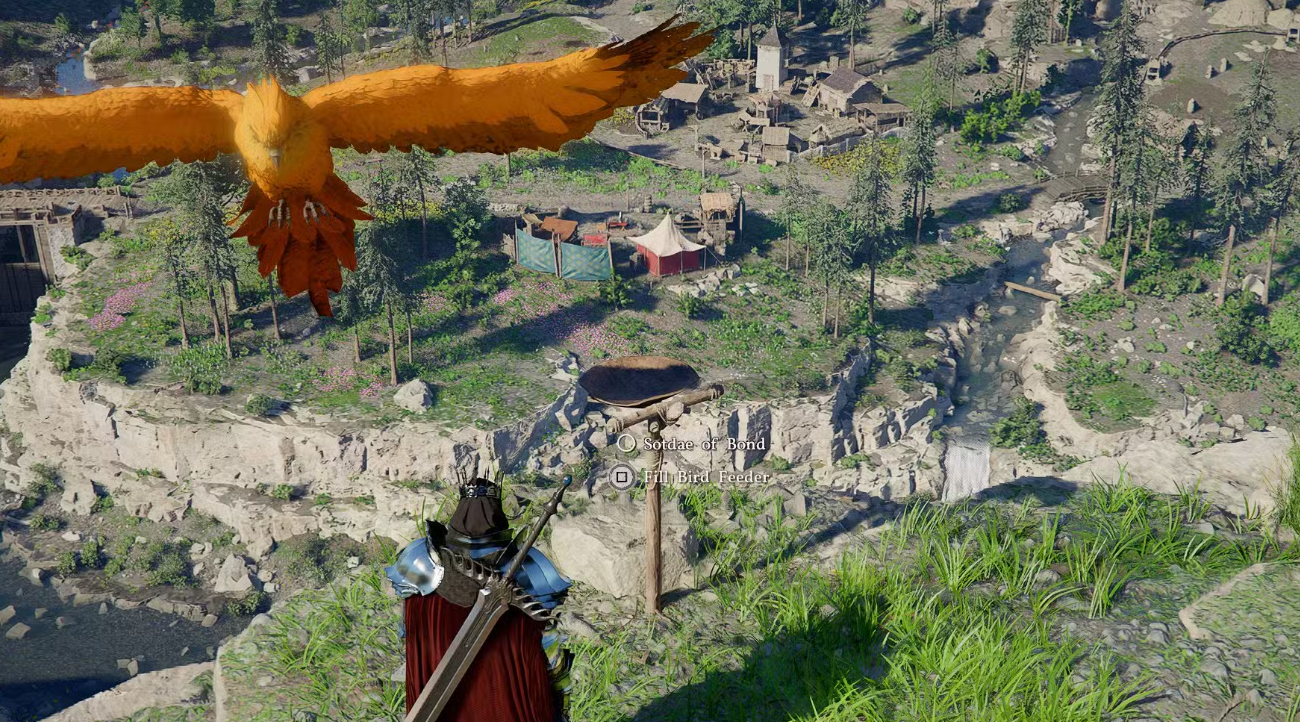
Got the Totem Pole? Excellent. Now toss it into your inventory and head to where you plan to catch a bird. Press “Use” — your character will hoist the pole onto their shoulder. Next, you need to find a flat patch of ground. Hint: a blue circle will appear — that means you can place it.
Placed it. The feeder is ready, now you have to fill it with supplies. The system is passive: birds will fly in on their own when they get hungry. But here is the catch — species vary, and so do their tastes. A parrot needs one thing, an eagle another. A varied diet is the key point.
Toss the right food into the pole and wait. A bird will arrive and start pecking. Each portion gives +25 Trust points. Filled the bar? Walk up and recruit the bird as a companion.
One more thing: unlike cats or dogs, which sometimes have to be fed for days, a wild bird can realistically be tamed in a single session. The main thing is to have a stockpile of its favorite food. So do not hold back on supplies.
Best Bird Foods and Resource Farming Routes
Feeding a bird with a handful of raspberries from your inventory is a doomed plan. The feeder burns through the stockpile in 10–15 minutes of real time, and if you are catching 3–4 species in parallel, the rations will run out before the first Owl even shows up. Only resource farming saves the day here: a circular route of 20–25 minutes covers your daily need for grain, fruit, and meat of varying toughness. Without it, you end up running back for one carrot at a time.
The route is built on the logic of “biome — respawn point — campfire”. Grain (oats, buckwheat, barley, wheat) lies in sacks by the granaries around Pororin and Tariv, with an 8–10 minute respawn. Fruit (pineapple, peach, pomegranate, grapes, elderberry) is more convenient to pick in southern Hernand: a cluster of trees near the Golden Leaf Guild Hall yields 12–15 units per pass. Meat is trickier. Tough meat drops from mountain goats and boars in the Howling Hills, lean meat comes from deer in Demenisse, and tender and fatty meat from the young animals near the Gray Manes Camp.
Location combos ranked by time efficiency:
Farm Routes & Feeding — Crimson Desert
Rare meat is a separate headache. The large cut for the Red-Footed Falcon drops at around a 6% chance from mountain boars at level 35+, and it is more reliable to skip direct hunting and instead butcher regular carcasses through the camp cauldron and a tier-3 crafting knife. Fatty meat for the White Hawk only drops from well-fed specimens: hunt boars during the autumn in-game season — their model is noticeably bigger there, and the drop chance doubles.
Tossing golden apples into the feeder is pointless. Birds outright ignore them — this was confirmed on the r/CrimsonDesert Reddit thread shortly after patch 1.04. The resource goes into crafting stamina potions, not into the diet. Same story with ingots and gemstones from treasure chests: loot from gathering birds does not auto-convert into food. Sell it to the merchant in Pororin and buy grain by the sack — it works out twice as cheap as cooking the food yourself.
A time-saving trick: place 2–3 Totem Poles at once on the same clearing with different baits. The game does not block multiple placements, and each pole has its own aggro radius for birds. So in a single trip to the Howling Hills, you can tame the Owl, the Hawk, and the Raven simultaneously — saving roughly 40 minutes versus catching them one by one.
Crafting the Feeding Station Mk.II: Blueprint and Materials
The feeding station is an upgrade over the regular Totem Pole, unlocked after leveling the “Settler” skill to tier 4. The blueprint is handed out by the Pororin elder after the Trembling Forest quest chain plus the side quest “Hungry Wings”. The latter, by the way, only pops up if you already have at least three birds of different species in your pet roster.
The crafting itself runs through the workbench in your own settlement (available from Chapter 6) or through Karl’s mobile workbench at the Howling Hills camp. Materials:
-
Reinforced Wood — 12 pcs (chopped in the Trembling Forest, requires a tier-2 axe)
-
Forged Nails — 8 pcs (Tariv smithy, 50 silver per batch)
-
Feather of any tamed bird — 3 pcs (drops when grooming a pet once a day)
-
Mountain Goat Hide — 2 pcs
-
Blueprint “Feeding Station Mk.II” — 1 pc
Differences from the basic pole stack up. Capacity sits at 200 units of food versus 40, there is auto-sorting by bait type, and most importantly — birds within a 30-meter radius gain Trust 50% faster. The full bar fills in 2 visits instead of 4. For rare species like the Hyacinth Macaw or the Sun Conure, this cuts taming from 25 minutes down to 10. The difference is tangible.
The “Settler” skill is grinded through daily quests from Pororin villagers: “Bring Water”, “Fix the Fence”, “Feed the Livestock” — every in-game day, and tier 4 lands in 5–6 days. There is an alternative — donating to the settlement’s communal pot, where 500 units of grain equal one level. But this scheme only pays off if you have your own farm, otherwise you are just dumping resources into the void.
The station cannot be placed within 50 meters of another one. The game throws a “Territory Occupied” error. Keep this in mind when planning your base: one station per biome is the sweet spot.
Taming Birds in Crimson Desert: Baits and Locations
In Crimson Desert, you can pick up a feathered companion — from a tiny sparrow to a massive condor. But just tossing food is not enough. The bait type matters, the location matters, and even the time of day matters. The folks at CrimsonDesert.gg compiled a detailed preference table — we adapted it into a convenient list and added catching nuances.
Complete Food Table for Every Bird Species
The list is hefty, but the logic is simple: grain-eaters get cereals and fruit, predators get meat of varying toughness. Here is the full breakdown by species:
-
Black-Headed Oriole — oats
-
Blue Jay — buckwheat
-
Orange-Crested Cockatoo — pineapple
-
Collared Dove — peas
-
Tern — crucian carp
-
Condor — tough meat
-
Raven — oats
-
Cuckoo — corn
-
Desert Goose — mackerel
-
Desert Wheatear — barley
-
Eagle — lean meat
-
Eastern Hawk — tender meat
-
Red-Green Parrot — elderberry
-
Goose — red sole
-
Gray Parrot — peach
-
White Hawk — fatty meat
-
Hawk — tough meat
-
Hyacinth Macaw — desert watermelon
-
Plover — beans
-
Little Blue Parrot — apple
-
Loon — pond loach
-
Long-Tailed Tit — buckwheat
-
Mallard — small bleak
-
Meadow Bunting — wheat
-
Owl — tough meat
-
Parrot — raspberry
-
Pigeon (gray) — beans
-
Pigeon (white) — barley
-
Red-Footed Falcon — large cut of meat
-
Indian Ringneck Parrot — grapes
-
Red Duck — small minnow
-
Sand Grouse — lentils
-
Seagull — perch or sea bass
-
Dwarf Teal — small gudgeon
-
Smew — pond loach
-
Sparrow — corn
-
Spot-Billed Duck — small chub
-
Steppe Eagle — lean meat
-
Sun Conure — pomegranate
-
Three-Toed Woodpecker — lentils
-
Duck — medaka
-
Whistling Duck — small rasbora
-
White-Billed Loon — three-striped whistler
-
Yellow-Billed Oxpecker — peas
Locations and Time of Day for Rare Birds
Putting down the right bait is not enough — you also have to be in the right biome. For small birds like sparrows and parrots, place the feeder near the village of Pororin. Hawks and ravens more often circle around the Gray Manes Camp in Hernand and near the Golden Leaf Guild Hall.
The Owl is its own story. It only comes out after midnight. The best spot is the Gates of the Abyss in the Howling Hills location. If you leave the Totem Pole there during the day — you will be waiting for nothing.
Ravens, by the way, are hunted by many for the Spellcaster look. Head to the village of Tariv — it is east of the Soul’s Rest in Demenisse. They show up there regularly.
How the Totem Pole and Taming Mechanic Works
You set up the pole with bait and wait. The bird’s Trust grows with each visit. The moment the bar fills — a “Recruit” option appears. You click it, and the bird joins your pet roster.
From there — through the inventory you choose who will accompany you. Birds can be renamed. They do not help in combat (an eagle on your shoulder is cool, but it is purely for the look), but they do collect materials from corpses and resource nodes.
How to Recover a Lost Totem Pole Through Karl
A technical detail many people forget. If you wandered too far or hit an error, and the Totem Pole disappeared — do not panic. Walk up to camp manager Karl. Under the “Recover Items” tab, you will find your feeder. After fast-traveling to any location, the pole automatically returns to the Howling Hills. So losing it for good is almost impossible.
Legendary Phoenix: Taming via Feather and Sigil
The standard method with the Totem Pole and food works for nearly every bird. But there is one bird that breaks the system. We are talking about the Legendary Phoenix.
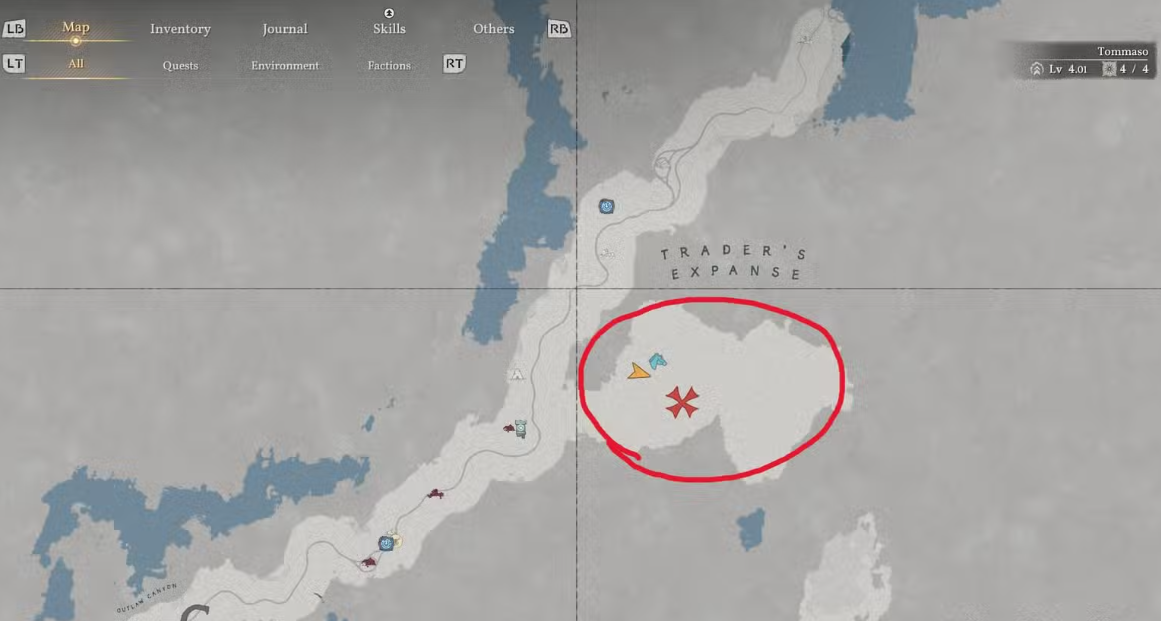
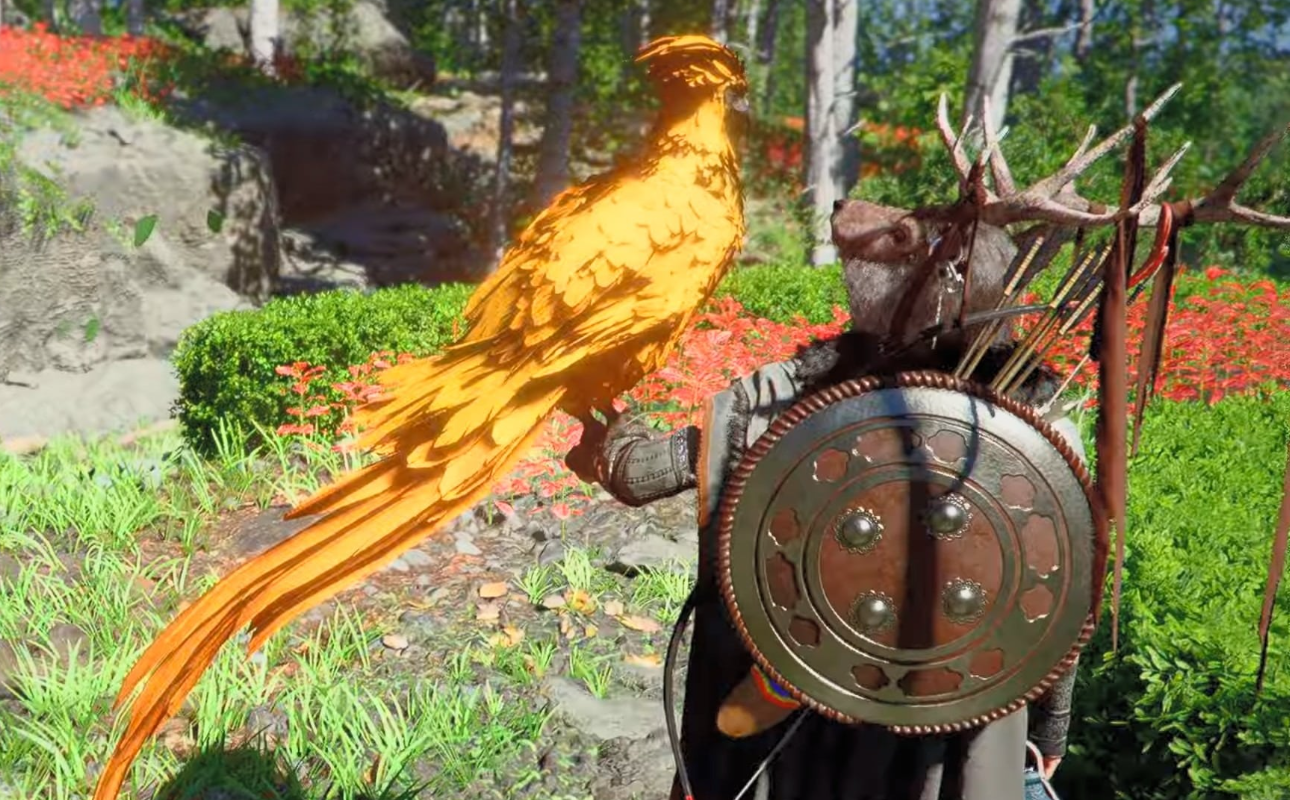
It lives in the Crimson Desert region — specifically south of the Trader’s Expanse. Look for it during the day. The Phoenix is large, bright orange, and flies surrounded by a retinue of smaller birds. Missing it is hard, provided you actually look up at the sky.
Now for the part that throws many players off. You will not be feeding it. You pull out a bow and shoot. Yes, the bird will die. That is normal. Walk up to the corpse and butcher it like any other legendary beast. The loot drops a phoenix feather.
Take this feather to any Witch on the map. She will craft you the “Sigil of Unity (Phoenix)”. Activate the item — and the legendary bird officially becomes your pet. No feeders, no waiting on Trust. Brutal? Maybe. But effective.