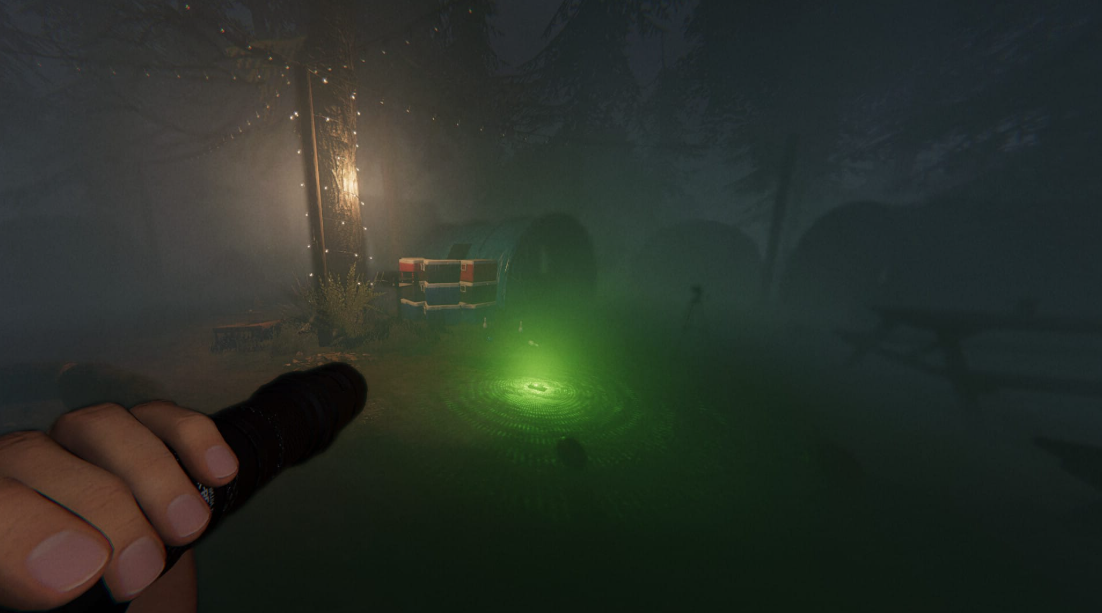
Capcom’s Pragmata drops players on an abandoned lunar station where the local AI has gone haywire, and the main characters—the human Hugh and the android Diana—are trying to make their way back to Earth. To ensure you don’t get stuck in any sector or miss out on collectibles, we’ve put together a detailed guide for the entire game: from the initial reset of the power terminal to the final boss in the Terrarium. Completing the game without clearing the entire map will take approximately 10-15 hours. Finding all the collectibles will take significantly longer.
Mild spoilers follow. We’ve omitted key plot twists and final details, but boss names, locations, and abilities will be revealed. If you’re looking for a specific step, scroll to the desired sector.
Table of Contents
Sector 01: Solar Power Plant

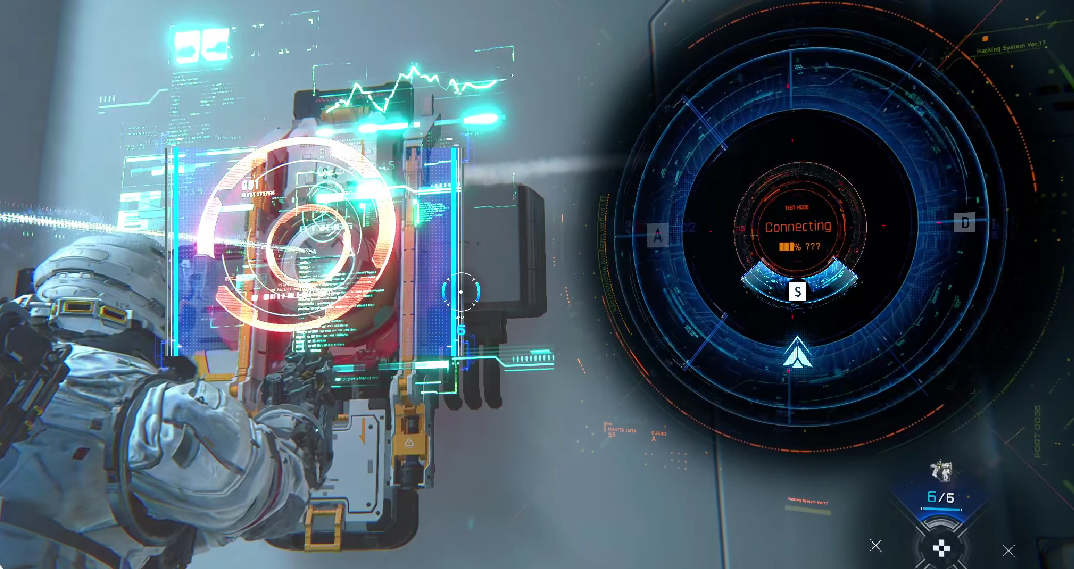
The starting location. The objective is simplified on paper: restore power to the lunar base and reach the Vault. In practice, you’ll have your first serious encounter with SektorGard, where most players get their first taste of the Pragmata combat system.
What you need to do in Sector 01:
-
Restore power to the lunar base.
-
Restart the main power terminal in Block 02.
-
Climb to the top floor of the facility in Block 02 and defeat SektorGard.
-
Return to the Vault.
Sector 01 Collectibles
The starting sector has only three sublocations with collectibles:
-
Block 01: Generator Room Entrance. 1x Storage Expander.
-
Block 02: Power Distribution Center. 3x Safe, 1x Pure Lunum.
-
Block 03: Concourse. 1x Module, 2x Memories of Earth, 1x Cartridge Holder.
A small detail: you won’t be able to physically reach some of these collectibles until you unlock the Limit Breaker in Block 05 of Sector 02. The blue glowing threads of Lunafilament are the very obstacle that you’ll have to remove on a second run. Mark these locations immediately so you don’t have to run around the map blindly.
Sector 02: Mass Production Array

Here, Pragmata truly comes into its own. The tram carries Hugh and Diana to the Communications Tower. The massive gate in front of the tower refuses to open, and a race through five beacons begins. Along the way, there are two optional districts with Red Zones and the first full-fledged boss, officially known as “Analysis: The Creator.”
Sector 02 Checklist:
-
Take the tram to the Mass Production Array.
-
Restore communication with Earth via the Communications Tower:
-
Proceed through Block 01 and Block 02 to the tower itself;
-
Attempt to open the massive gate (spoiler: it won’t work on the first try);
-
Hack five beacons around the area using the objective markers;
-
Proceed through the gate after all five beacons have been hacked.
-
Optionally, clear the Red Zones in the Trade and Business Districts.
-
Defeat the Giant Robot, officially known as “Analysis: The Creator.”
Sector 02 Collectibles
The sector is dense, with six sublocations:
-
Block 01: Testing Ground Entrance. 3x Safe.
-
Block 02: Shopping District. 5x Safe, 2x Pure Lunum, 2x Module, 1x Memory of Earth.
-
Block 03: Connecting Corridor. 1x Safe, 2x Module, 1x Memory of Earth.
-
Block 04: Business District. 2x Safe, 2x Pure Lunum, 1x Module, 1x Cartridge Holder, 1x Memory of Earth.
-
Block 05: Recycling Control. 3x Safe, 1x Memory of Earth.
-
Block 06: Communication Tower Plaza. Empty.
Plus, three miniature cockpit figures scattered throughout the sector. And yes, some of the safes in the Trade and Business Districts are again blocked by a lunafilament, so it’s best not to break in here without a Limit Breaker.
Sector 03: Terra Dome
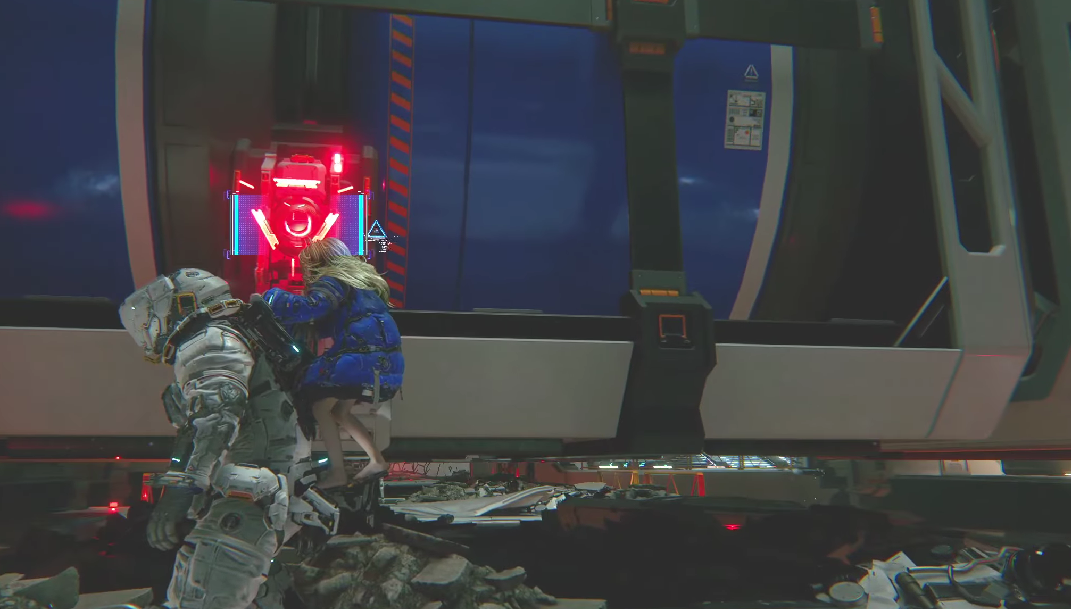
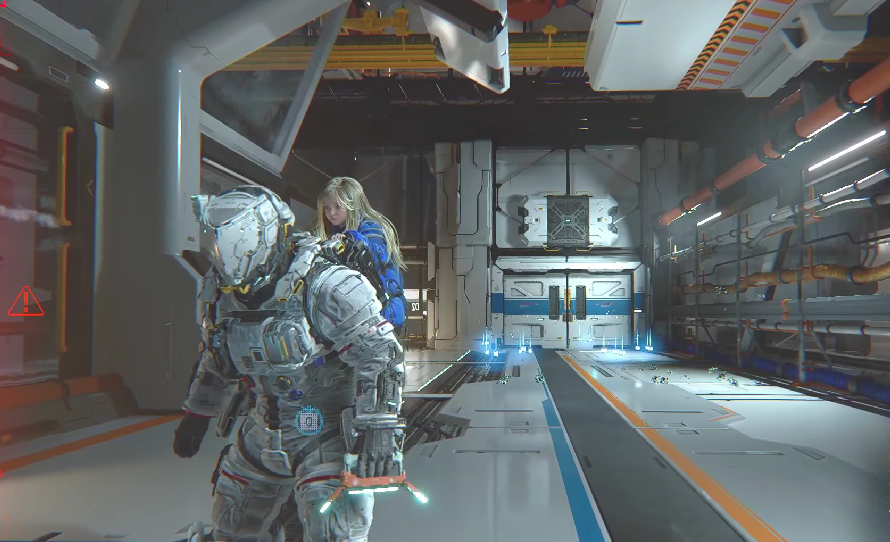
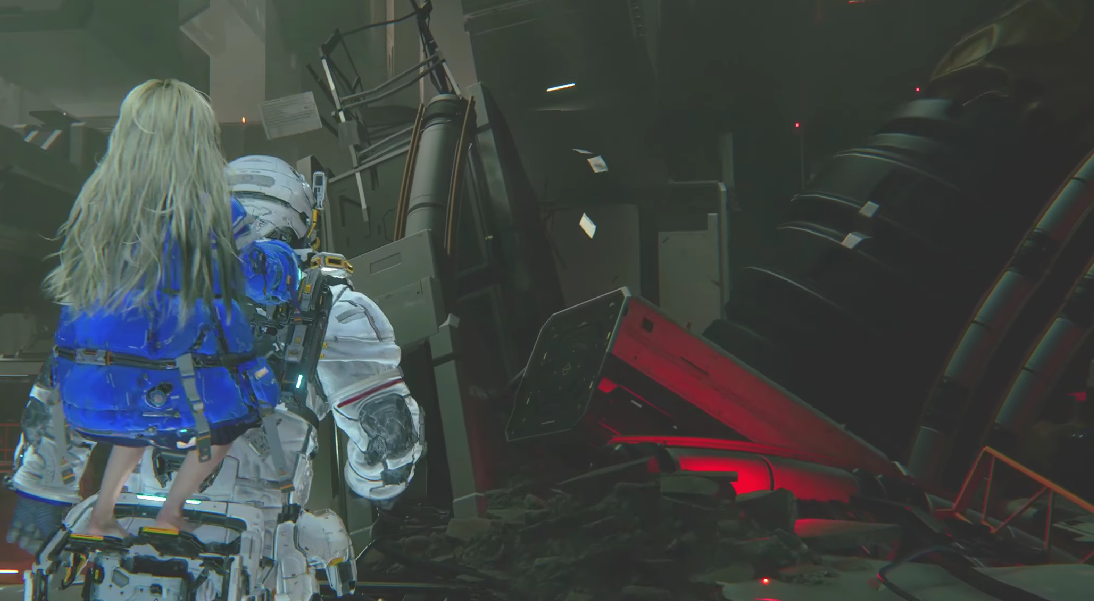
This is the most intense sector in the game so far. Eight appears here, and you must rescue her by resetting the Limit Regulators in various labs. The gameplay is increasingly interesting: lots of verticality, a central elevator, an underground level, and a final battle with a Large Robot in the Terrarium.
What you need to do in Sector 03:
-
Take the tram to Terra Dome.
-
Find Eight and reset two Limit Regulators nearby:
-
one in the Plant Plant;
-
the second in the Ecological Modeling Lab.
-
Return to Eight in Terra Dome.
-
Raise the Central Elevator and ascend Terra Dome.
-
Help Eight.
-
Complete the Soil Research Department and reach the underground Limit Regulator.
-
Optionally, clear the Red Zones in the Terra Dome Entrance, Ecological Modeling Lab, and Terrarium.
-
Defeat the Large Robot in the Terrarium.
-
Reset the Underground Limit Regulator and return to the Vault.
Sector 03 Collectibles
There are five sublocations, and there are a lot of safes here:
-
Block 01: Terra Dome Entrance. 5x Safe, 1x Pure Lunum, 2x Module, 1x Memory of Earth, 1x Tutorial Data.
-
Block 02: Environmental Modeling Lab. 5x Safe, 3x Pure Lunum, 3x Module, 2x Memory of Earth.
-
Block 03: Upper Floor of the Central Hall. Empty.
-
Block 04: Soil Research Department. 10x Safe, 1x Pure Lunum, 1x Memory of Earth, 1x Tutorial Data.
-
Block 05: Terrarium. 1x Pure Lunum, 1x Storage Expander.
Three miniature figurines from the cabins are featured separately. The ten safes in the Soil Research Department look intimidating, but half of them are relatively easy to open if you upgrade Diana’s speed-cracking module beforehand.
Pragmata tips that really save time
A few things the tutorial doesn’t really cover:
-
Return to old zones. Some collectibles are physically inaccessible until you have the necessary ability. The prime example is the Limit Breaker from Block 05, Sector 02. It dispels blue Lunafilaments, behind which safes are hidden. See one of these barriers without the required upgrade? Make a mental note and move on.
-
Visit the Vault often. Diana offers a good reason to “rest” at every tram stop. Between zones, you’ll accumulate a ton of Lunafilaments (the local currency), upgrade components, and modules. Spend them immediately, don’t save them for a rainy day. Plus, only in the Vault can your health and cartridges be fully restored.
-
Talk to Diana. Bringing her all the Memories of Earth you’ve read unlocks additional dialogue options. This won’t make the gameplay any easier, but the scenes are touching, and it would be a shame to miss them.
-
Spend Cabin Coins. They are awarded in safes and for giving Diana Memories of Earth. The Vault has a Cabin System—essentially a bingo lottery—that drops new modules, suits, simulations, robot data, and a ton of exclusive content. Much of this content is unobtainable anywhere else.
-
Download “Object Scanning” immediately after completing Vault Level 2. The level unlocks after completing Block 05 of Sector 02, and the ability is crafted in the Module Printer. If you’re going for 100% completion, this is a must-have: without it, you’ll simply miss half the items on the map.
All Pragmata guides
Separate materials on key topics:
Gameplay and Systems
-
Best Modules
Collectibles
-
All Safes
-
All Memories of Earth
-
All Modules
-
All Pure Lunum
-
All Storage Expanders
-
All Cartridge Holders
-
All Cabin Coins
-
All Red Keys and Red Zones
-
All Tutorials and Simulations
Puzzles
• Downtown Movement Puzzle
What you should know before starting Pragmata – tips that will truly save your nerves
Pragmata is more sophisticated than it seems at first glance. Capcom has mixed action, Metroidvania, and elements of a relationship simulator with a little girl companion. If you rush into things, you risk missing half the content. We’ve compiled a list of key points that will make your experience significantly more enjoyable and help you get the most out of the game.
Return to Old Locations
Some items in Pragmata are physically impossible to pick up on your first visit. It’s not because you’re clumsy – you simply don’t have the necessary abilities yet. A prime example: the Limit Breaker. This item is only available in Block 05 of Sector 02, and it dispels those glowing blue moon filaments that usually hide safes or valuable resources. See a barrier but don’t have a hacking tool? Mark the point on the map and keep going. You’ll come back later.
The Vault as a Home Base in Pragmata
Every tram stop in the game is a hint from Diana to take a break. Ignoring her suggestions is a real risk. Between checkpoints, you collect a decent amount of currency (Moon Filament), crafting parts, and modules. Spending all this immediately in the Vault will significantly ease your life in the next section. Your health bar and cartridges are also fully restored here. The logic is simple: enter the Vault → level up → exit angry.
Dialogues with Diana and Hidden Scenes
Chatting with Diana in the Vault isn’t just worth it for the atmosphere. Give her all the Memories of Earth you find. This unlocks new dialogue branches and, more importantly, unique cutscenes. They don’t directly affect gameplay, but Pragmata’s atmosphere loses about 30 percent of its charm without them. Missing them would be a crime.
How to use Cabin Coins?
Cabin Coins are found in safes and are awarded for giving Diana Memories. Bring them to the Cabin System and spin the local bingo. The loot there is excellent: new modules, skins, training simulations, and enemy data. Some of this goodness is impossible to obtain any other way. And the bingo process itself is addictive—I’ve tested it.