The “Tactical Simulation” mode in 007 First Light is not just a training session. This is the future of the entire game, where developers will bring fresh content. So far, you can complete a series of tests here. Yes, they won’t give you a unique costume for them. But the intelligence and bonuses that open up along the way are worth it — especially if you want to rock the agent to the maximum.
Many people have difficulties with the tests. Especially when it comes to “Escalations” and “Operations” — they have their own unique tasks. Don’t worry, we’ve taken it all apart. Let’s show how we passed each test ourselves and beat out the status of the best 007 agent.
Table of Contents
The TacSim test route in 007 First Light
Jumping into TacSim trials at random is a sure way to drain precious Intel into nowhere and wallow in endless playthroughs. Why is that? Everything is simplified: some of the escalations are tightly blocked until you buy the necessary devices at a local store, and other stages simply require well-honed timings and an understanding of the mechanics. It is most logical to first assemble the correct gadget setup, and only then close contracts for the maximum check. Where to begin?
How do I get my first Intel in training quickly?
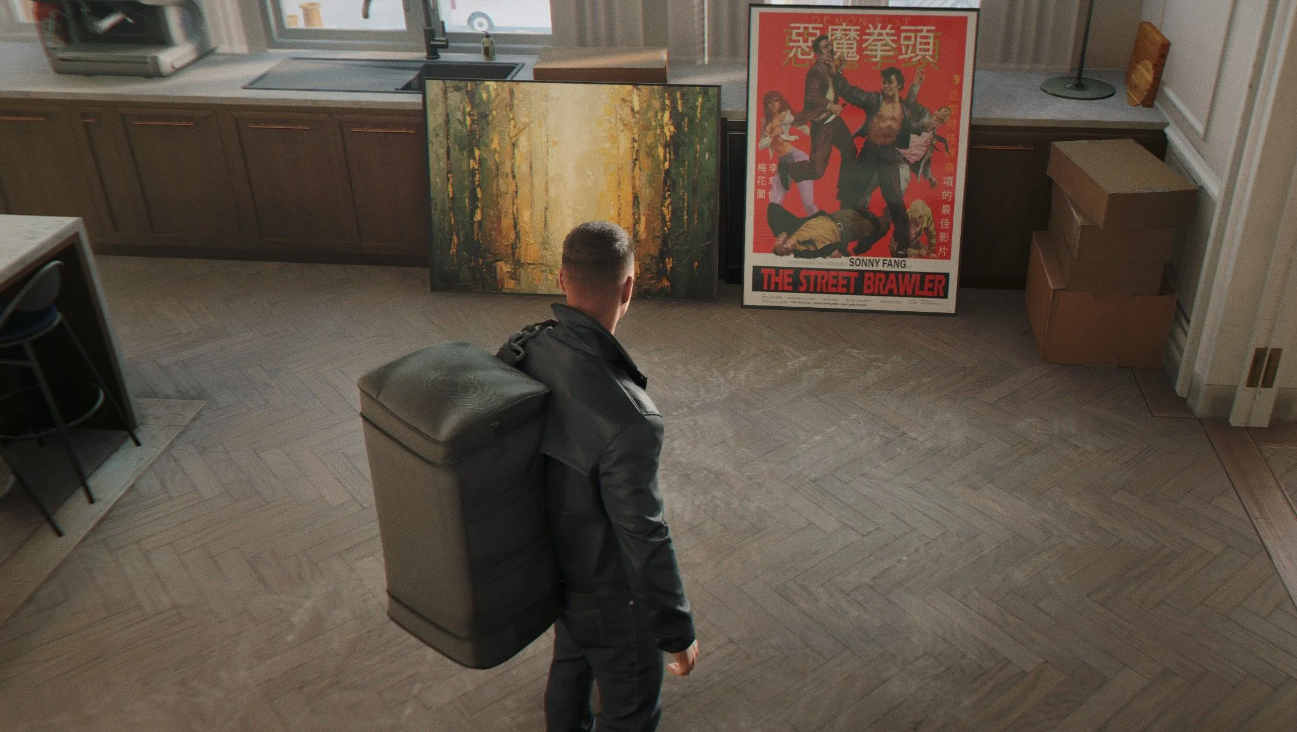
Many beginners ignore the warm-up, but in vain. Start with two simple tasks that will take a couple of minutes at most. The “Getting to know the TacSim Hub” test will close automatically at the first connection to the mode, and “Secret Documents” is an ordinary folder lying right under your feet at the workstation terminal. We pick them up and immediately receive Intel’s start-up capital for the first purchases in the arsenal.
Immediately after that, go to the landfill. Advanced tactical training (you need to complete all three available levels) is your main foundation. This is where the game forces you to physically practice critical skills: eliminating enemies from behind cover, focusing mechanics, and aiming headshots. Without these basic reflexes, you’ll be stuck on challenges like “Slow Learning” or “For Your Eyes Only” (and a dozen other missions).
Are you done? Move on to Advanced Melee Training. Techniques like grab-and-grab and quickly dropping opponents off ledges will become the cornerstone of mechanics in later operations like “All-in” and “Arctic Skies.”
How to perform background contracts and escalations?
There is no need to allocate separate races for ordinary tasks. Tests such as “Full Pockets”, “Chemist”, “Technologist”, “Mix” and “It’s not me” are perfectly performed right during any missions without a separate launch. It is enough to change the sets of equipment and gadgets in time for specific conditions. This is the only effective way to farm Intel without slowing down the overall pace of progress.
When the basic arsenal is assembled, it’s time to move on to escalation.

Here, the requirements become tougher, and any mistake leads to a restart.
Leave the “Arctic Skies” for the dessert of escalation. It’s useless to rush here with stock equipment. The default “Shocker Camera” is only able to disorient the patrol for a short time. To effectively drop opponents into the abyss, you need an improved version from the TacSim store with a powerful throwing effect.
Passing the final operations and hidden conditions
The final chord of your route is full—fledged operations. By the time “Clean Penetrations” and “Garden Party” are launched, you should already have a full set of upgraded tools in your pocket, and understanding stealth timings should reach automatism.
A proven tactic is to start with covert infiltration. The local Elimination Marathon challenge perfectly trains the pace of silent kills. This skill will be very useful to you at the “Garden party” stage.
Finally, leave the “Driver” contract. Trying to pass it ahead of time is pointless: a unique chauffeur costume is required to perform the trigger. This look is given out strictly for the absolute closure of the entire “Always on the edge of Time” series. Until this gestalt is closed, don’t even add a “Driver” to your current task pool.
A complete guide to standard TacSim tasks
Below is a complete list of standard tasks, their descriptions and working tactics. Please note: each “Escalation” and “Operation” also has its own unique conditions — we will talk about them separately.
Secret documents
How to complete: There is a workstation with a plant in front of the TacSim mission board. There is a file on the floor nearby — pick it up. That’s it, the test is counted.
Full pockets
Here you need to use four different gadgets in one mission. You already have the basic Q-clock. Plus any three other devices — buy them at the TacSim store and equip them at the gadget station.
Driver
Complete any mission in a chauffeur costume. Where can I get it? This outfit opens after completing all the challenges in the “Always on the Edge of Time” category.
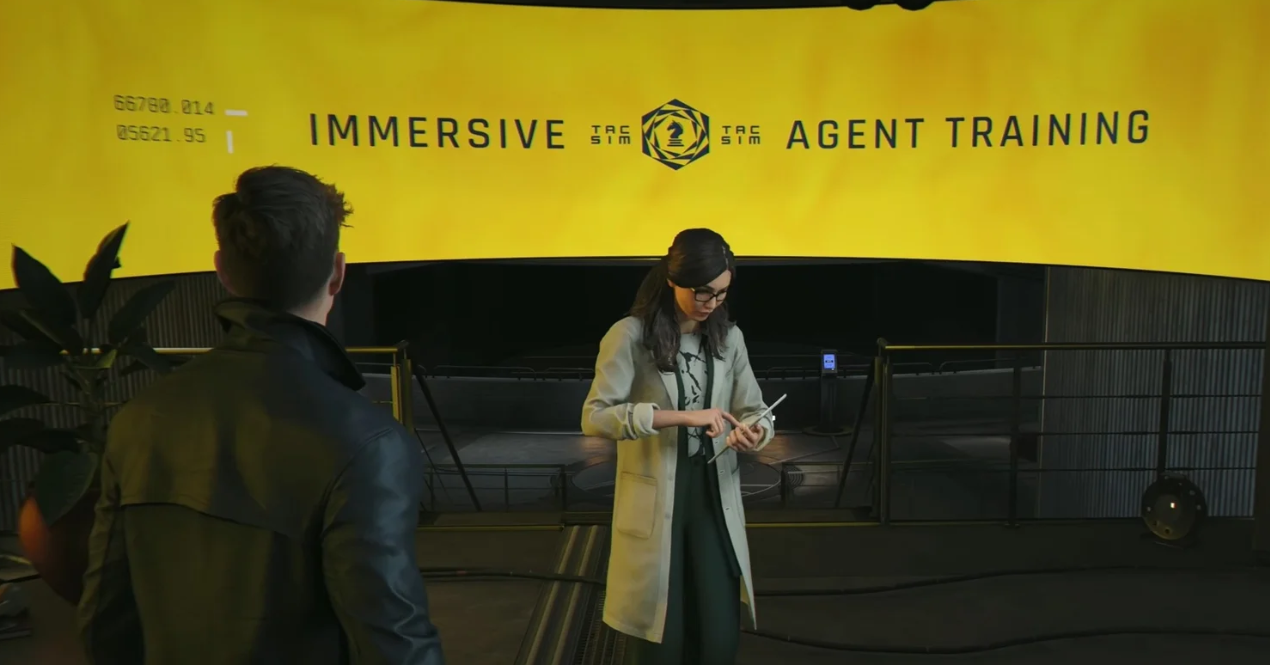
Getting to know the TacSim Hub
It’s almost impossible to miss. Run a “Tactical Simulation” and follow Selina through the markers — this is training inside the hub.
Shotgun Specialist
Any mission in which you destroy enemies with just a shotgun. The best option is “Advanced Tactical Training.” But first, buy a shotgun at the TacSim store and equip it.
The Pistol specialist
The same logic, but only the gun. The “Advanced Tactical Training” is ideal — where the mission itself requires the use of a pistol.
A sudden visit
Complete three top-down finishes in one mission. Take the “Advanced Melee Training” — it’s full of enemies who are below you.
Chemist
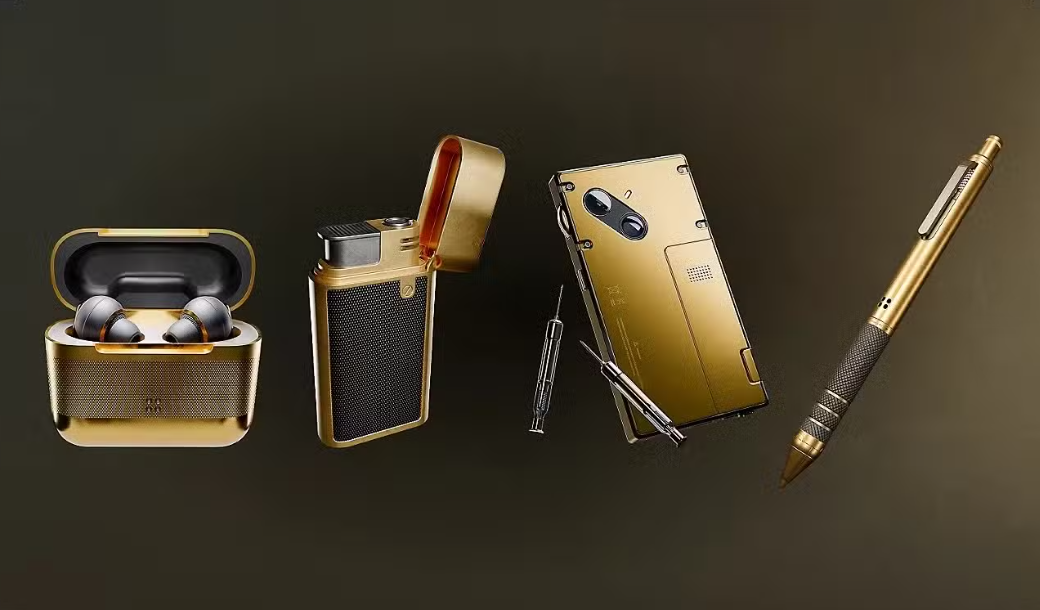
Complete the mission with at least three chemical gadgets and not a single battery pack. You will need a “Dart phone”, a “Smoke grenade”, a “Flash mine” and/ or a “Pen rocket launcher” – buy and equip.
Technologist
Mirror task: three battery-powered gadgets, zero chemicals. You need a “Laser tape”, a Q-watch and a “Shock Camera”.
All-in-one
Throw two enemies off the ledge with a grab-and-jerk. How to do it: pinch R2 next to the opponent at the edge of the cliff — Bond will push him down. The easiest thing about the Arctic Skies mission is that it is literally built on dropping.
Mix
Destroy enemies with three different types of weapons in one mission. Take the “Assault” — there the opponents have pistols, shotguns, PP, submachine guns, and snipers. Pick it up from the ground.
It’s not me
Make a finishing move and bluff for 10 seconds. In the “Lords of Rust” mission, eliminate the enemy in an open space stealthily, then immediately press Circle /B — this will deceive the nearest enemy.
All of these challenges can be completed in any TacSim mission. But remember: each “Escalation” and “Operation” has its own unique objectives. We will analyze them separately — stay tuned.
The text continues — in the second part we will talk about the unique trials of “Escalations” and “Operations”.
Advanced Tactical Training Guide
In addition to the standard tasks, TacSim has a separate set of tests related to specific missions. Let’s start with the “Advanced Tactical Training” — there are three levels, and each one is packed with its own conditions.
How to Get a Graduate Achievement
Advanced Tactical Training 1 — Pure training. Follow the prompts on the screen, you won’t make a mistake.
Advanced Tactical Training 2 is already more interesting. You will need to perform a whole bunch of techniques: disarming through cover (left stick + X when the enemy is next to the box), ramming (R1 + square), double shot in the legs with a pistol, aimed shot in the head through focus mode (hold down L3) and disarming with a shot in the arm.
Advanced Tactical Training 3 — follow the goals again, nothing supernatural.
If you complete all three, the Graduate achievement will open. That’s the deal.
A stealth mission walkthrough for your Eyes Only
The tough condition on the second level is to eliminate no more than four opponents. How to do it? Combine techniques on one enemy (disarming through cover + ramming + aiming a headshot). On the other two, we do a disarming shot and a double shot in the legs. The last victim is a final well—aimed headshot. Neatness comes first.
How to complete a Chemistry Lesson and hidden challenges
-
Chemistry lesson (third level): The first enemy is standing by the explosive barrel. Blow it up with a pistol or laser tape.
-
Watch your step: there is a ledge to the left of the start. Lure the enemy and press R2. Bond will push him into the abyss.
-
Without gadgets: Advanced tactical training: remove all equipment at the station and safely pass the third level. Works.
Passing Hopophobia and speed tests
Fast learning is about taking a minute to complete the first level. Hit the targets without delay.
Slow learning — at the second level, shoot exclusively with active focus. Yes, this applies to double shots in the legs, aimed at the head and disarming.
Hopophobia — complete the third level without pulling the trigger at all. Covert assassinations and hand-to-hand combat are used.
Advanced Melee Training Trials
There are also three levels here, but the emphasis is on fighting and encirclement.
How to open the Melee Combat Master
-
Advanced Melee Training 1 — follow the techniques shown on the screen.
-
Advanced melee training 2 — the set is more complicated: drop from a ledge (hold R2 at an open railing), grab-jerk (aka drop over the railing), throw from the edge, throw an enemy at another enemy (point the left stick at the target), a strong kick (square with hold), kick in belly (square, square, hold square).
-
Advanced Melee Training 3 — Obstacle course with enemies. Eliminate everyone, don’t slow down.
If you complete all three, you will receive a “Melee Master”.
Passing the escalation of the Lords of Rust
Let’s move on to the mission, where rust is not just a decoration. There are three levels, and each has its own conditions.
How to get the Lord of Lords Trophy
-
Lords of Rust 1 — Eliminate 8 enemies. Any way: even stealthily, even head-on.
-
Lords of Rust 2 — 10 goals already. Also without restrictions.
-
Lords of Rust 3 — 12 enemies, but with a hard caveat: if you or the enemy fires a weapon, restart the level. Yes, no shots fired.
If you complete all three, you will receive the “Lord of Lords” achievement. It sounds pretentious, but it’s real.
Tactics for hidden passage without shots
-
Loose cargo (first level): At the very beginning, on the left, two guards are standing next to each other. There’s a load hanging over them. Loosen it with a laser tape or a phone dart – the container will crush both of them.
-
Dead Man in the Water: Drop five enemies into the ocean. It is easiest on the second and third levels. Provoke everyone, then pinch R2 at the edge — Bond will send them swimming.
-
Silent running (better on the first level): take everyone out only by covert finishing. Load traps and distractions will help. No shooting or fighting in the open.
How to complete the Grillarden test
Blow up the cook. Where to look? In front on the left there is a character at a barbecue. There is a red gas cylinder nearby. One laser strip and you’re done. The meat will not be affected (most likely).
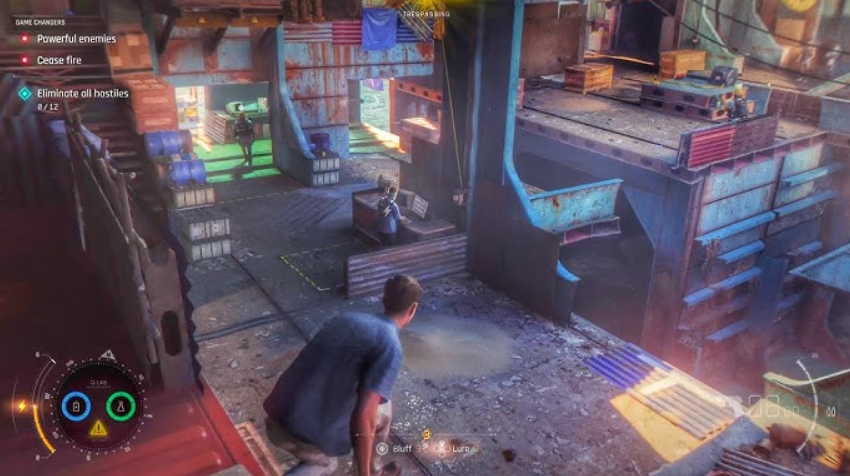
An Assault Escalation Guide
Now comes the most dynamic escalation. The main thing here is to get to the zipline.
How to open the Gadget Wizard achievement
Assault 1 — Reach the zipline at the end. Enemies can be killed or run past.
Assault 2 is the same task, but the level is more difficult.
Assault 3 is the final leap to the zipline.
After completing everything, the “Gadget Wizard” opens. There’s nowhere without it.
How to eliminate multiple targets in one explosion
-
Eye Surgery — Use the laser gadget on five different enemies in one go. Equip the “Laser tape” and do not forget to pick up the batteries. One level is HTML- five uses.
-
Scattered — eliminate three opponents in one explosion. Climb the stairs and you will see an inaccessible platform with four enemies. There is an explosive barrel on the left — shoot at it with a laser tape. The chain reaction will do its job.
-
Crater — kill two enemies with a falling crate. On the third level, right in front of the stairs, two people are standing under a suspended load. Drop it with a laser or a phone dart.
How easy it is to throw enemies over the railing
Drop three enemies over the railing. Climb the stairs and use R2 to push your opponents over the fence. Elegant and efficient.
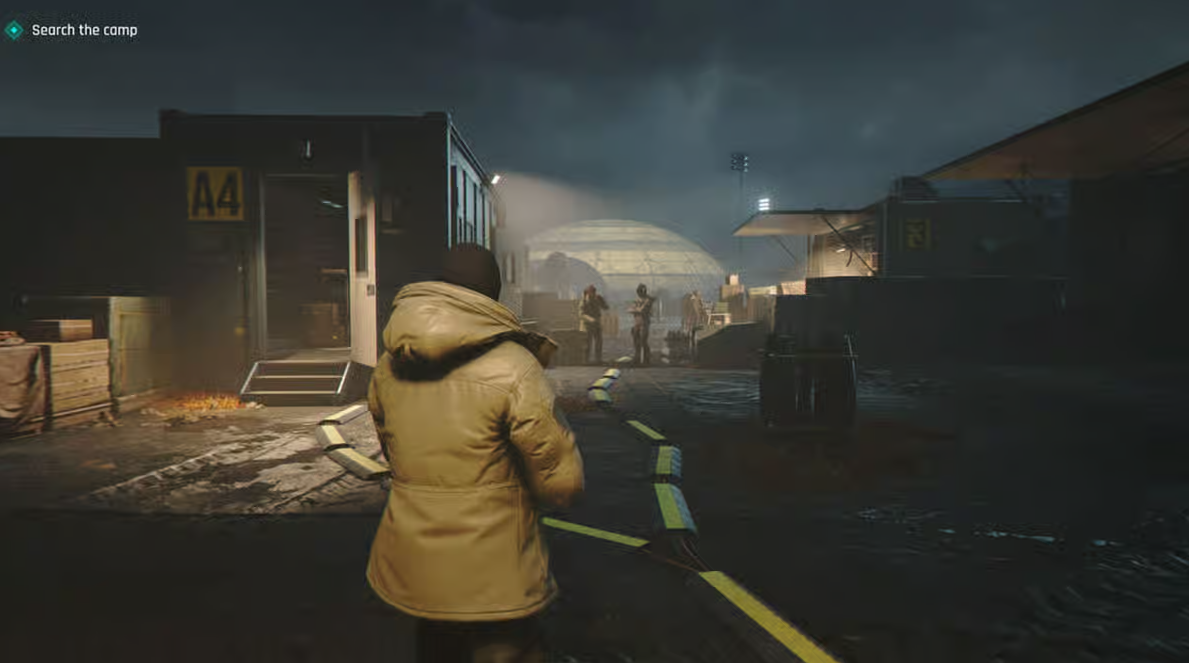
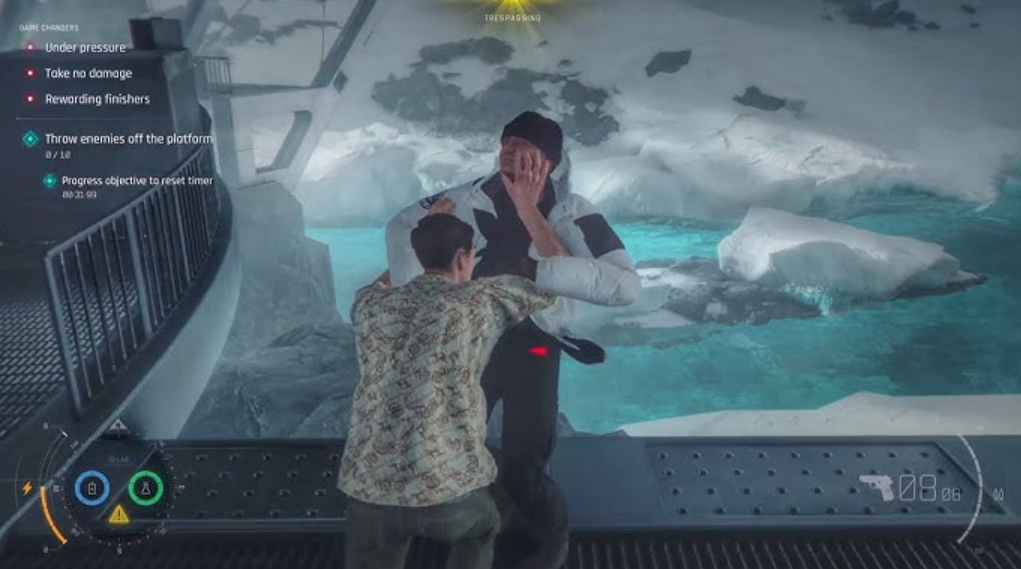
All achievements in the Arctic Skies mission
The “Arctic Skies” mode in 007 First Light is a series of three levels where the main task is to survive and also actively push enemies off platforms. The mechanics are simple: approach the opponent at the edge and clamp R2/RT. A push and he falls into the abyss. But the developers have added some tricky conditions for perfectionists.
How to properly push enemies into the abyss
The first three challenges are related to the number of enemies knocked out in each level. There are five people to push on the first floor, five more on the second floor, and ten more on the third floor. Complete the levels sequentially, and at the same time get a trophy for completing the game. By the way, don’t shoot anyone or hit them head—on – only pushing from the edge works.
Gone with the Wind is the most interesting part. There’s a fan somewhere on the map. You go down the stairs to him, lure two enemies, wait until they stand right in front of the bars. Activation via the Q-clock — and a powerful airflow sends both flying at the same time. Effective and useful.
Say “cheese” needs improvement. The “Camera Shocker” gadget stuns at first, but after improving in the TacSim store, it begins to throw targets off a cliff. Five such “photos” with a fatal outcome — and the test is yours.
What a rush — a combination of R1 + Square (or RB +X on Xbox). It’s a dash that knocks enemies off their feet. The main thing is to do it at the edge. Five battering rams, and the opponents themselves will fall down.
This is Antarctica — a kick. You pinch the Square (X), the character makes a powerful kick. Suitable for the same purpose: five enemies overboard. It doesn’t matter whether you kick or push — the main thing is the result.
It sounds scary without mistakes, but in reality it’s easy: you ONLY kill opponents by dropping. There are almost no other ways in “Arctic Skies”, so play as usual — hold R2/RT at the edge. No punches, no shooting.
The Master of the Arctic Skies is the final trophy for completing all the listed tasks. Follow each step and it will open automatically.
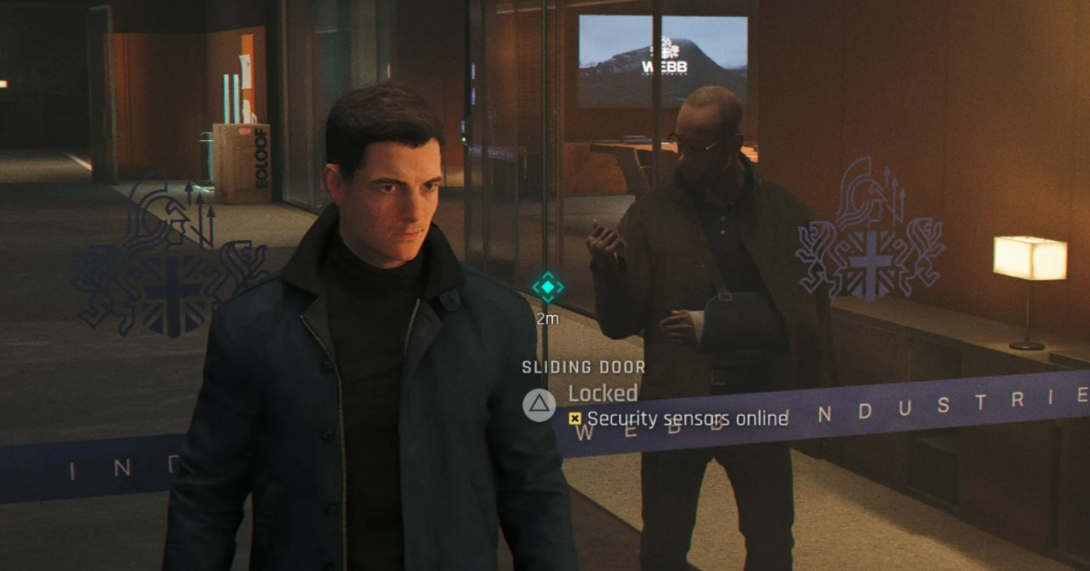
Stealth guide for Operation Clean Infiltration
The style here is different — stealth and speed. The mission is called “Clean Penetrations” (yes, the name does not shine with originality), but the set of tests will make you sweat.
Clean penetrations — complete the operation by following the goals. This is the base from which everything else begins.
The elimination marathon is the most nerve—racking part. You need to make a hidden kill every 30 seconds until the end of the mission. The key gadget is a smoke grenade. You throw them under your feet, hide in the smoke, run up to the enemy and eliminate them. The smoke prevents his allies from noticing you. The timer is strict, so don’t lose your pace.
Without decorations — do not touch any objects in the environment and do not use gadgets on them. Do not distract the guards, do not break the boxes, do not activate the panels. Go through only on your own.
An iron on the head is fun. Throwing irons are scattered on the level. Lure the enemy to a secluded place, pick up an iron and throw it at the head. Stun counts. Find all the irons or pick them up as you move — five hits, and the test will close.
Quick cleaning is done in two minutes. Remember the location of the targets, do not be distracted by unnecessary enemies, run along the shortest route. One minute and fifty seconds is real.
Without bullets, not a single shot from any weapon. Only gadgets (like smoke bombs) and fists. Stun, push, but never pull the trigger.
Without gadgets: Pure penetration is exactly the opposite. Clear all the equipment slots before starting the mission. No smoke, cameras, or clocks. Just bare hands and maybe fists. Pass as stealthily, but relying solely on cover and timing.
Master of Pure Penetrations — collect all seven challenges above. It sounds like a routine, but each requires a separate approach or at least a change of tactics. We recommend starting with a “Quick cleaning”, then going through a separate “Elimination Marathon” — it’s easier this way.
And remember: not a single shot, just composure and, where necessary, irons.
Secrets of Operation Garden Party at 007

The third mission in 007 First Light is deceptively relaxed. The garden, the fountain, the music — but there are enemies all around, and you need not only to survive, but also to close a couple of specific tasks. Basic passing, as usual, is not a problem. But the trials — there is a place to roam.
Never be detected — a classic of stealth. You should not be noticed even once. Use cover, sneak kills, move around the perimeter. If the alarm is raised, restart.
Pacifist — don’t shoot. Generally. Not with a pistol, not with a machine gun. Only fists, only hardcore. By the way, gadgets like the Q-watch are not considered weapons, so use them.
Look here — the condition is tougher: rely solely on the Q-clock. No other gadgets, no weapons. Only bare hands and a watch are a distraction. It’s going through, but you need patience.
Secret data is not the most difficult thing. Find a laptop by the fountain in the garden and interact with it. That’s it. It usually doesn’t require additional kills.
No gadgets: Garden Party — before the start, go to the equipment station and take everything off. Absolutely everything. Empty slots. Complete the mission with your bare hands, relying on cover and timing. Stealth? Yes. But without laser tapes and cameras.
An occupational injury sounds ominous, and for good reason. There are scaffolding around the garden. A “Laser tape” is installed on them. You need to lure five enemies under the woods and activate the ribbon — the structure will collapse, crushing the opponents. Not fast, but effective.
Master of the Garden Party — take away all the listed challenges. Yes, you will have to repeat the mission several times under different conditions. But the trophy is worth it.
By the way, if you have entered the challenge mode seriously, here is a list of other operations in 007 First Light, where similar challenges await you: “Global”, “Against all”, “New Home”, “Always on the edge of time”, “The Past does not die”, “Uninvited”, “Sunset Knight”, “Time to Die”, “Wave of the Future”, “For England”. There are separate guides for each one, but that’s a completely different story.
Next article: Where to find all 9 Legacy collectibles for A Legacy in Spycraft?