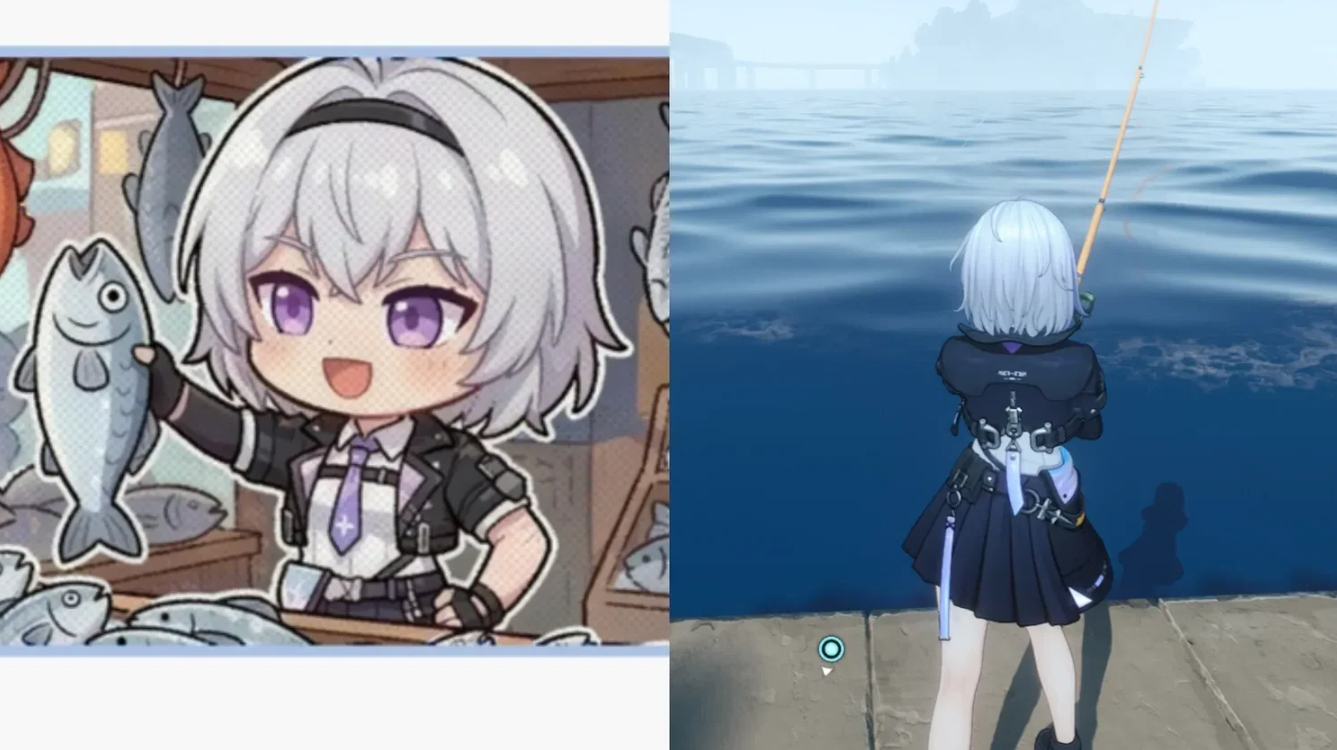
In Neverness to Everness (NTE), you can not only run around the story but also fish. And seriously, with a hobby level, waypoints on the map, and a tackle shop. Why do you need this? Firstly, to clear your head between missions. Secondly, to earn those aforementioned Fones—a weekly limit that’s never a bad thing. Plus, the process is enjoyable: you cast your line, wait for a bite, and then fight your catch like a seasoned sport fisherman.
Table of Contents
How to unlock fishing and find fishing spots
First, level up your “Urban Tycoon” hobby to level 3. Without this, you won’t be able to get a fishing rod. You can fish between main missions—incidentally, it’s a great way to while away an evening in Etero.
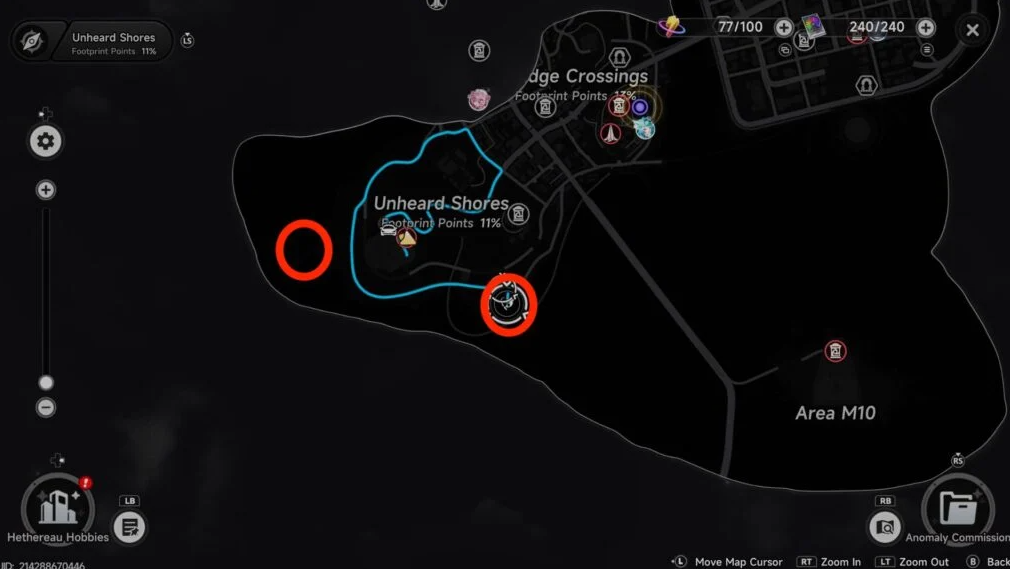
After unlocking, open the map. The white icons near the water are your fishing spots. There are many of them, each with its own set of inhabitants. If you’re too lazy to look around, go to the “Etero Hobbies” menu on your in-game phone and select “Fishing.” The system will automatically show you the nearest spots.
Rules and mechanics of the fishing mini-game
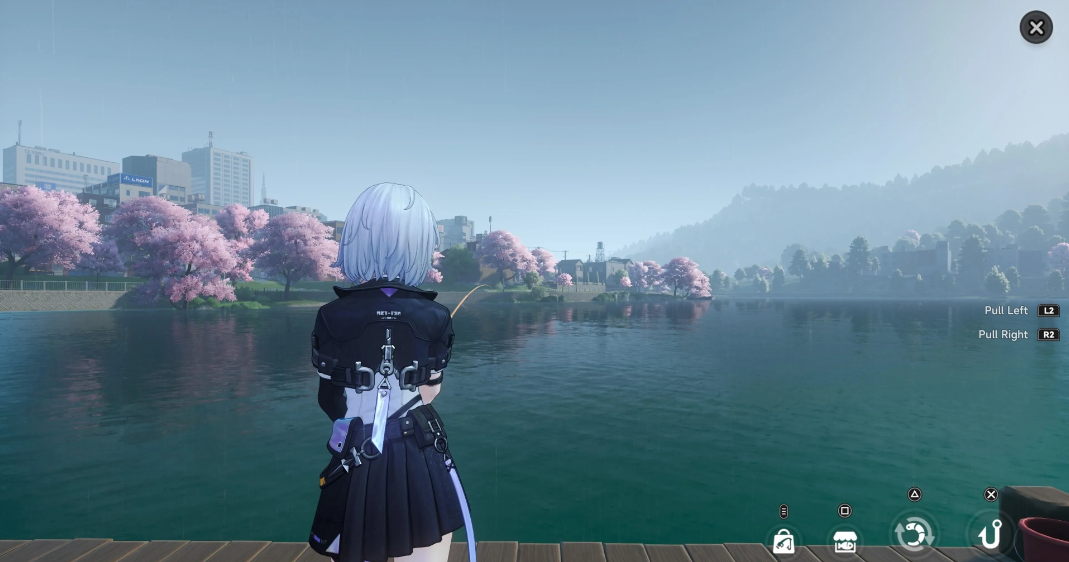
Approach a spot and interact. Cast, wait—and then a green bar appears on the screen. It moves erratically back and forth, representing the fish’s resistance. Your goal is to keep your own bar (usually white or blue) within this green bar. The longer they match, the faster the stamina of your catch decreases. Reach zero and you’ve reeled in your catch.
But there’s a catch. If you miss and the bars diverge, your line suffers. Too many mistakes—the line breaks, and the fish swims away. This is frustrating, especially if it was a legendary catch.
The influence of tackle on the rarity of your catch
Fishing rods vary in strength—the stronger the rod, the more weight it can withstand and the less likely the line is to break. Bait affects your chances of catching rare specimens. You’re given the most basic gear at the start, so you’ll have to catch small fish and gain experience.
There are four rarity levels:
-
Common (green background)
-
Uncommon (blue)
-
Rare (pink-fuchsia)
-
Legendary (gold)
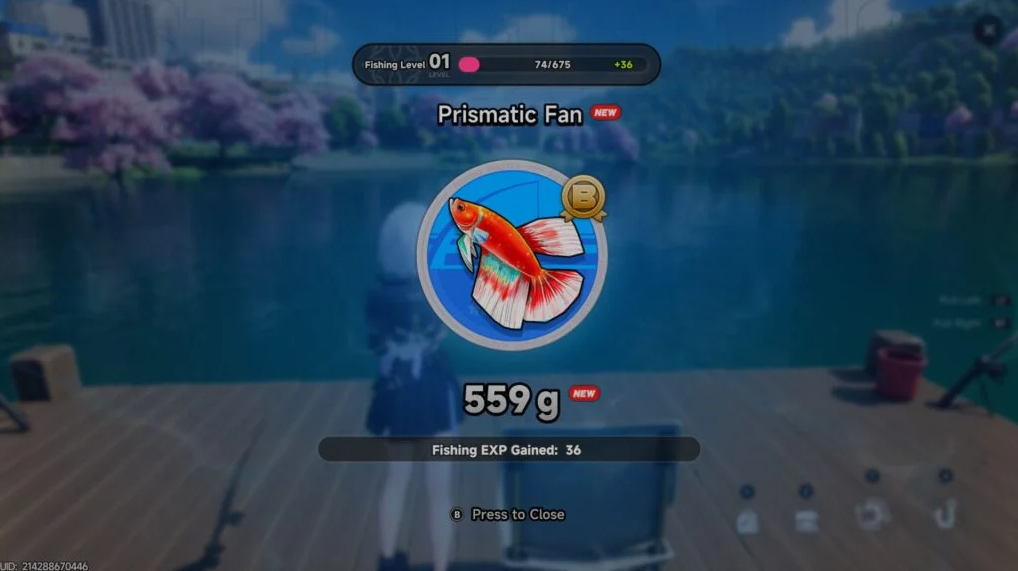
The latter cannot be obtained without upgraded fishing rods and expensive bait. To buy better gear, you need “Scale Points.” You get them by selling caught fish. The exchange point is the “Fishing Tackle Shop.”
The fishing mechanics in Neverness to Everness (NTE) require not only fast reflexes but also careful resource management. The game features four types of fishing rods (including the starting one), and the difference between them lies in one critical parameter: line strength.
Every second the slider moves beyond the green zone, the line’s strength inexorably decreases, ignoring the fish’s endurance. Once the strength reaches zero, the catch is lost. That’s why timely tackle upgrades aren’t a cosmetic improvement, but a fundamental requirement for increasing your catch rate.
Comparison of the characteristics of all fishing rods in the game
To capture maximum Dwell Time and ease of navigation, the characteristics of all available gear are structured below. This is the basic architecture of the angler’s progression:
Fishing Rods by Fishing Level
Detailed overview of fishing rods from start to endgame
Starting Fishing Rod I for training
The starting rod is provided free of charge, but it has a critical drawback — the strength of the line is limited to ~ 12 units. This tackle is intended exclusively for basic training. When trying to pull out a fish with high endurance, the line is guaranteed to break before the prey gets tired. It is impractical to stay at this stage longer than a couple of casts.
Fishing rod II for rare specimens
The best choice for players at hobby levels 4-7. 18 units of strength is the threshold that allows you to stably pull most types of fish, including rare and legendary specimens (provided the player’s unmistakable reaction).
-
Price: 1,200 Shell coins or fonsa.
-
Bait: Available in a limited amount (3 pieces per day for fonsi or 5 units for scaly coins).
Fishing rod III for the legendary catch
A tackle for 9,000 Shell coins, providing 28 units of strength. This upgrade becomes necessary when you start hunting legendary fish with an extremely narrow green tension scale, where the cost of a micro error is too high. The price gap (7.5 times more expensive than the previous one) fully pays off in a few days of active and targeted pharma.
Endgame Fishing Rod IV and Hidden Buffs
Ultimate tackle for level 8 players. 40 units of strength at a cost of 42,500 coins guarantee maximum insurance against line breakage.
-
Hidden Buff: According to confirmed data from the community, the rarity of this fishing rod has a hidden modifier that increases the base probability of biting epic and legendary fish.
-
Target production: Switching to Fishing Rod IV is mandatory if your goal is a stable farm of such endgame legends as Cyan Queen Angelfish and White Dragon King, with zero percentage of losses.
A way to get shell coins quickly
The main mistake of beginners is falling into a financial trap: no coins → no good fishing rod → no rare fish → no coins.
The algorithm for bypassing the system through the Fish market:
-
Demand analysis: Check the lists of fish in demand on the market daily. The margin for such types ranges from 200% to 500% of their base cost.
-
Target Farm: Ignore the average catch. Catch only fish from the current list of demand.
-
Reinvestment: With the right approach, Rod II pays off in one day in real time. Immediately convert all excess profits received into the purchase of Fishing Rod III, and then Fishing Rod IV.
How to properly spend urban stamina?
Selling a catch consumes Urban Stamina — it has a weekly limit. Therefore, do not drain all the fish in a row on Monday. Keep track of how much is left, especially if there’s still a lot to do before the end of the week. Otherwise, on Friday you will want to hand over a batch of rare fish, and the limit is already zero. An annoying situation, tested on myself.
Overall, the mechanics are pleasant — nothing too complicated. Get comfortable in a couple of bites, and then swing and collect a collection.
How is it profitable to sell the catch at the fish market?
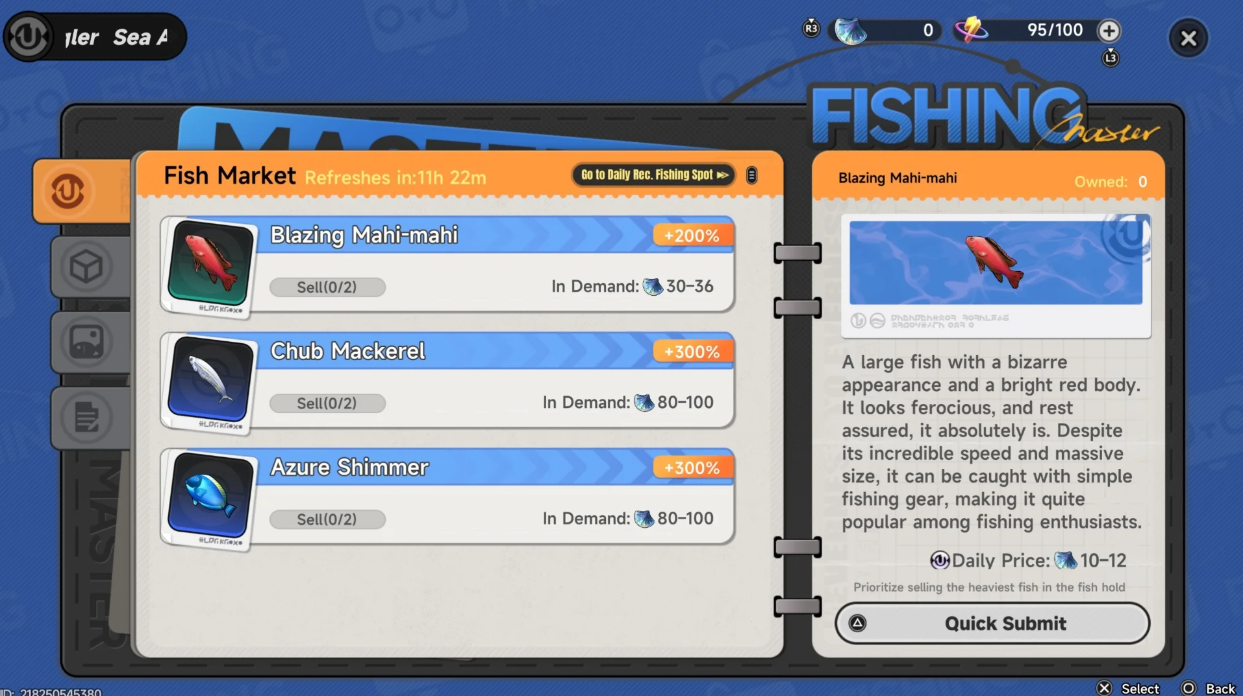
Fish, of course, can be taken anywhere. But there is a caveat: every day there is a Fish market in Etero with its own list of sought-after species. Their prices are higher, which is a great chance to grab more Backgrounds and Scale Points.
The list is updated every day. Therefore, before going to the point, look at the menu — the system will tell you which fish is in the price today. And he will even show you the best place to catch it. Convenient, that’s for sure.
However, there is a limitation. You can sell only two or three pieces of each type in demand at a time. The developers don’t want players to ruin the economy in a week (and no one canceled the weekly Background limit either).
Lists of all available fish by location
Below are all the fishing spots of Neverness to Everness with full catch lists. An asterisk (*) means that this species is found only here. Most points have at least one unique instance, so you’ll have to run around if you want to collect a complete collection.
Fishing point Azure panorama
Common: Angry Puffball Fish, Blazing Mahi-Mahi, Bluefin Tuna, Flounder, Mahi-Mahi, Payara*, Puffball Fish, Red-Bellied Piranha, Yellowfin Tuna.
Unusual: Azure Shimmer, Blue-Striped Angelfish, Blue Face Angelish, Chub Makerel, Golden Chub Makerel, Green-Striped Angelish, Green Face Angelfish, Prismatic Fan.
Rare: Blue-Spotted Fish, Indigo Whalehead Fish, Saddleback Angelfish, Yellow Tang.
Legendary: Cyan Queen Angelfish, Peppermint Angelfish.
Calthrop Lake Fishing Spots
The usual ones are Autumn Osmanthus, Black Ghost, Living Jade, Salmon, Underwater Rainbow.
Unusual: Bananana, Betta, Calico Goldfish, Neon Tetra, Rocketfish, Zebrafish.
Rare: Golden Thunder Dragon, Koi, Pink Saddleback Angelfish.
Legendary: Golden Arowana, Kohaku Koi*, Lightning Eel, Red Arowana.
The legendary catch at Cape Square
There’s a bigger set here. The usual ones are Blazing Mahi-Mahi, Blue Striped Grouper, Bluefin Tuna, Flame Lionfish, Mahi-Mahi, Red Cap, Red Belled Piranha.
Unusual: Blue Rocketfish, Chub Makerel, Dawn Shimmer, Devil Triggerfish, Ghost Triggerfish, Golden Chub Makerel.
Rare: Blue Spotted Fish, Indigo Whalehead Fish, Whalehead Fish.
Legendary: Purple Queen Angelfish, Skeletal Sea Bream, Venomous Lionfish, White Dragon King.
Imagist Fishing location
Common: Blazing Mahi-Mahi, Bluefin Tuna, Flounder, Mahi-Mahi, Purple Striped Grouper, Red Seam Bream, Red Sunfish, Red Belled Piranha, Striped Lionfish, Sunfish, Yellowfin Tuna.
Unusual: Azure Shimmer, Blueface Angelfish, Chub Makerel, Golden Chub Makerel, Green Angelfish, Knight Angelfish.
Rare: Blue Spotted Fish, Indigo Whalehead Fish, Saddleback Angelfish.
Legendary: Emerald Flame Angelfish*, Flame Angelfish, Peppermint Angelfish.
The catch in the Nautilus East Tunnel
Common: Angry Puffball Fish, Blazing Mahi-Mahi, Blue Striped Grouper, Bluefin Tuna, Flame Lionfish, Mahi-Mahi, Red Cap, Red Bellied Piranha.
Unusual: Blue Rocketfish, Chub Makerel, Dawn Shimmer, Devil Triggerfish, Ghost Triggerfish, Golden Chub Makerel, Prismatic Fan, Red Spotted Fish, Nosy Barb.
Rare: Cyan Spotted Fish, Indigo Whalehead Fish, Whalehead Fish.
Legendary: Purple Queen Angelfish, Skeletal Sea Bream.
Rare fish in the Nautilus West Tunnel
Common: Angry Puffball Fish, Blazing Mahi-Mahi, Bluefin Tuna, Flounder, Mahi-Mahi, Puffball Fish, Red Bellied Piranha, Yellowfin Tuna.
Unusual: Azure Shimmer, Blue Striped Angelfish, Blue Face Angelfish, Chub Makerel, Golden Chub Makerel, Green Striped Angelfish, Green Face Angelfish, Prismatic Fan.
Rare: Blue Spotted Fish, Indigo Whalehead Fish, Saddleback Angelfish, Yellow Tang.
Legendary: Cyan Queen Angelfish, Icy Angelfish*, Peppermint Angelfish.
Cold water Drops in the Yard
The water is colder here, and the fish are appropriate. Common: Black Ghost, Black Striped Piranha, Green Spotted Piranha, Salmon.
Unusual: Betta, Goldfish, Neon Tetra, Queen Angelfish, Zebrafish.
Rare: Koi, Pink Saddleback Angelfish, Red Tang, Sapphire Scale, Thunder Dragon.
Legendary: Golden Arowana, Lightning Eel, Red Arowana, Sunset Ripple*.
Valuable views in the Star Marina
Last but not least. Common: Blazing Mahi-Mahi, Blue Striped Grouper, Bluefin Tuna, Mahi-Mahi, Purple Striped Grouper, Red Cap, Red Sea Bream, Red Sunfish, Red Bellied Piranha, Striped Lionfish, Sunfish.
Unusual: Chub Makerel, Dawn Shimmer, Devil Triggerfish, Ghost Triggerfish, Golden Chub Makerel, Knight Angelfish.
Rare: Cyan Spotted Fish, Indigo Whalehead Fish, Whalehead Fish.
Legendary: Dawn Ripple*, Flame Angelfish, Purple Queen Angelfish.
In general, study the lists, check with the Fish market and systematically catch all the points. By the way, if you come across a legend with a golden background, do not rush to sell. Maybe tomorrow it will be in demand, and you will get twice as much.
Next guide: All Currencies & Farming.