There are places in the Colony that only the desperate or the overconfident venture into. The Sunken Tower of Xardas is one of them. This dungeon in the Gothic 1 remake is famous for its labyrinthine system of flooded corridors and hordes of undead that never sleep. But if you’re willing to spend a couple of potions and fill your inventory with blunt weapons, the reward is worth it—here you’ll find legendary Tower Stones, a powerful “Death of Undead” spell, and a ton of scrolls for every taste. We’ll explain step-by-step how to reach the tower, what to do underwater, and how to open the final door without becoming skeleton fodder.
Table of Contents
Where is the Sunken Tower of Xardas on the map?
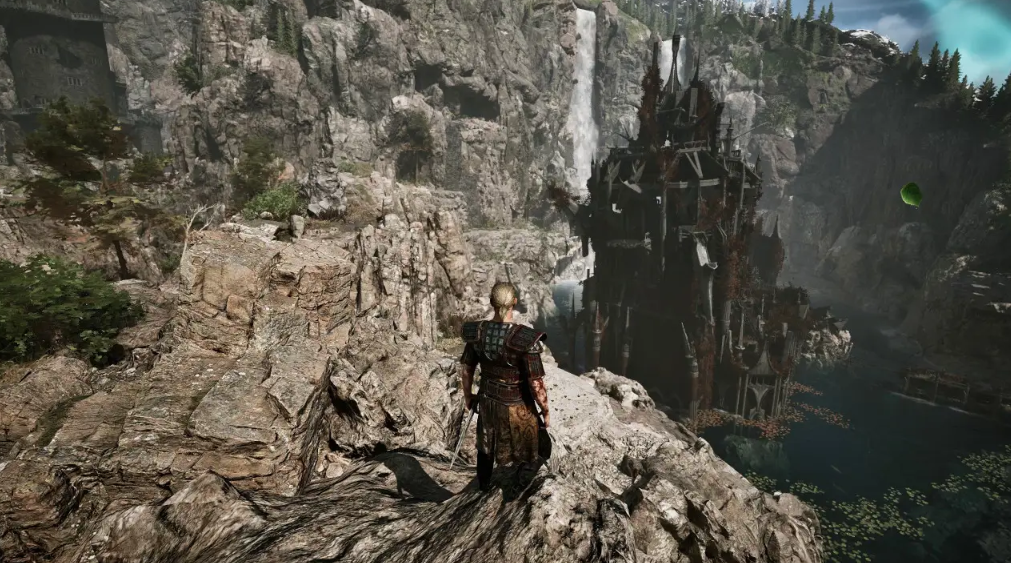
Head to the south-central part of the game world. The landmark is the crossroads where the road leads towards the Mountain Fortress. Turn north and head up the slope. Soon a lake will appear, and right in the middle is that very same tower, partially submerged. Now the main thing is not to drown prematurely. Descend into the water and swim with the current, looking for an underwater passage. Dive in, cross the flooded grate, and you’ll find a small room on the right. Swim inside, there’s a chest. It contains the first Tower Stone and three scrolls: “Storm Fist,” “Fire Rain,” and “Ice Block.” Take everything without hesitation—they’ll come in handy in just a couple of minutes.
How to navigate the flooded corridors and defeat the skeletons?
Turn around and dive again, this time in the other direction—follow the current, it will lead you to the basement. Don’t panic when your air supply starts to run out: you’ll likely reach the surface with plenty to spare. Resurface, climb the stairs, go through the doors, and you’ll be inside the tower. You’ll be met by skeletons. Lots of them. They’re literally everywhere, so you’ll need a supply of healing potions and blunt weapons—blunt damage is most effective against these skeletal enemies.
A bow or crossbow will do, but magic—especially Firestorm—works wonders in the confined corridors, burning away everything living (and not so living) in just a couple of casts. At the end of the first chamber is another chest—loot it and move on, dealing with zombies and skeletons along the way. In the next large hall, a skeleton mage awaits you with a couple of zombies. Eliminate them and enter the circular room.
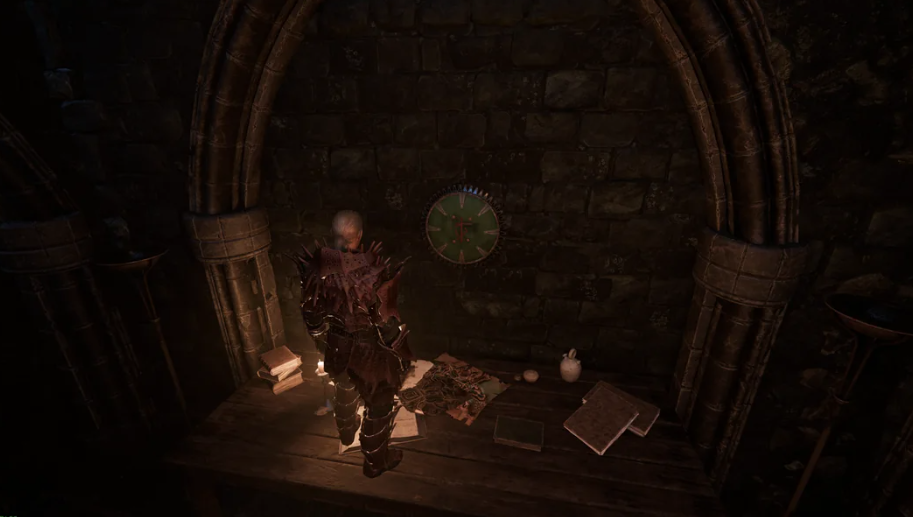
Activating the Magic Circle and the Correct Order of the Scrolls
Next comes the most interesting part. You’ll come up against a locked door, and in front of it, on the floor, you’ll see a strange magic circle carved with symbols of the three elements: Fire, Ice, and Wind. Do you need to activate them in the correct order to open the door? No, the order doesn’t matter. Just use the same scrolls you picked up from the chest: first “Storm Fist” (Wind), then “Ice Block” (Ice), then “Raining Fire” (Fire).

Or in any other order—the magic will work, and the door will open. Behind it lies another batch of zombies. The best tactic is to lure them down the stairs and cover them with “Fire Storm.” This will prevent you from getting surrounded, and you can also finish off survivors with a bow from a safe distance. The main thing is to keep the enemies from getting too close: they hit hard and can stun you in a corner.
A bunch of inserted Tower Stones to open the purple door
Once all enemies are defeated, it’s time for some well-deserved loot. In the center of the hall, you’ll see two pedestals and another locked door with an eerie purple glow. To open it, place one Tower Stone on each pedestal—you should have two (you found one in the chest underwater, the second awaits you during further exploration, but that’s another story). Once both stones are in place, the door will swing open, granting you access to the grand prize—the “Death of Undead” spell, which turns any undead to dust in a second.
Where can I find the second Tower Stone in Gothic 1 Remake?
You’ve already collected the first stone in the flooded room near the entrance. The second is more cunningly hidden—behind a grate in a small office that you’ll have to break open. The combination to the lock, fortunately, isn’t particularly difficult, so a couple of tries and you’re inside. On the table there’s an Elixir of Magic, a Scroll of Transformation into a Fire Lizard, and a Scroll of Healing. The most important items are the second Tower Stone and two teleportation runes: “Fire Mages” and “Sunken Tower.” Set these runes aside for now—they’ll be useful once you reach the top. With the stone in your inventory, return to the pedestals. Insert the second stone into the right pedestal, and the purple door will begin to shimmer and then open.
Behind it, you’ll be greeted by a group of zombies and the coveted chest. Kill the undead—fortunately, fire magic works wonders here—and claim the grand prize: the “Death of Undead” spell rune. It sounds ironic: this spell, which incinerates any undead in a single hit, is obtained after you’ve cleared the tower of skeletons. But don’t be too upset—it’ll come in handy in other dungeons in the Colony. There’s a catch, though: activating the rune requires reaching the 5th Magic Circle. So if you haven’t leveled up the corresponding skill, the rune will simply sit in your inventory for now—a reminder of where you need to go.
How to Beat Xardas’s Tower: Gear and Weapon Guide?
Your character’s level in Gothic Remake doesn’t determine the outcome of this clearing at all. It’s far more important to assemble the right setup for the local undead and the tight spaces. Skeletons and skeletal mages will reliably block piercing attacks and slashing blows, but they crumble instantly under good old bludgeoning damage. A heavy hammer, a hefty mace, or a quarterstaff inflict twice as much damage on bony enemies as a blade of the same tier. While zombies lazily storm the stairwells, it’s easiest to dispatch them with a bow. If a crowd has you cornered in a tight corridor, the Firestorm spell solves the problem in just a couple of casts.
What blunt weapons and equipment should I take before descending
Jumping into the water unprepared is a questionable idea. Here’s a basic set, without which there’s simply no point in going inside:
-
Blunt arsenal. Keep the sword only as a backup for clearing out organic matter (like lizards or rotting zombies). A hammer should be your main weapon when battling bones.
-
Ranged weapons. Take a bow or crossbow, along with at least 30-40 arrows or bolts. This is critical for picking off enemies one by one and not aggroing the entire room.
-
Alchemy supplies. Buy or brew 8-10 mid-tier healing potions. The tower is long, and there are no checkpoints inside.
-
Resources for the mage. If your build relies on spells, stock your bags with mana potions. The powerful Firestorm drains your entire Firestorm meter in a single, drawn-out fight.
-
Free Slots. Leave room in your backpack for two Tower Stones, four Ancient Runes, and a stack of scrolls.
Incidentally, there’s no need to spend ore on scrolls before a raid. Everything you need can be looted on the spot. Three key scrolls—Storm Fist, Ice Block, and the devastating Fire Rain—are found in an underwater chest. They’ll be useful for activating the magic circle, and use the remaining scrolls when facing the first dense packs of enemies.
The Undead Death rune deserves a special mention. Many seek it out for the hype, but it’s a reward from the 5th Magic Circle. Until you’ve properly boosted your mana pool, this artifact will gather dust in your bag. Storming a location for this rune at the start of the game is a classic rookie mistake. The spell truly reveals itself much later, in the deep dungeons of Minenthal (the Colony). The citadel itself is ravaged by fire and blunt weapons long before the character learns High Magic.
Leveling a pure Strength hero? Then feel free to remove mana flasks from your quickbar, take two additional healing slots, and methodically crush the skulls of undead with a heavy warhammer.
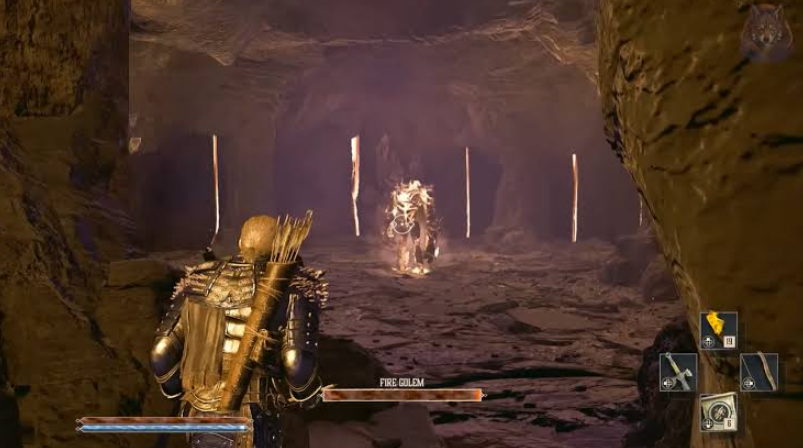
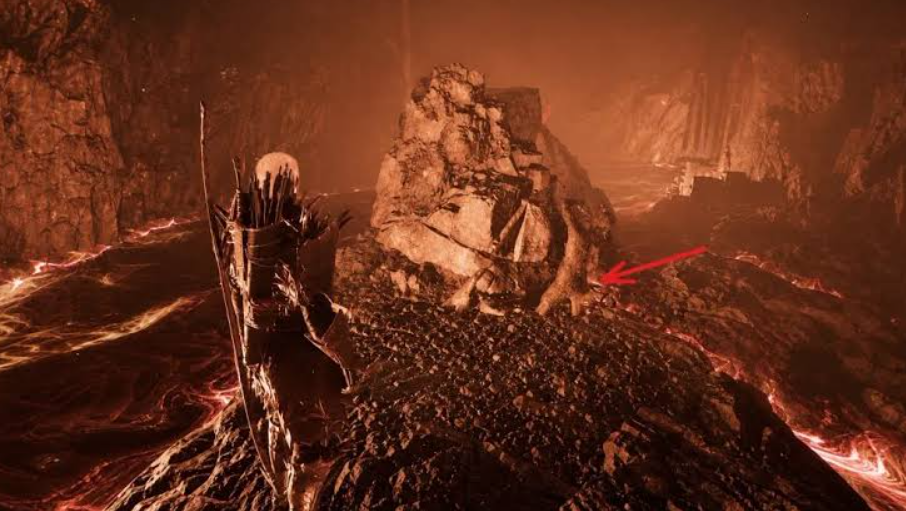
Tactics if you fight the Demon Lord on a long distance
The final battle requires a radical change in tactics. Trying to engage the Demon Lord in close combat is a surefire way to end up in a loading screen. Distance and control are crucial here.
What to Put in the Quick Slot
Approaching the final boss with a default sword and a couple of healing potions guarantees a respawn at the entrance. But if you’ve crafted the right hammer, loaded your ranged weapon, and stocked your pockets with potions, the citadel will surrender without further ado.
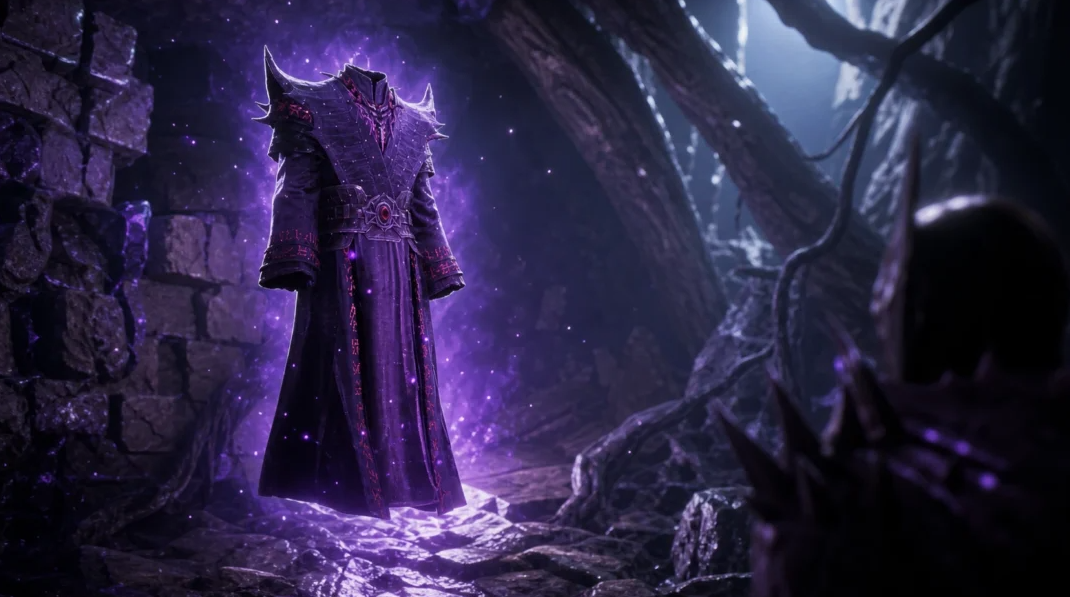
How to get the Robe of Dark Arts for killing the boss?
But the tower’s surprises don’t end there. Deep in the library, a purple glowing altar awaits you, and on it lies the Robe of Dark Arts. However, it’s guarded by a Demon Lord. The boss is a tough one, and if you approach unprepared, he’ll turn you to ash in a matter of seconds. He has three main attacks. The first is a claw combo: three melee strikes, the last one being a critical strike and unparryable. The first two can be deflected with a shield or weapon, but the third requires dodging. The second is a medium-range fire breath. It’s a continuous stream of flame that instantly burns away health. Standing nearby during this is suicide. The third, and most dangerous, is the Death Grip spell. Shadowy hands erupt from the ground and deal multiple blows.
This attack requires constant running. The best tactic is to keep your distance. Use a bow, crossbow, or the Frost Arrow spell—it slows the boss down and gives him time to reload. If you have the Acrobatics skill, a roll will help you dodge the fire breath. The only way to avoid Death Grip is to run in a circle around the arena. Don’t get stuck near the walls or bump into the stairs—the shadows will overtake you in a second. When the Overlord falls, the barrier around the altar will disappear, and the Robe of Dark Arts will be yours. It’s a powerful artifact that increases magic resistance and grants a bonus to Dark spells—so it’s a must-have for all mages and hybrid builds.
Secret teleportation to the top and a skeleton Easter egg
But that’s not all. There’s one last corner of the tower left—its top. You can only reach it with the “Sunken Tower” teleportation rune, which you found near the second stone. Activate the rune, and you’ll be transported to a small, ruined alcove at the very top. A couple of lore books, some potions, and… a funny Easter egg await you there. A skeleton that’s always sweeping the ruins with a broom. Yes, that one—he doesn’t attack anyone, he just pretends to clean up.
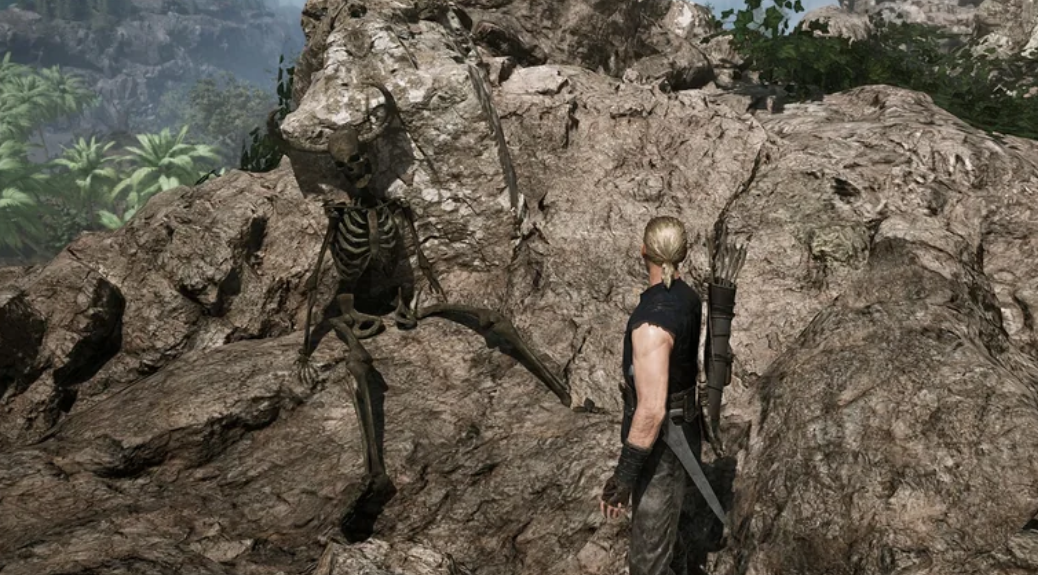
It made me smile, of course. Now you’ve stripped the tower down to the last screw. All the stones, all the runes, the robe, and even the skeletal janitor are yours. Just remember to use the teleportation runes in other locations so you don’t have to wade through water every time. Happy questing!