From the very first minutes of Neverness to Everness, you’ll be thrust into combat, and it quickly becomes clear: the core gameplay revolves around leveling up your squad and wisely selecting characters for specific tasks. This is especially true once the story quests are over, leaving only weekly missions and hardcore bosses.
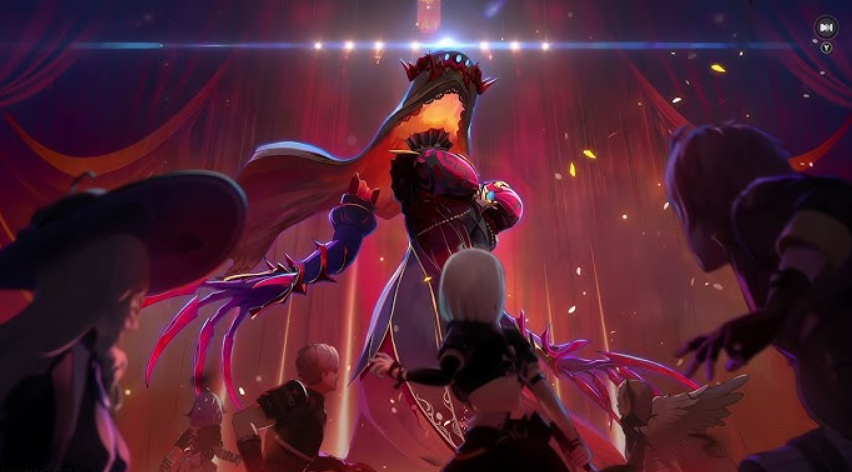
One such boss is the Endless Arachne. The first encounter is deceptively easy: you’ll be given a trial team, and the beast will almost fall apart on its own. But then, when you have to fight on your own, you’ll be helpless without knowing the attack patterns. Do you think this is a coincidence? Hardly. Fortunately, the combat mechanics are predictable—once you get the hang of it.
Table of Contents
Where to find and how to unlock Endless Arachne in NTE

Trying to get the “Dress Sleeves of Vanity” (needed to upgrade perks) and can’t find the boss? First, play through the story to the third episode, called “Deal? Deal.” Inside, an auction awaits you—you’ll try to bid on the desired item, but it’ll be stolen. Then it’s the classic: breaking through anomalies.
The last of them will be that same Arachne. She’ll try to stop you—and she almost succeeds. To complete the first segment of the episode, you’ll have to interact with the small bubbles in the area. Yes, it sounds strange, but it works in practice.
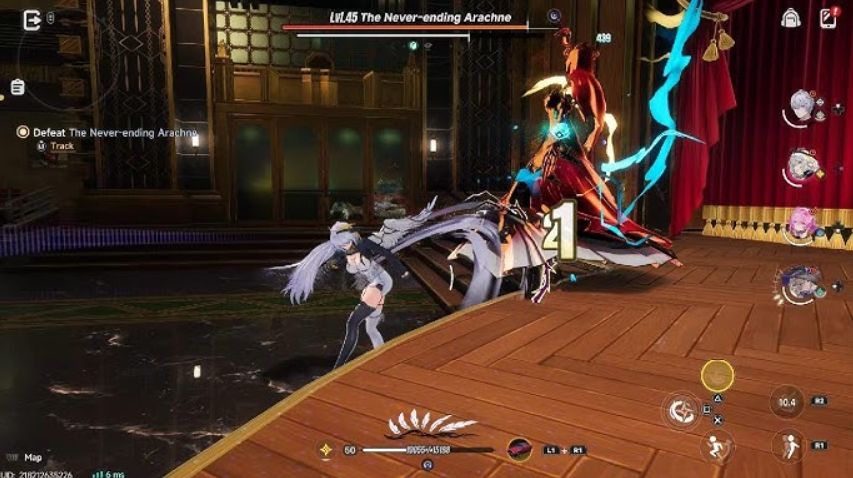
After the first victory, the boss permanently resides in the lower right corner of the New Herland district. Summon it at any time. Three times a week, you can spend 60 Character Pixels and collect rewards. Don’t miss out—the limit is strict.
Tactics and battle phases for Endless Arachne
The fight with Arachne in NTE is divided into three acts, each with its own tactics. Below are the ones that actually work.
First phase: puppet control and dodging
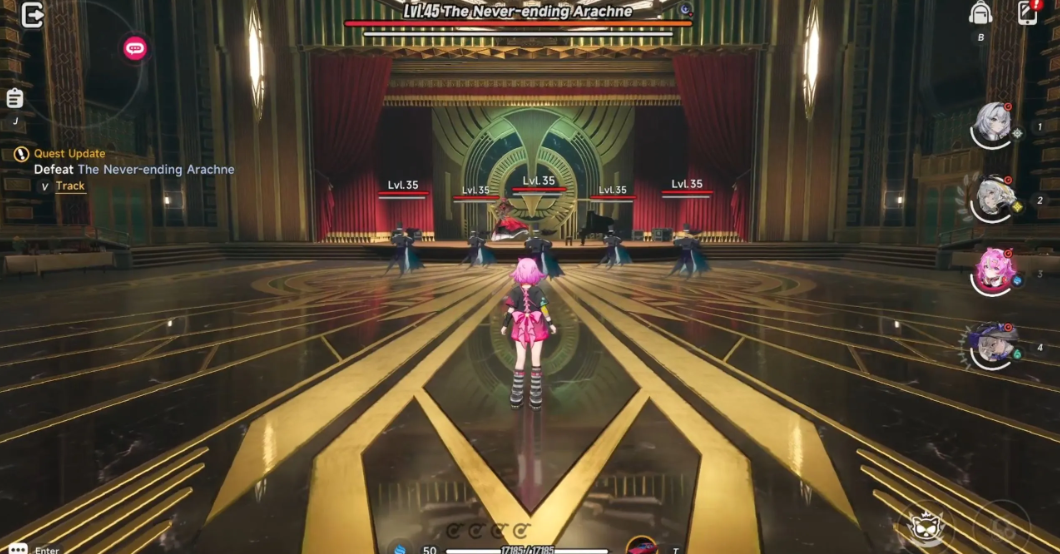
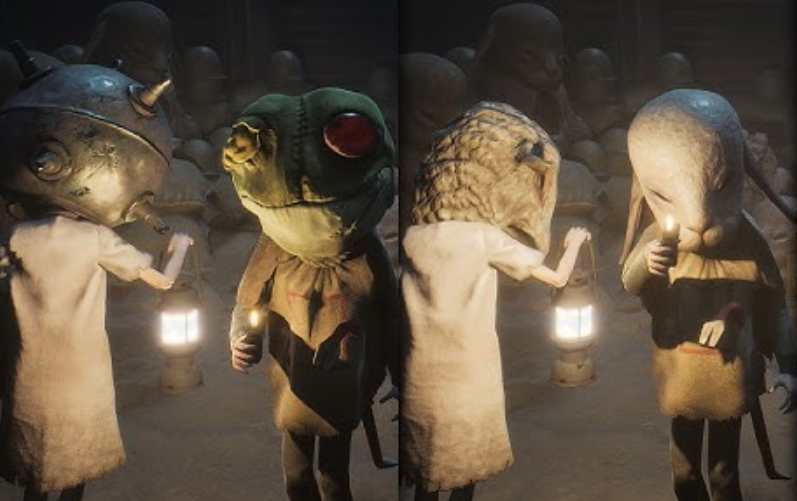
During this phase, the boss sits on the stage and is invulnerable. Puppets run across the floor. Every few seconds, they simultaneously create a wave beneath them that spreads out in circles at high speed. Dodging is easy: throw a dash at the right moment, and you’re safe.
The best strategy: dodge the waves and respond with Critical Retaliation. Sometimes, one of the puppets will launch a female version at you after attacking with a red mark—this requires careful dodging. Overall, these mobs are easy to kill. Once you’ve dealt with them all, the second phase will begin.
Second phase: parrying attacks and character choice
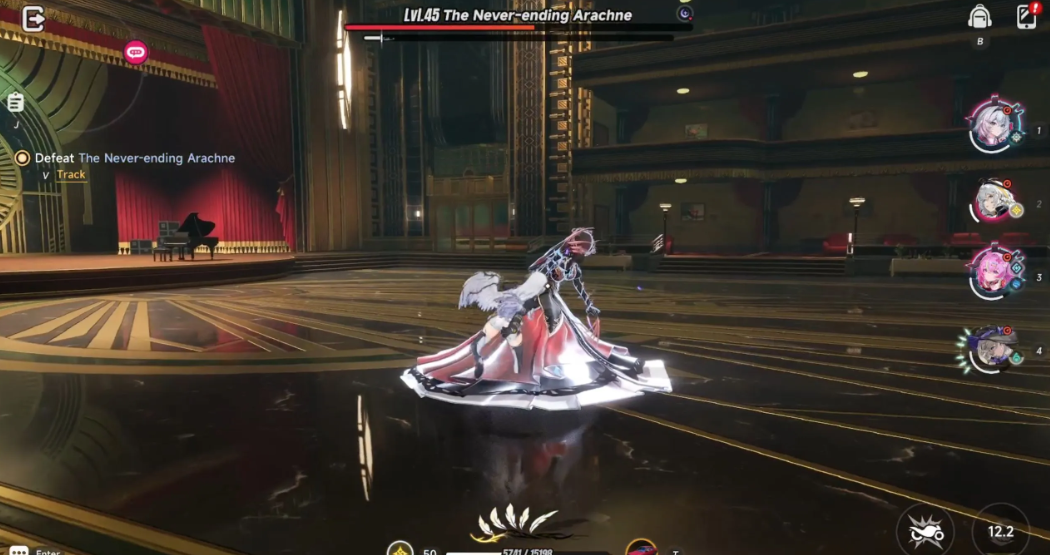
The second phase of the fight with the Infinite Arachne is pretty straightforward. Honestly, there’s almost nothing complicated about it: standard attacks and attacks with the ability to parry. The key is to keep an eye on when the boss makes a parryable attack. If you successfully parry, the interrupt meter will melt before your eyes. This directly speeds up the kill.
When Arachne slashes with a standard slash, be prepared: three or four strikes in a row. There might not be a red glow at all. It’s important not to relax here.
By the way, regarding characters, Hathor is a real find against this boss. Her constant attacks stack stacks effortlessly. Daffodil is also feeling confident—she’s generally strong against bosses, so don’t hesitate to pick her up.
Once Arachne’s health drops to 30-40%, she’ll enter the third phase. That’s when the tactics change dramatically.
Third phase: spotlight mechanics and vulnerability window
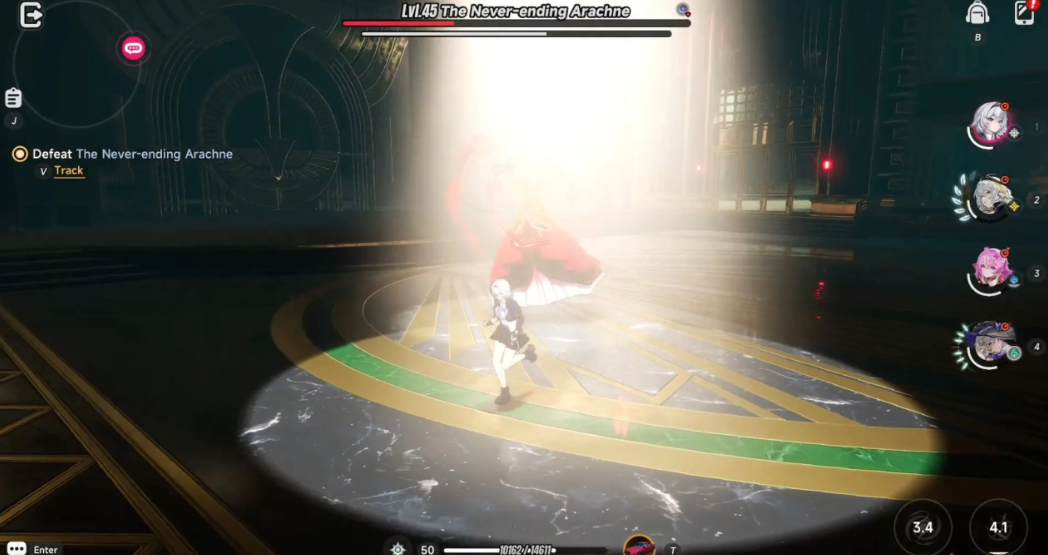
In Phase Three, Arachne turns the arena into a nightmare. Your movement is severely limited, and the boss constantly teleports. The main mechanic is two spotlights in the area. One for you, one for her.
The condition is simple: if you move out of your spotlight, you freeze. Fortunately, the spotlight moves every few seconds. You can stand still and not move. The boss, however, jumps around like crazy, sometimes creating waves across the field, and sometimes attacking with a red glow.
Tip: During this phase, focus on dodging. After a few seconds, Arachne will approach you and attempt a parryable attack. Timing is tricky, so stay vigilant.
When she finally decides to launch one, parry. This will put the boss in a vulnerable state for a few seconds. This is your main window for damage. True, it won’t be enough to fully complete the team’s rotation. But it’s better than nothing.
NTE co-op guide: roles for farming Arachne
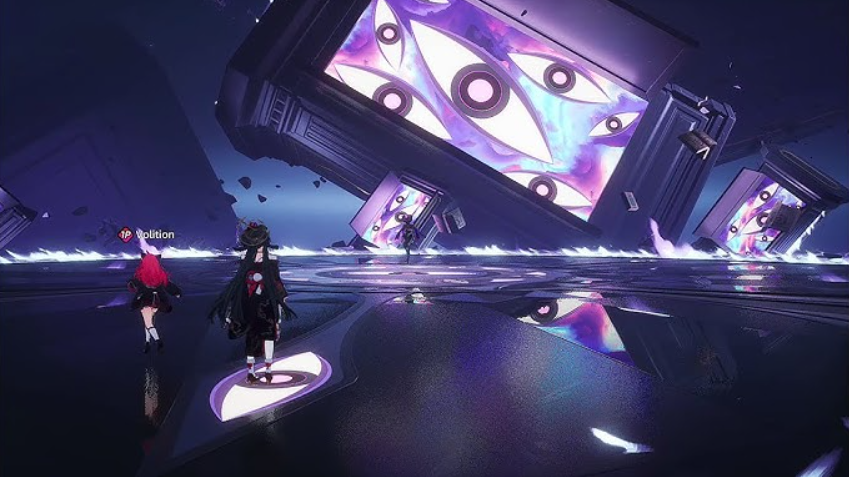
Fighting Infinite Arachne solo quickly becomes a predictable routine, but Neverness to Everness multiplayer breaks that mold. The boss begins slashing attacks across the entire party. “Jump in and run out” tactics no longer work—strict coordination is required. (Who’s holding aggro now? Did they lose the spotlight?)
Best espers and squad composition for raids
In NTE co-op runs, the familiar tank, healer, and damage dealer setup is significantly transformed. Proper distribution of roles can decide the outcome of the raid.
-
Main Damage Dealer (Damage Core). The mainstay of the team is usually Hathor, Daffodil (or their equivalents with powerful Esper chains). Their job is extremely simple: to deal maximum damage to targets. Don’t rush into trouble early in the fight and don’t clog your activity bar with useless swaps.
-
Controller Tank. An ideal choice for those who can pull markers and have a reliable block. In the third phase, this player must stand firmly in the spotlight and reliably parry attacks, rather than rush around the arena in a panic.
-
Support and Healer. Without support from elemental reactions, it will be difficult to survive. Someone needs to recharge the damage dealers’ energy and apply debuffs. A healer becomes a must-have if your team is made up of F2P heroes or you’ve picked squishy heroes (one stray cleave can easily take out two at once).
-
Sub-Damage Dealer. A niche reactionary for spreading damage on the weakened boss.
Synergy and ability timings in multiplayer
The boss’s basic moveset doesn’t change depending on the number of people in the lobby. However, any party member can now dodge and parry attacks, which radically shifts the usual timing.
Phase 1: Puppets Control
It sounds harmless, but you definitely can’t afford to slack off. Assign one person to strictly monitor the puppets and red zones. The damage dealer carefully clears out the small fry (carefully conserve your ultimate and don’t mess up your Spotlight positioning), while the support spreads status effects on the Arachne flickering in the background.
Phase 2: The Art of Parrying
This is where team synergy really shines. One player deliberately takes the brunt of prolonged combos. The main damage dealer only enters the fight when the boss’s damage bar is already flashing—to instantly destroy his shield. The others are better off keeping their distance and not getting caught in every attack.
Phase 3: Spotlight and Vulnerability Window
This is the true pinnacle of cooperative interaction in the game. The first player is firmly locked into the spotlight (we’re not chasing unnecessary attacks). The second player controls the timings via voice or ping: they warn about the signature hook and give the go-ahead to parry. The third stacks the debuffs from the ultimate, and the fourth simply obliterates Arachne while stunned.
Squad Roles & Objectives — Arachne Boss Fight
Survival secrets and resource management in co-op
To prevent a boss raid from turning into a complete mess, it’s not enough to simply mash buttons on cooldown. In Neverness to Everness, multiplayer success hinges on micromanagement and the ability to stay out of your teammates’ way. Where to start? First and foremost, learn to trust your allies and maintain the overall rhythm of the battle.
-
Ultimate Synchronization. If all three of your teammates use their ultimates at the same time, you’ll simply burn through the entire squad’s activity bar. The effects will overlap, and instead of a series of devastating blows, you’ll end up with a single, blurry burst. Build a chain.
-
Spotlight Communication. Forget about ego. The spotlight in co-op is a shared responsibility, not a personal corner. Constantly communicate who’s currently in the center, who’s ready to back up, and who’s ready to take over if the main boss fighter gets hit. (This is critical for the survival of the entire group.)
-
Resource management and rotation. Pixels, Modules, and Backgrounds are wasted significantly faster in a single attempt in co-op than in solo. If the same player is constantly pushing for trouble with the same build, the team will quickly run out of support. Agree on a “budget” of attempts and rotation frequency in advance.
Ultimately, winning in NTE isn’t about individual skill, but about being part of a well-oiled machine. One wrong move, and resources are wasted.
More interesting information can be found further in the guide: Full Guide to Elemental Reactions & Best Combos