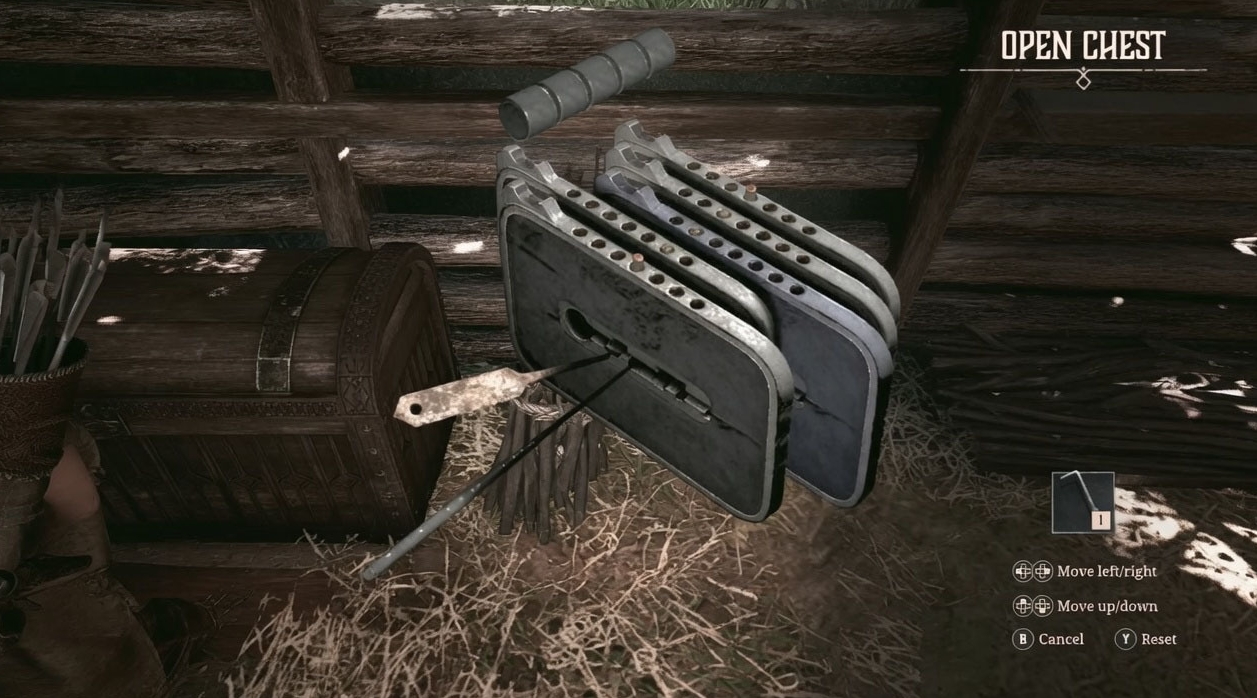
The new spy action game from IO Interactive is not just another 007 game. “007 First Light” offers to really get used to the role of James Bond: you start as a naval aviator, and after a couple of hours you are already unraveling a global conspiracy. Our walkthrough will help you understand whether it’s worth taking a license to kill — spoiler: Bond will prove more than once that you can’t die another day. If in doubt, here’s a review from Eurogamer to compare your impressions.
Table of Contents
007 First Light Walkthrough and Mission Tactics Selection
There are eleven main missions in the game, not counting the prologue. Some of them — for example, the “Eye of a Needle” — are divided into subtasks that must be completed before moving on. Plus, each mission is packed with challenges: some are tied to stealth, some to open combat. You can’t close them all in one pass. But IO Interactive is famous for its flexibility for a reason — you can always replay any chapter through the “History” → “Select Chapter” menu. Comfortable.

Warning: there will be minor plot spoilers later. If you want to keep the intrigue alive, scroll carefully.
Full List of All Chapters and Story Missions in 007 First Light
Below are all the missions by chapter. The table is not needed here, everything is already clear.
Prologue: Against all odds
-
Against all odds
-
In His Majesty’s Secret service
Mission 1: The Eye of a Needle
-
The eye of a needle
-
The essence of the matter
-
New house
Mission 2: Night Sortie
-
Night outing
-
A matter of special delicacy
Mission 3: Running out of time
-
We don’t have much time
-
From the ashes
Mission 4: The Past does not Die
-
(one chapter) The past does not die
Mission 5: Beyond
-
Beyond the edge
Mission 6: The Uninvited Guest
-
An uninvited guest
Mission 7: The Knight’s Downfall
-
The Knight’s Downfall
-
The old-fashioned way
Mission 8: Time to Die
-
Time to die
-
Hero of the day
Mission 9: The Wave of the Future
-
The Wave of the Future
Mission 10: For England
-
For England
By the way, please note: after the prologue, the game does not let you relax. Already in the “Eye of the Needle” you will find a fork where stealth solves everything. But “The Knight’s Downfall” is a solid action game without a hint of silence. In general, the passage requires two passes if you want to beat 100% of the tests. But is it really a problem when you can replay your favorite chapter at any time?
Combat Tactics and Stealth Tips for 007 First Light
By the way, in addition to passing, you will definitely need cheat sheets. For example, the hotel manager’s safe code and the laundry code — without them, some side tasks cannot be closed. We took them out separately so that you wouldn’t have to spend half an hour prowling around.
10 Secret Mechanics for 007 First Light Pros
IO Interactive likes to hide nuances. That’s what really helps in “007 First Light” — tested on your own mistakes.
-
Think before your fingers reach for the trigger. Each mission has two sets of challenges: combat and stealth. If you want to cover the game at 100%, you will have to go through all the levels twice — first quietly, then loudly. Keep this in mind when choosing a route.
-
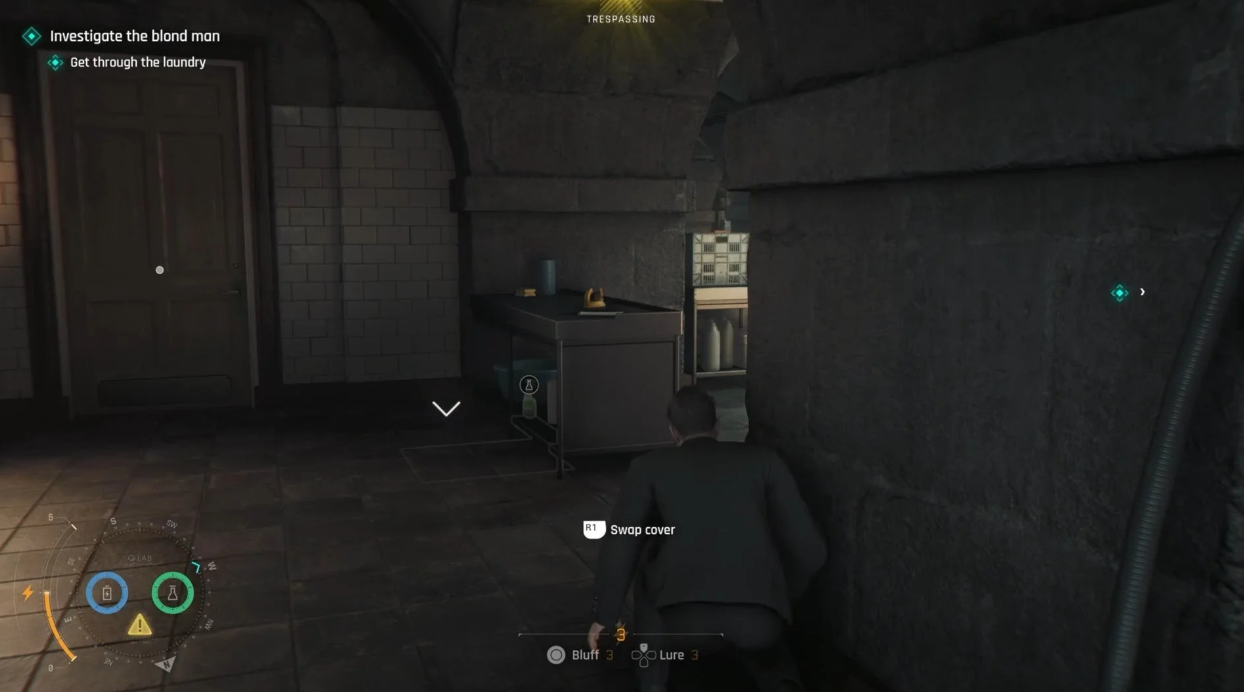
The top panel is your best spy. The rules of combat at the top of the screen are not just a decoration. They’ll tell you when Bond has a license to kill (spoiler: not always), warn you about reinforcements, and even let you know if you’ve been burned while sneaking into a restricted area. It’s a useful thing.
-
There are three ways to open the same door. In almost any situation, the developers have left several paths. Steal a pass, trick a security guard, or sneak through a vent— always assess your surroundings. Good espionage work relies on unexpected solutions.
-
Eavesdropping is not a shame, but useful. Yes, yes, just like in the old detective stories. Stop, lie low and listen to what the NPCs are talking about. They often leak valuable clues themselves: the strange behavior of one of their own, the location of a hiding place, or a weak security location.
-
Put everything that is not nailed in your pocket. Literally. Pick up objects, read notes, poke into every corner. That’s how you’ll find collectible pieces, bluff stuff (oh, how useful!) or even disguise yourself to get past enemies without straining.
-
The Q clock sees through walls — use it. Stealth mode without this watch is like without hands. They show the location of all NPCs even through overlaps. No one will take you by surprise if you know in advance who is standing where.
-
Look at the quality of the “Observer”. Point the Q clock at any enemy and its features will be highlighted. The main thing to pay attention to is that if it says “Observer”, a bluff with this type will not work. An attempt to deceive him will end with gunfire. And you don’t want that, right?
-
Choose gadgets wisely, not with your heart. The Q Branch gives you a choice before departure. For one mission, a burglar is more important, for another— smoke bombs. If you realize that you made a mistake, don’t worry: restart the level and take another set. Fortunately, the Q watch is always with you.
-
Batteries and chemicals — a new gold reserve. Without them, gadgets are useless pieces of hardware. Poke around the locations, collect resources. Believe me, being in a critical situation with a dead Q watch battery is a below—average pleasure.
-
An empty gun? Throw it in the face. I’m running out of bullets. But the weapon doesn’t become useless — just throw it at the enemy. Just be careful: I’ve burned down my position more than once. Throw it out loud, and preferably at a time when you are not seen.
We hope these tips will help you enjoy “007 First Light” more deeply. Bond is waiting.
Q Branch Gadget Guide and Stealth Masterclass
The hidden mechanics of the new James Bond game are unforgiving. Choosing equipment in the Q Branch department before starting a mission is a critical stage where most players lose their tactical advantage. Beginners often choose visually impressive devices, ignoring system efficiency at specific levels.
Below is an expert analysis of the spy arsenal: what to take, how to combine and in which scenarios gadgets guarantee a seamless passage.
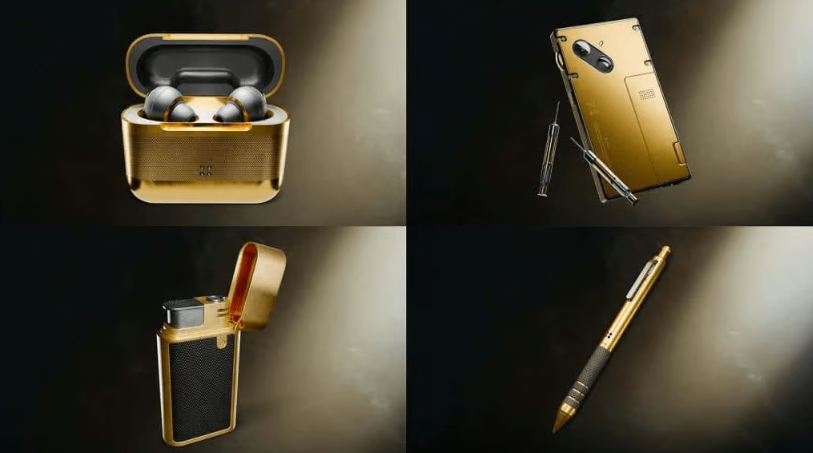
Q Watch Capabilities for Reconnaissance and System Hacking
The Q watch is the only piece of equipment that cannot be replaced at the Q Branch. They are fixed in your inventory on each mission. That is why absolute mastery of their functionality is more important than learning any other tool.
Three key Q Clock modes that will save your passage:
-
Scanning (Radar): Provides X-ray vision within a radius of 15 meters. Reveals the NPC’s viewing vectors through walls and ceilings. Strategic nuance: this is the main consumer of battery power. Turn it on only to fix the patrols and deactivate it immediately.
-
Identification (Profiling): Displays hidden tags when pointing at a target: “Vulnerable,” “Armed,” or “Bystander.” If you see the “Observer” tag, social stealth and bluffing are useless — this goal must be circumvented or eliminated.
-
Alarm Monitor (Threat Analytics): An indicator of the overall combat readiness of the sector. If the scale starts to grow, AI algorithms fix your mistakes. This monitor provides a window of opportunity to retreat before a general alarm is raised.
Resource optimization: The battery is used exclusively for Scanning and Identification. Keeping the modes active non-stop is a fatal mistake. We scanned the area, built a route in my head, and turned it off.
Q Branch Arsenal and Equipment Effectiveness Table
The choice of a gadget is dictated not by personal preferences, but by the architecture of the level. This table will help you quickly navigate before starting.
Best Equipment Loadouts for Different Playstyles
The developers from IO Interactive have rigidly tied the choice of equipment to the start of the level. It is impossible to change the build in the process, so a competent combination is the key to success.
-
Build “Absolute Stealth”: Cracker + Neutralizer. Ideal for passing without detection. Chemicals remain untouched in reserve for critical failures.
-
The “Aggressive Breakthrough” Assembly: Smoke bombs + Tracker tracker. If the level implies fire contact, this combination gives an overwhelming visual advantage when Scanning for Hours can no longer keep up with the density of fire.
Main advice on passing: Do not waste time on a deliberately failed build. If you have cleared the first two rooms and realized that the equipment does not match the logic of the level, restart the mission immediately. A quick restart is integrated into the mechanics of the game for this very purpose.
Further recommended: List of Safe and Door Codes.