Lithium is essential in Subnautica 2—it’s used to craft plasteel ingots, which are then used to build the High-Capacity Oxygen Tank. The good news: finding this resource isn’t as difficult as it might seem. The main deposits are hidden in the volcanic vent biome, approximately 250 meters southeast of the escape pod, inside caves.
Spoiler: you’ll first need to unlock overheat protection. The lithium location is located right in the lava zone, where the temperatures are off the charts. Without the “Overheat Resistance” adaptation, you’ll burn out in a couple of seconds. To obtain it, you need to destroy the pestilence growths on the Angel Ctenophora (it’s floating near the Black Wander) and then interact with the purified Gene Donor.
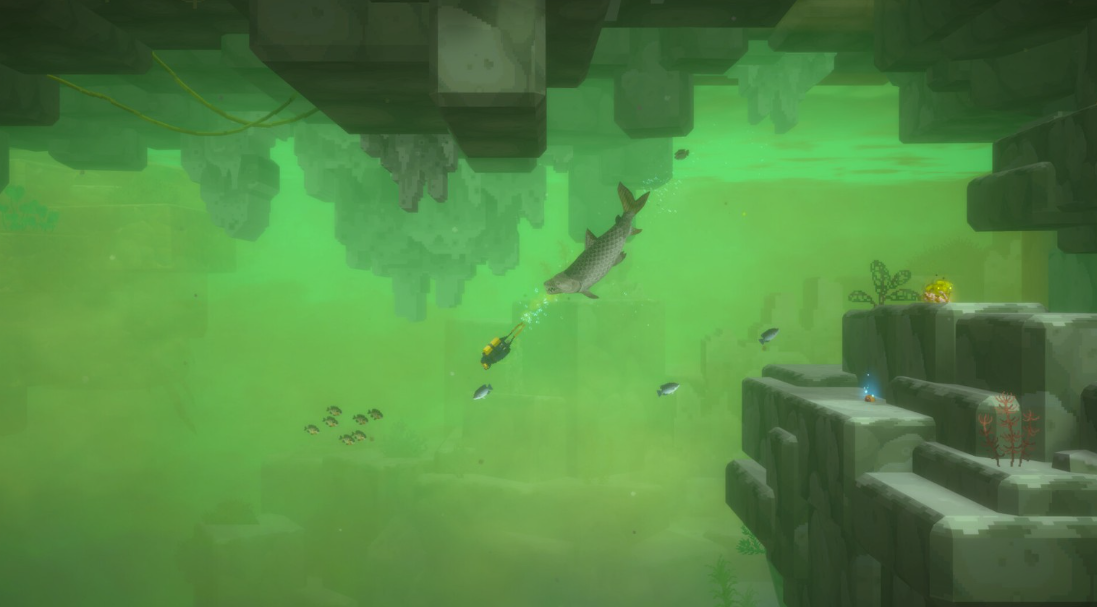
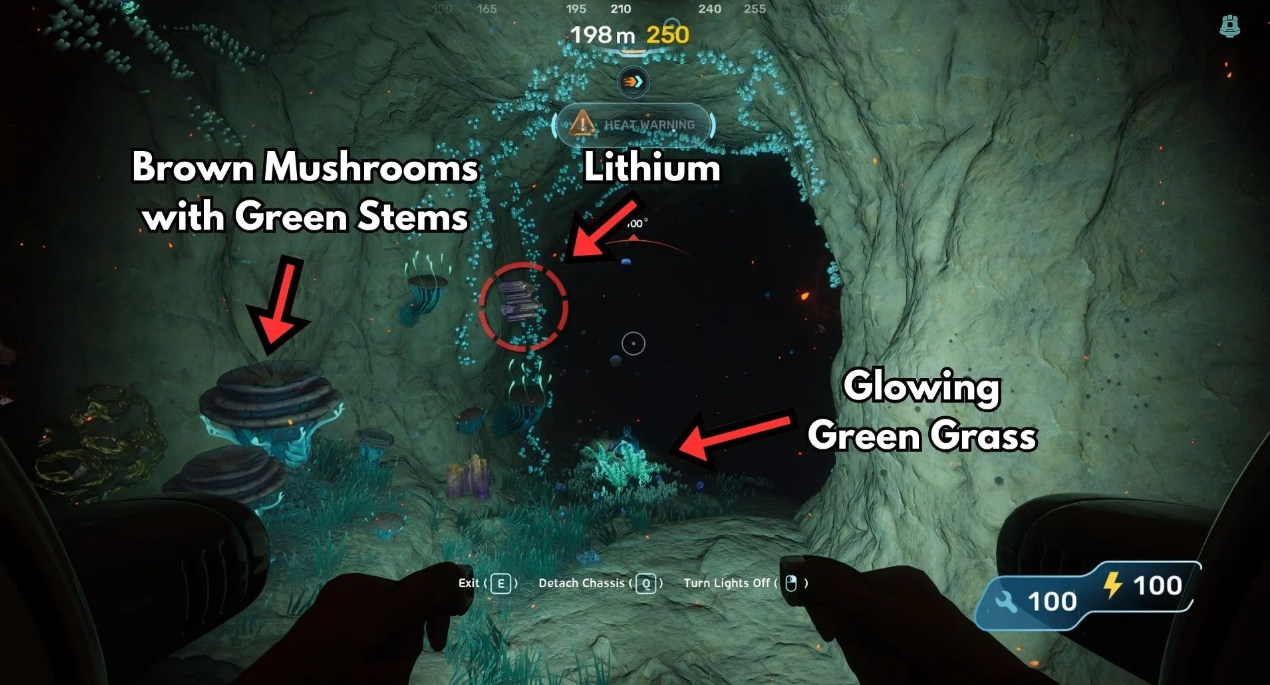
Once you’ve acquired the resistance, swim south-southeast. The compass bearing is 120°, 250 meters from the escape pod. You’ll recognize the right place by the rising temperature indicator in the center of the screen. Start exploring immediately: look for caves with green glowing grass and distinctive mushrooms—they have thick blue-green stems and brown caps. Lithium is plentiful inside these caves.
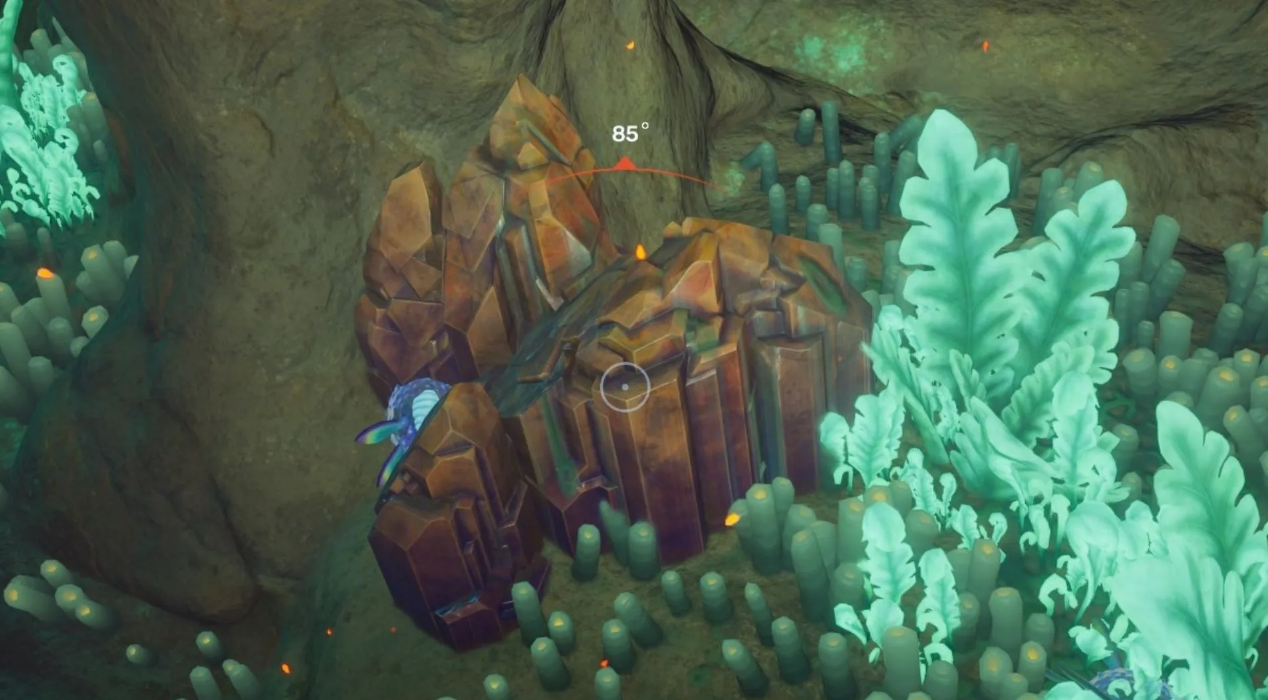
All the deposits I’ve encountered are large ones. They are mined exclusively with a sonic resonator. There may be smaller samples for manual collection, but I’ve never personally found any. One more thing: you only get 1-2 units of ore from one large deposit. Yes, this isn’t titanium or copper, where a vein yields 5 units. However, lithium deposits, if they’re within a 300-meter radius, automatically appear at the scanning station as tracked resources.
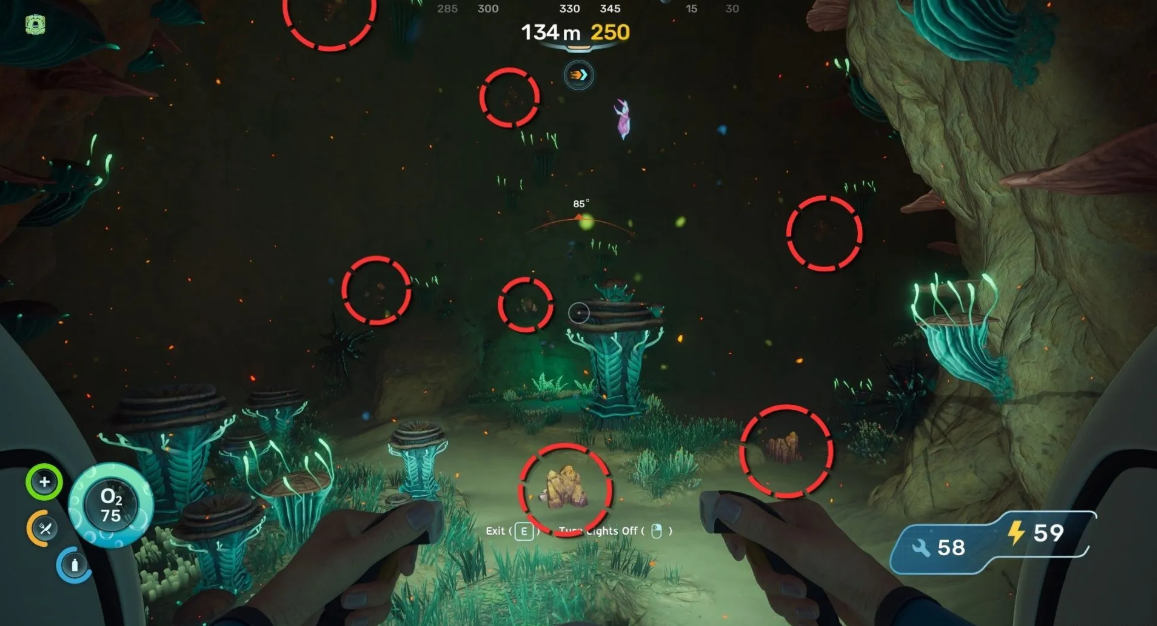
Table of Contents
Crafting Plasteel Ingots in Subnautica 2
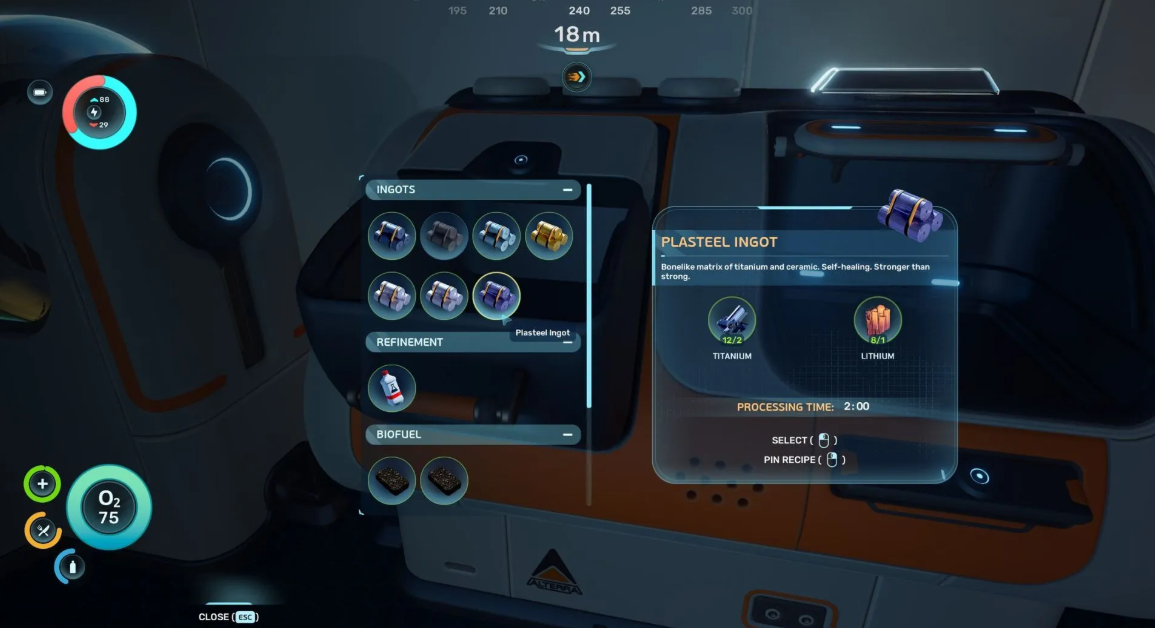
The recipe unlocks automatically as soon as the first unit of lithium appears in your inventory. From there, it’s easy: just drag the ore to the refiner. Combine lithium and titanium, and you get a plasteel ingot.
Specifically:
-
Lithium — 1 piece
-
Titanium — 2 pieces
You don’t need to search for any additional blueprints. The system will automatically suggest the recipe the moment you first encounter lithium. It’s convenient, by the way—you don’t have to rummage through the wreckage looking for a flash drive with data.
One ingot can then be used to craft that high-capacity oxygen tank, as well as a couple of other advanced modules for deep-sea equipment. So I recommend gathering plenty of lithium right away—it will definitely come in handy while exploring the lava biome.
Lithium Farming Mistakes and How to Avoid Them
-
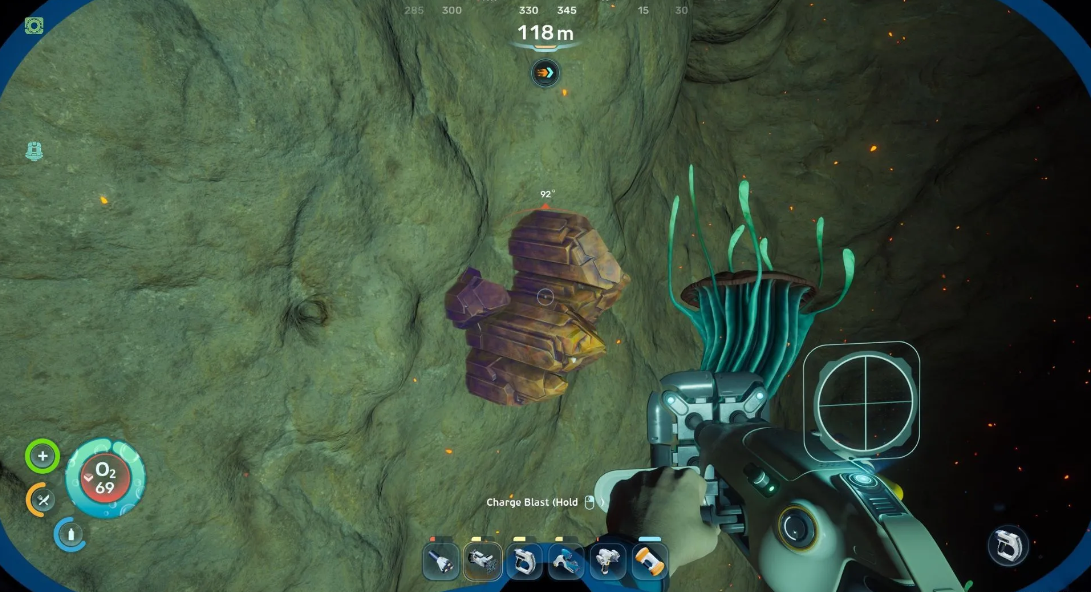
Diving without a Sonic Resonator. Jumping into the water empty-handed is the worst idea. All the lithium here spawns exclusively as monolithic chunks of rock, which can’t be broken up with regular attacks, no matter how hard you try. Forgot your tool at the base? Turn around and head home sadly, otherwise you’ll waste oxygen.
-
Ignoring overheat protection. Venturing into volcanic vents or the Zezuran Desert location without preparation is a surefire way to get boiled alive. The local environment eats away at your health bar in a couple of seconds, and no amount of first aid kits can counter this damage. The algorithm is harsh: first, cleanse the Angel Ctenophore, and only then dive into the inferno.
-
Bustle inside the Big Maw location. Those same pink cords act as organic tripwire mines. If you hit a pixel, the trap will snap shut, drenching you in acid. The tactic is simple (but works flawlessly): press your back against the wall and hit the resonator with extreme care, controlling the recoil. I highly recommend removing the “Dash” sub-biomod from the terminal in the Welcome Center area beforehand. It will give you precious seconds to evacuate in case of an accidental touch.
-
Overly high expectations of deposits. Forget about titanium or copper deposits. Lithium drops disastrously poorly: you’ll only get 1-2 units of the resource from one huge rock. Need 6-8 pieces for crafting? Prepare to search for 4-6 separate veins and carefully manage your air tanks for this marathon. No freebies.
-
Blind searching instead of a scanning station. Swimming at random is a luxury your air supply won’t forgive. The station easily locates resources within a 300-meter radius, immediately displaying markers on the HUD. Turn on automatic tracking before diving. You’ll save yourself at least one or two extra trips.
-
Getting stuck at the starting spots. The Big Maw is a mid-game sandbox; there’s no point in hanging around there forever. Once you’ve crafted the Heat Adaptation, feel free to migrate to the scorching caves directly beneath the Tadpole Nursery zone (about 600 meters southeast of Ruby’s Black Box). There’s plenty of ore there, no annoying acid triggers, and it’s much easier to recover your loot in the event of an unexpected death.