Gold in Subnautica 2 is a fickle resource. At the start, you do not need it; you can easily swim with basic tools and not even think about precious veins. But as soon as upgrades become vital, it becomes clear that without gold, you can not build a proper shelter or advanced gear. The good news: gold mining in the game is simpler than it seems. The main thing is to be prepared.
Note: Subnautica 2 is currently in Early Access, so mechanics are subject to change. But at the time of publication, this guide is current.
Table of Contents
Instructions for Finding Gold and Necessary Equipment
First, you will have to navigate the story. Look for Black Boxes—they will lead you to a location with blue water and small Angel Scallops infected with a virus. Free them to gain Heat Adaptation. Without it, entering the orange zone is pointless: you will fry in a couple of seconds.
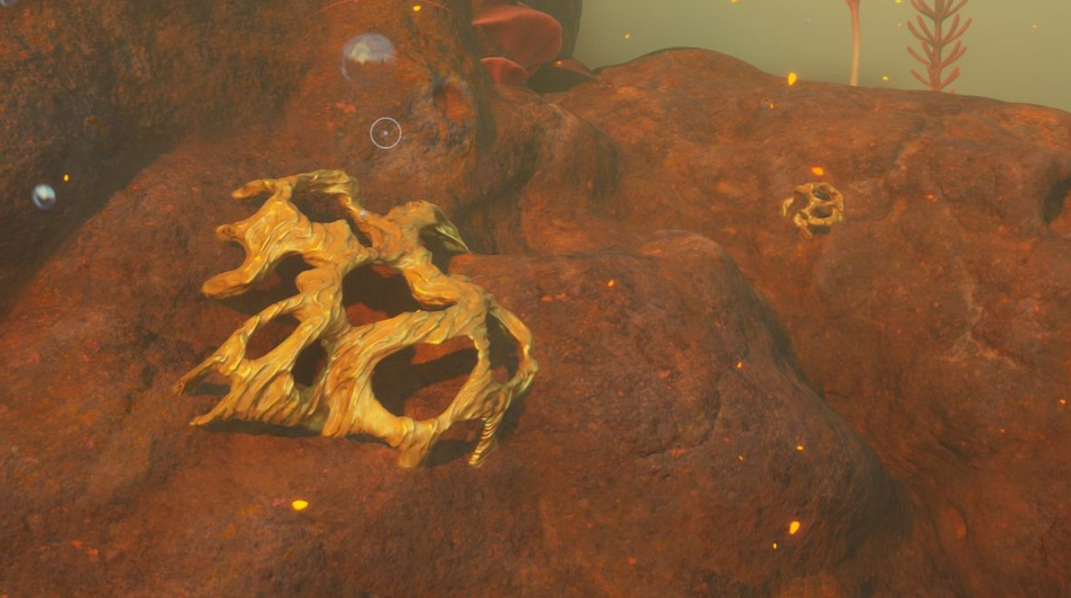
From there, it is easier. Swim east from the Escape Pod. After about 230 meters, the water will change color and the thermometer will start to rise. Now your brand-new Adaptation will kick in. Keep moving, and you will notice gold veins on the stone branches.
How to mine: A regular Multi-Tool is almost useless here—there are very few small veins. You will need a Sonic Resonator. With it, you will quickly start churning out gold in droves.
Using Gold to Craft Electronics and Modules
Gold in Subnautica 2 is not a resource you need in droves every five minutes. But if you do not have it when you need it, be prepared to watch your technological progress come to a standstill. Pretty annoying, right?
There are two main areas:
-
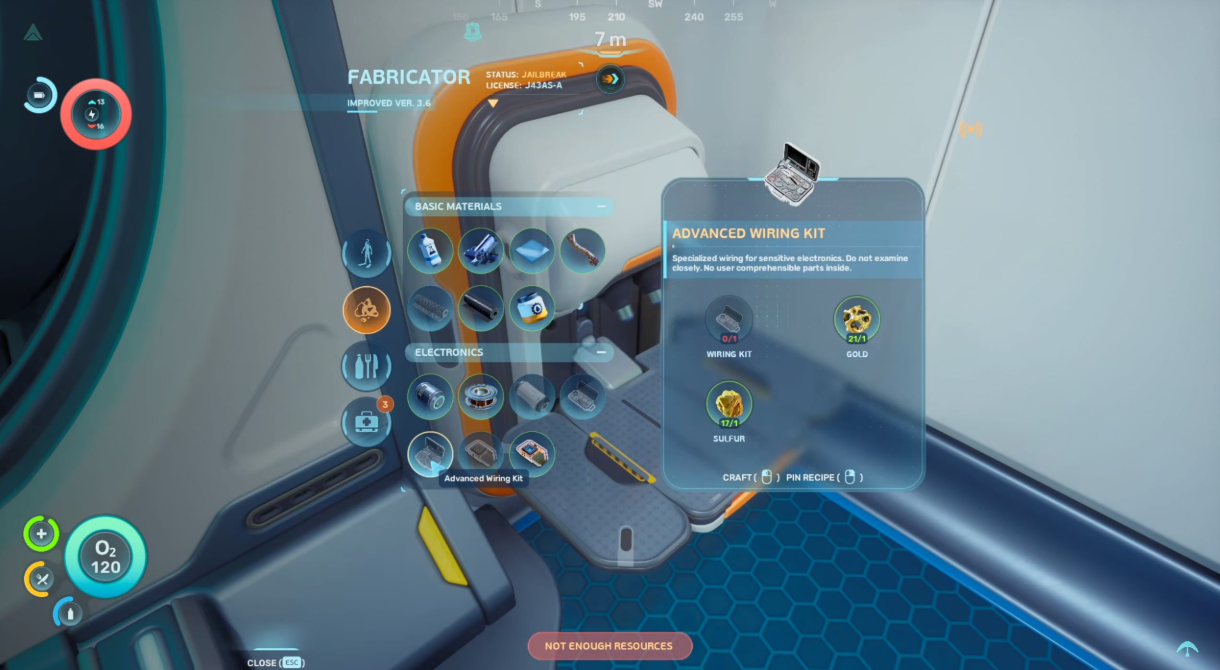
Electronics. Gold is a basic component for most high-tech gadgets and vehicle modules. Without it, you can not build a proper scanner or upgrade your “flower.”
-
Advanced Refining. At later workbenches, gold is smelted into Gold Bars and brewed into Strong Acid—a necessary ingredient for fuel cells.
I recommend keeping a stockpile of 15 to 20 at your base. You should not overstock your crates, but a reserve of a couple dozen will come in handy when you urgently need to craft a critical part.
By the way, if you ever need quartz, we have a separate guide: “How to Quickly Get Quartz in Subnautica 2.” It will explain everything in detail.
Four Best Gold Farming Spots on the Game Map
The Subnautica 2 map is currently divided into two large zones, with a Leviathan stationed between them (enjoy your swim). Depending on where you have settled, you can choose a convenient route.
Clearing the Heated Summit at a Depth of 30 Meters
Swim due east from the Escape Pod. After about 450 meters, you will see a rise near the surface—it is warm there, and a shipwreck is sticking out underwater. There are a bunch of veins right at the summit and around it. Do not be lazy, collect them.
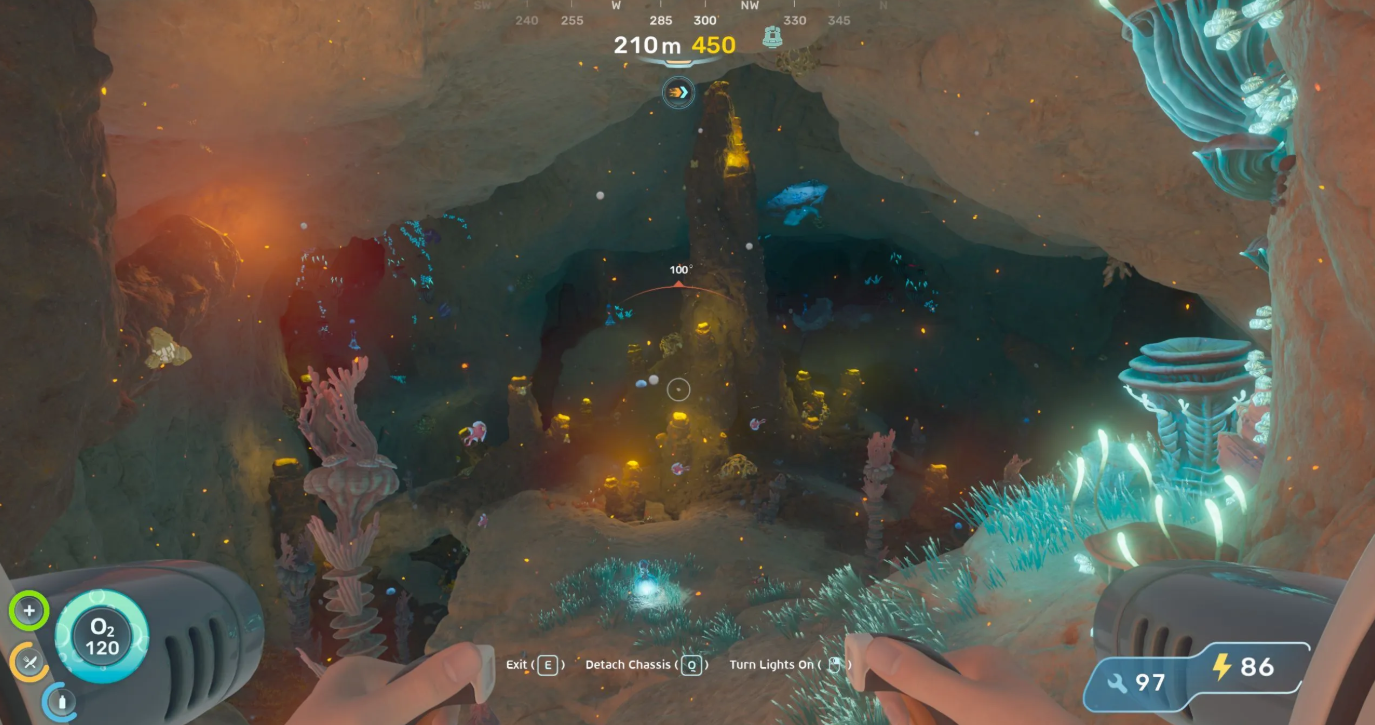
Hidden Veins in the Cave Shelter at 156 Meters
Follow the upper scale. There you will find several holes in the rock—they lead to a hidden cave. Inside, around the central peak, there is enough gold for your first serious game.
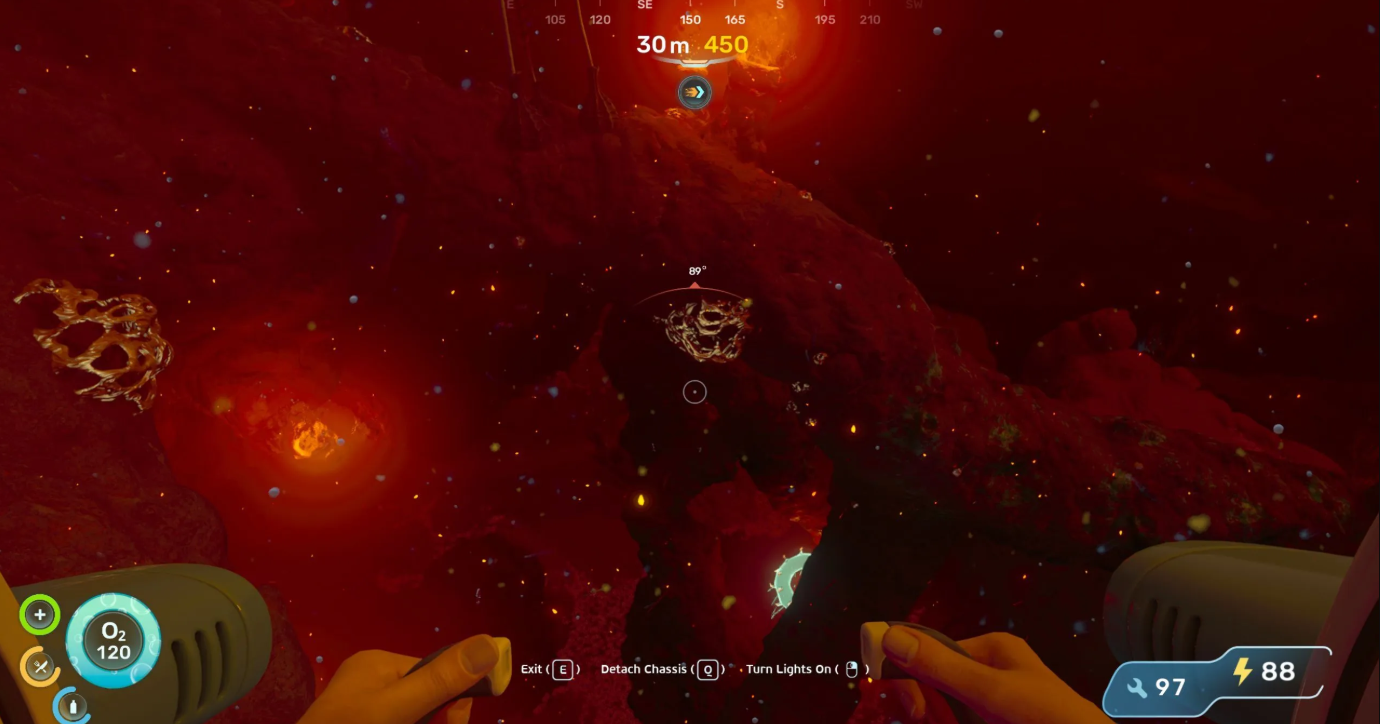
Deep-sea Ore Deposits in the Dangerous Aksumite Biome
The furthest route. If you have reached the Aksum biome and are planning to build a base there, the deposit is right there. Clearing this point alone will cover all your gold needs for many hours.
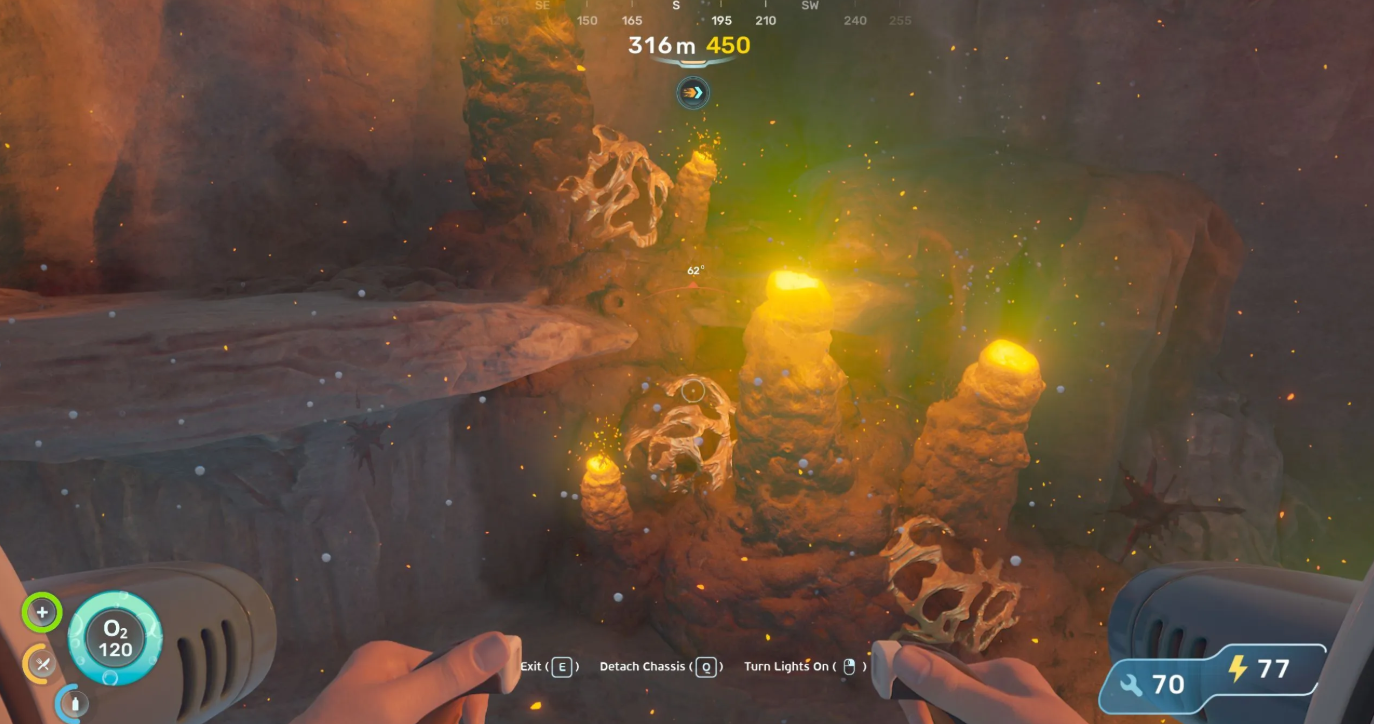
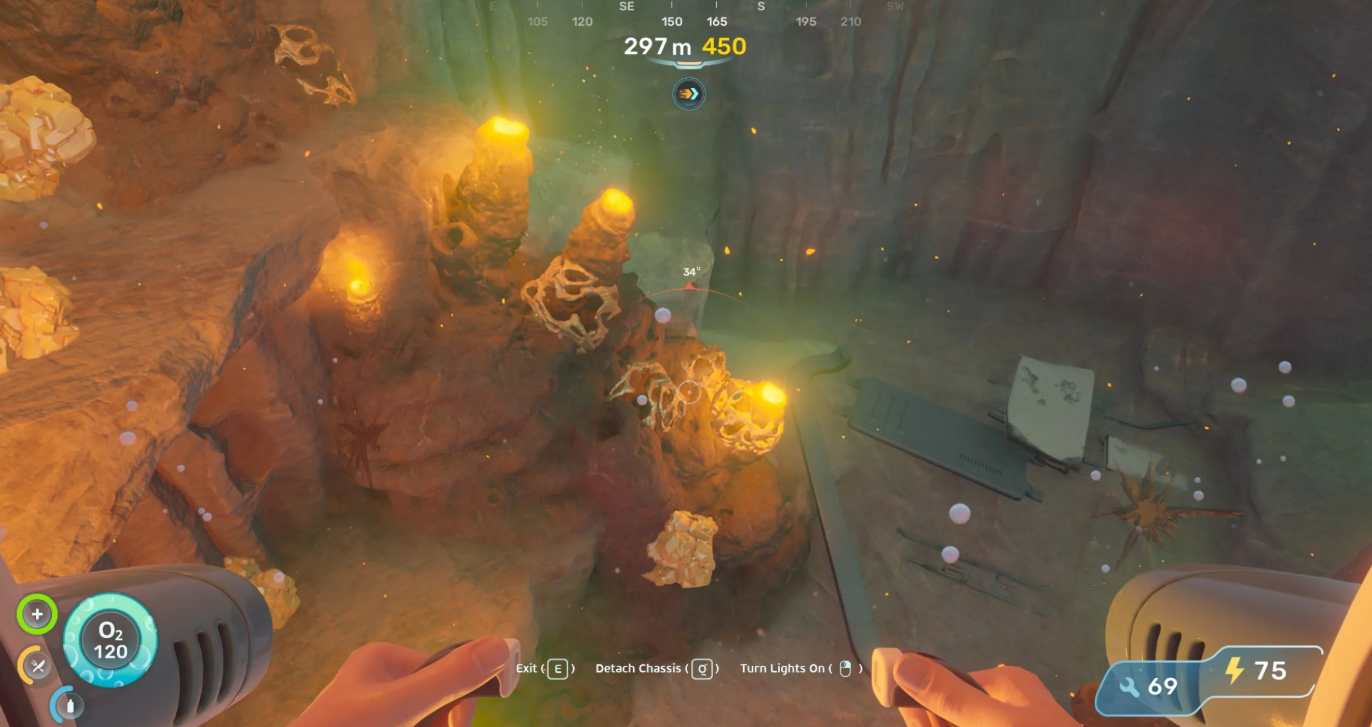
Additional Location at a Depth of 294 Meters
This location is almost next to the previous one. A great option if you are still not satisfied after finishing third. A quick visit for a couple of minutes will net you a dozen or so gold veins.
Bonus: some gold can be found on the eastern edge of the map. There are acid pools and another Leviathan there, but the risk is sometimes worth it. It is up to you.
Optimal Routes for Quick Resource Gathering
Running aimlessly in circles around the ocean is a bad idea. In the current Subnautica 2 Early Access build, chaotic resource searching only wastes oxygen. If you mine veins according to precise timing, you can reliably harvest up to 35 units of precious metal in fifteen minutes. It does not matter whether you are surviving solo or testing out the new co-op mechanics. The payout depends solely on your current progress. Let us look at two effective setups.
Effective Setup for Early Survival
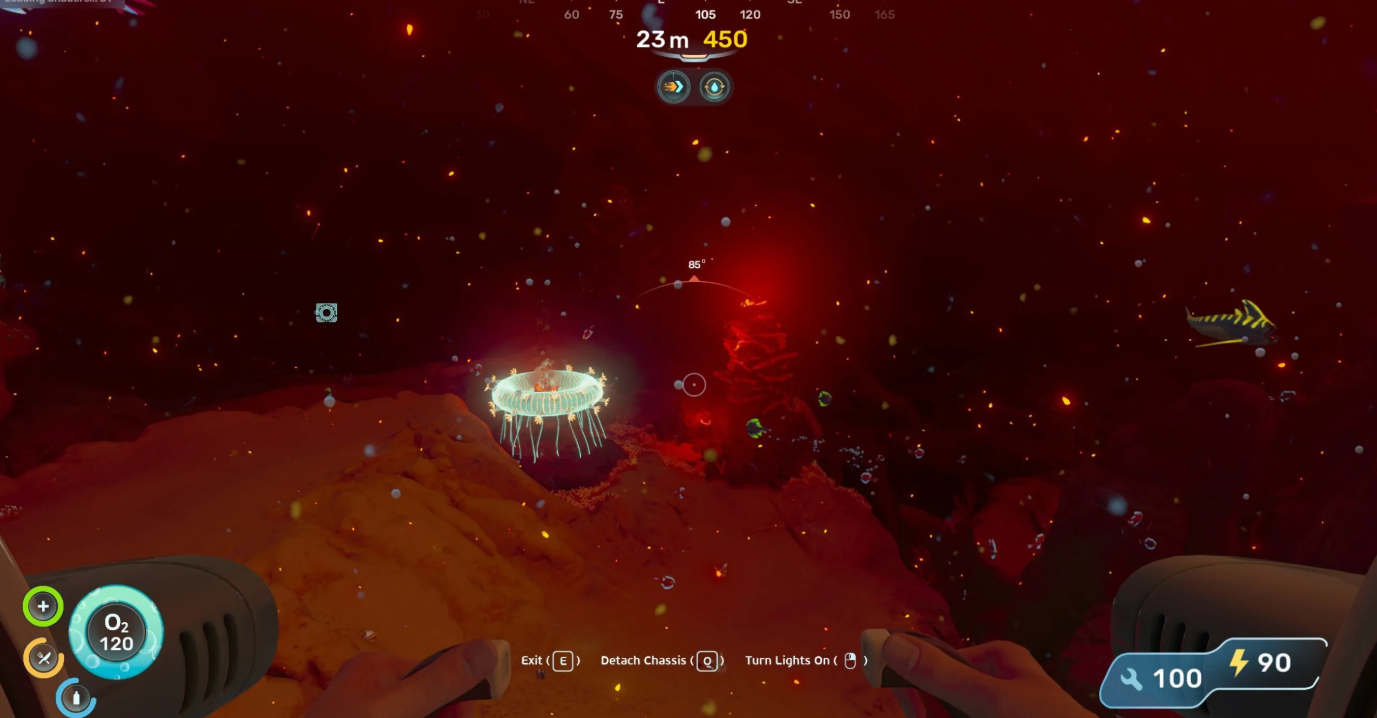
Newbies often dive into the abyss prematurely, even though the starting farm is literally right under their noses. Jump into the water near the Escape Pod and take a bearing of 105°. Your first stop is at the Heated Summit (457 meters away). You will only have to dive 30 meters. Surface loot is scattered around the shipwreck. Unpack the Sonic Resonator, spend a couple of minutes, and collect the loot. There is no point in going any deeper for now.
Immediately after that, continue on to the 561 meter mark. Look for descents into the cave shelter. At a depth of 156 meters, excellent spots are scattered around the central peak, which can be cleared in three minutes maximum. The return journey follows a symmetrical vector. The entire loop takes 8 to 10 minutes. The result will be pleasing: 12 to 18 gold in your inventory.
Safe Farming in the Later Stages of the Game
Once the vehicle receives a speed upgrade, the huge distances of 1450 to 1730 meters will no longer be a challenge. We maintain the same direction (azimuth 105°), but we will drop significantly—294 to 314 meters. There are two significant locations here, separated by a straight line of about 280 meters. We clear both in one go without any unnecessary resurfacing.
(An important note for those who like to take risks): a Leviathan patrols the approach to the Aksum biome. To avoid becoming food, stay close to the bottom. It is best to turn off your sonar altogether, just in case. The risk is well worth it, as you will collect 25 to 35 units of the resource in 12 to 15 minutes.
Gold Vein Regeneration Time in Early Access
Do not fly to the same spots every five minutes. The Unknown Worlds developers have set the timers so that ore regenerates in 20 to 30 minutes of real time. Once you have collected everything you need, it is time to head back to base. While you are crafting new modules or consulting the recipe table, the deposits will refresh.
Table of Parameters and Risks for Each Route