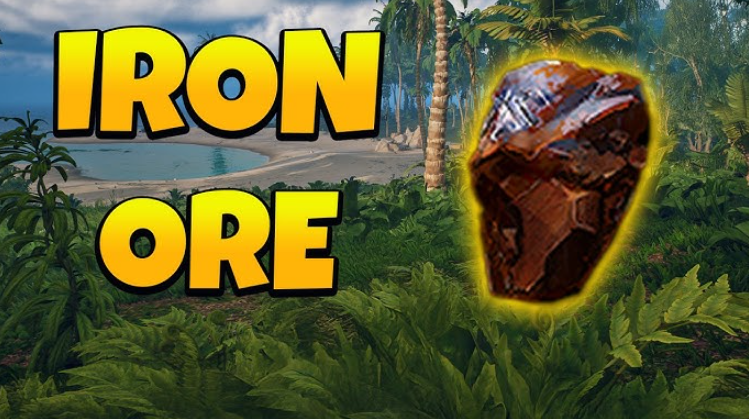
Mining iron in Windrose isn’t a resource that just drops into your inventory. First, you’ll need to complete a series of quests, acquire a more spacious boat, and get your gear in order. In this guide, we’ll explore the exact locations of these deposits and how to turn mined ore into fully-fledged iron ingots.
Table of Contents
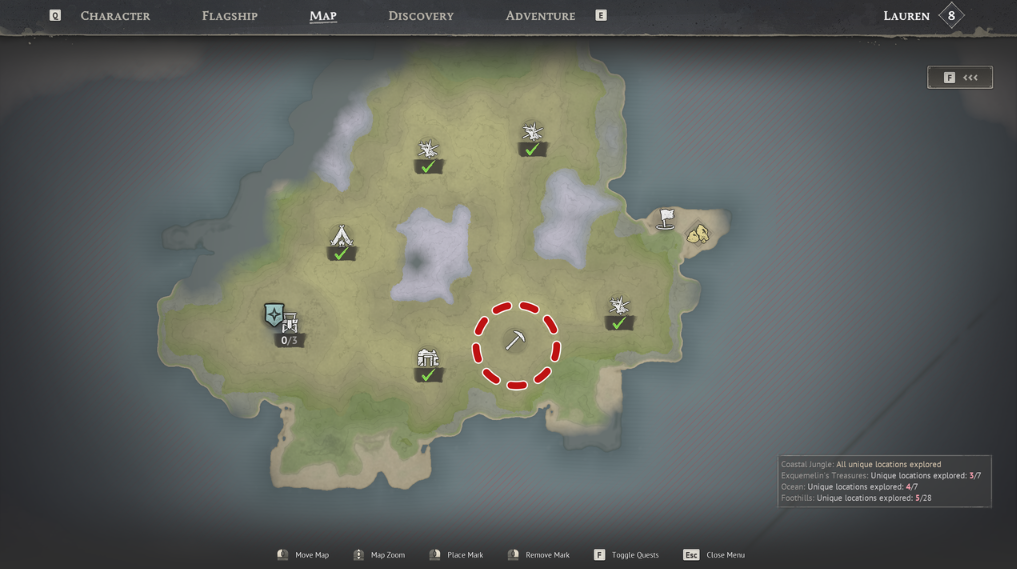
Where to find iron in Windrose: Foothills and Quarries
The ore is hidden in the Foothills region—navigate it with the pickaxe icons on the map. Hover your cursor over it and see the “Iron Deposit” sign—you’ve come to the right place. The screenshot below clearly shows these locations.
Inside the quarries, besides the waste rock, there’s darkness and silence (except for enemies). Bring a lantern—without one, it’s nearly impossible to see the ore veins. A stone pickaxe or a more powerful tool will do the job. Be on guard: some caves are guarded, so it’s best to keep your weapons at the ready.
How to unlock access
How to unlock access? The region becomes accessible after completing the main quest “Revenge is Best Served Cold”—it will immediately close, and the corresponding section in the “Discoveries” menu will unlock. The developers recommend entering at level 8, but I got through at level 5. If your armor and weapons are at least one level upgraded, and your backpack is stocked with provisions and healing items, you can survive. The main problem in the Foothills are the aggressive goats; they’re everywhere and attack anything that moves. Caution is key.
How to smelt iron into ingots and what to make of them
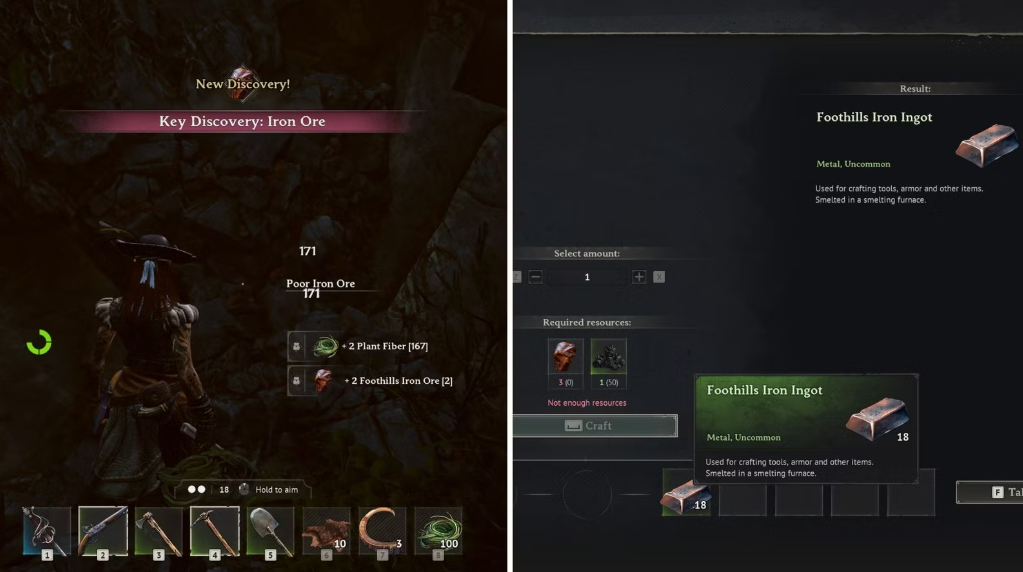
Raw ore is ballast. It’s only useful after you use a smelting furnace: throw in three pieces of rock iron and one piece of charcoal, wait, and you get an ingot. It’s short, but that’s how it works.

The furnace is assembled early on, and coal is easily crafted from any wood. A smelter is essential.
Rock iron ingots are the key to proper equipment. They’re used to craft fishing rods, shovels, and anvils, and to upgrade armor along with ship materials. The further you get into the Foothills, the more acutely you feel the lack of durability and damage—and that’s where iron becomes the key. Ignoring it is a surefire way to get stuck.
After your first batch of ingots, immediately craft an iron pickaxe and an iron axe. Yes, you can mine veins with a stone pickaxe, but the mining speed is abysmal. And an axe without proper metal breaks faster than you can say “Foothills.” Don’t waste ingots on jewelry—tools first.
Important point
Important detail: iron tools require a level 2 crafting station. Build a log sawing stand and upgrade your workbench if you haven’t already. Without it, your ingots will remain dead weight, and you’ll be left with a stone inventory. Trust me, it’s worth it.
The Best Cycle Routes for Farming Mining Iron
Random forays into the Foothills are the worst way to accumulate iron. Proper farming relies on a circular route: one cave, one teleport point, a ship near the shore as a warehouse. The cycle continues until the hold is full, then starts over.
How do I create a working route?
Before your first run, disable “Immersive Exploration” in the world settings—mines will immediately appear on the map. Found a cave with dense veins? Place a Fast Travel Bell right on the shore of the island. The second one is near the base camp. Teleporting between two points takes seconds, and this is what turns a one-time raid into a full-on, rewarding experience.
Inside the cave, move clockwise—most of the veins are along the side walls, not in the center. Beginners often miss the veins on the ceiling: grab some planks or fiber and build a foundation right in the cave. It’s a one-time effort, but it pays off with every subsequent run.
What to take to a circuit race?
Mine Clearing Preparation
The Rhythm of the Cycle and the Rebirth of Veins
Ore in the caves respawns on a 24-hour in-game cycle, synced with the camp chests. The process is simple: one circuit, drop off the cargo, wait out the in-game day, and the cave is full again. The optimal pace is one run per session. Clearing the same cave twice in a row is pointless: no additional iron, just a loss of time.
And a special word about the ship: a hold full of ore seriously reduces the ship’s speed. The pirate frigates in the Foothills are incomparably more vicious than those in the starting zones—it’s best not to engage in naval combat with a full hold.