The Temple faction in Heroes of Might and Magic: Olden Era is a direct take on the classic human army. Infantry, archers, cavalry, winged warriors, and divine shields. No fancy mechanics: just do what the older units taught you.
There are also circumstances. The Temple is not about a sprint, but a marathon. If you are chasing wild combos like in Dungeon or Necropolis, you will not find that here. Instead, the faction provides a clear and strict discipline: protect your archers, save up buffs, and hold out until the late game. Then the Angels rule. Everything else is just routine work to get to them.
Table of Contents
Resource Gathering Strategy and Gem Scarcity for the Temple
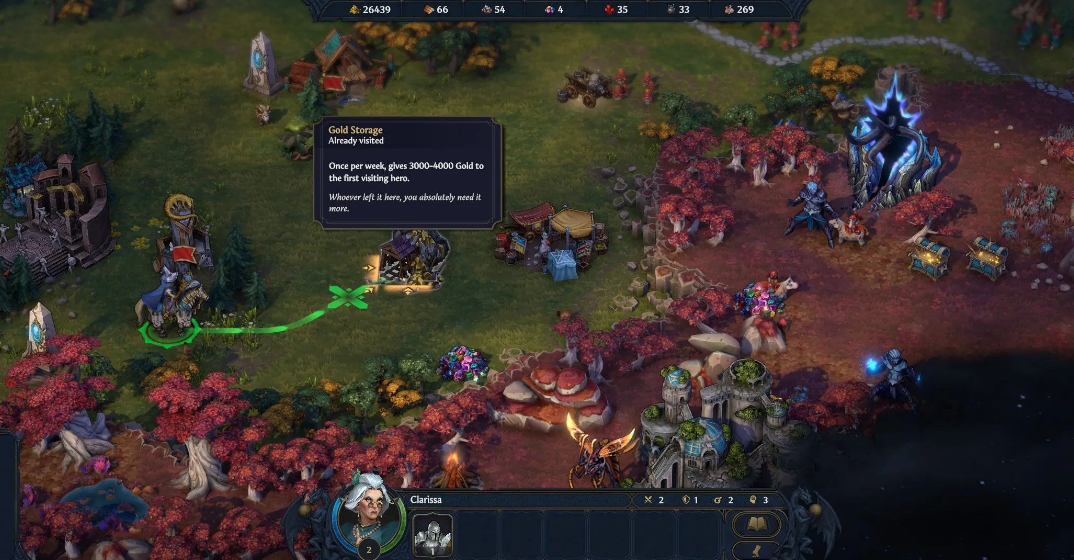
Gold, ore, and gems are the holy trinity for the Temple, but it is the gems that become the bottleneck. Without their mines, you risk getting stuck halfway to level seven. Capture gem mines as early and aggressively as possible—this is a common cause of strategy failure.
Morale Mechanics and Battle Rhythm Control
The Temple’s living units (Guard Captains, Crossbowmen, Cavalry, Inquisitors) have a Morale base. Add the Law of Encouragement and the Leadership skill, and your Swordsmen are almost guaranteed to get extra turns. Many consider Morale a pleasant bonus. In skilled hands, it is a battle rhythm control machine.
Early Game Focus Point Generation features
This is where the Temple has a problem. Focus generation in the early game is slower than that of its neighbors. Do not build your early army around active abilities—they will not work reliably. Focus will come later, along with hero leveling and squad size. For now, save up your Law Points and take care of your Crossbowmen and Lightweavers.
Temple army development stages from defense to dominance
The Temple’s power curve follows a strict timeline. Early on, dig in and do not rush into battle. Engage only when you have the upper hand. In the mid-game, start applying pressure with resources and buffs. In the late game, when Archangels enter the field with their resurrection and buff extensions, the faction turns into a concrete wall. Breaking it down in direct combat is almost impossible.
Incidentally, patience is the Temple’s most important skill. Many give up before the Angels arrive. And completely in vain.
The Best Temple Laws for Economy and Unit Boosts
This faction’s Law Tree is cleverly designed. The key feature, “Architect’s Mastery” (doubling daily construction), is high up and requires a ton of Seals. But there is a catch: a hero named Pip can unlock it on the third or fourth day. In general, the tree favors those who plan their route rather than scatter resources on everything.
Tax Collectors are your number one priority. They provide additional gold every day. The Temple Path is very expensive, so income-enhancing laws are a necessity, not a luxury. Level up to level one immediately, and try to reach level two before spending Seals on anything else. Without money, any plan will fall apart.
Activate the Law of Encouragement until the late game. The gist: each point of Morale increases the chance of an extra turn by 1%. Without it, Morale provides a mediocre, unstable bonus. And with it—in conjunction with the Leadership skill—living units with high morale will begin to consistently get extra turns. This is where the mechanics really come into their own.
Elite Crossbowmen provide +4 growth and an Attack bonus. This is the faction’s most important early-game unit. The production increase accumulates with each week. Take this Law before Elite Swordsmen—Crossbowmen generate value, while Swordsmen merely cover it.
Execution Perfection extends positive effects on friendly units by one round. Blessing, Haste, any buffs—all last longer. It becomes strong in the mid-game, when magic is used more often. When building a Mage hero, it is a must.
Architect Mastery allows you to construct two buildings per day. This is the most powerful economic Law in the Temple tree, and perhaps in the entire game. It dramatically compresses construction time and accelerates any strategy. Thanks to Pip’s starting skill, this Law becomes available much earlier than the cost of the Seals would suggest. Ideal for long games. However, on maps with very few cities, its value drops—it is a matter of luck.
Counterattack provides a significant bonus to the power of counterattacks. Your frontline units become truly dangerous when they strike back. The enemy will no longer be able to throw “cannon fodder” to mitigate your counterattacks. This Law is useful at any stage, but you should not grab it first. Invest in it after you have completed more important things.
City and Army Development Plan for the First Week
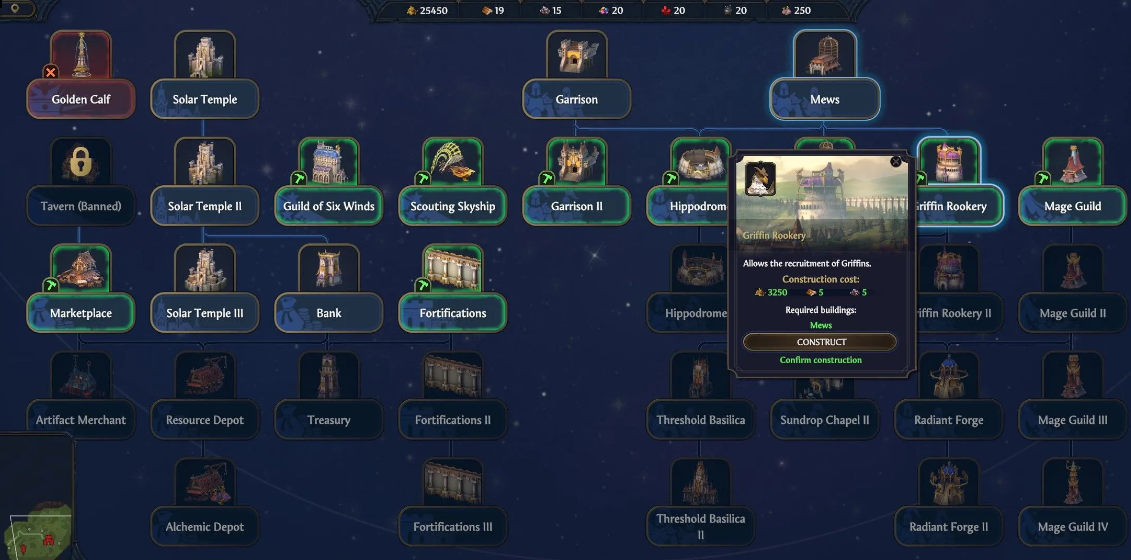
The first week is not about attacks. For the Temple, it is about long-range damage, Law Point mining, and careful handling of your unit. Misplace your units and you will lose momentum.
Day 1. Take Guard Captains and Crossbowmen from the starting buildings. Crossbowmen are a priority: they make early skirmishes anemic. And right away, we search for gem mines on the minimap. This is a long-term economic bottleneck.
Days 1-2. Clear neutral stacks only when we have a clear advantage. The Captain of the Guard goes forward, covering the ranged units. The crossbowmen should survive until the end of the battle. The most common early mistake for the Temple is wasting them in unnecessary trades. I advise against it.
Days 2-3. Build a level 1 Mages Guild. Even basic spells (Bless, Haste) dramatically increase a unit’s efficiency. Funny, but true: two scrolls decide the outcome of a battle.
Days 4-5. If gold allows, Griffin Tower. Griffins provide flying range, counterattack, and air pressure. Essentially, map control, which the Temple lacks at the start.
Days 5-7. Enough gold? Hire Lightweavers. They are noticeably better than Arbalesters in both damage and utility. As soon as recruitment becomes available, swap out your archers. Incidentally, Zenith players (one of the most popular heroes) start with a squad of Lightweavers. You can take advantage of this window by investing in production.
Day 7. We will take advantage of the second week’s growth. Arbalesters and Guard Captains first. Griffins—if the dwelling is already built. It is better to hold onto your gold if a gem mine is nearby. Capturing it early in the second week is sometimes more profitable than spending an entire recruitment round.
Optimal Army Composition and Temple Creature Upgrades
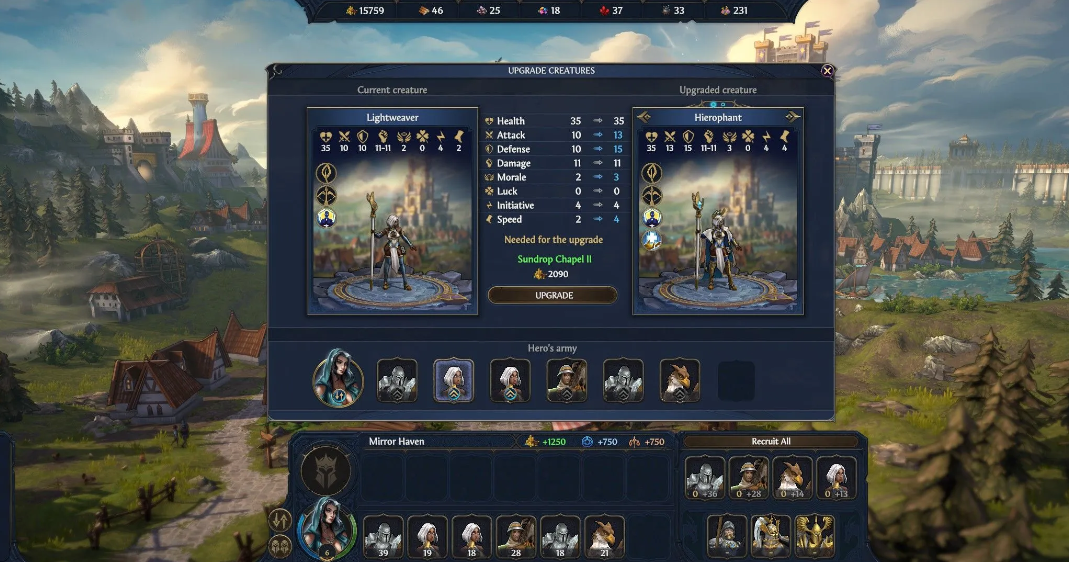
A long-range lineup is not an option, it is a necessity. The faction’s combat model is built on this logic: the front line absorbs damage, ranged units fire from behind, and buffs and morale complete the job. But everything falls apart if the archers do not survive. Get used to building your formation around this principle from the very first battle.
Tier 1 Units Guard Captain and Solar Aegis
Guard Captain / Solar Aegis (Tier 1). The Solar Aegis upgrade reduces ranged damage to nearby units. Place it next to Crossbowmen or Lightweavers—it will block enemy shots. It is a shield, not a damage dealer. And it should be treated accordingly.
Crossbowman / Falconer / Marksman (Tier 2). The main early damage dealer. The Marksman focuses on pure ranged damage—a safe and versatile option. The Falconer gets a Hawk for additional field pressure. Both are effective, but the Marksman is more reliable for straightforward ranged builds. Upgrade the Elite Crossbowmen Law as quickly as possible—the difference is noticeable.
Griffon / Temple Griffon / Griffon Guardian (Tier 3). The Griffon Guardian is stronger in most situations. Additional counterattacks make it a reliable air deterrent throughout the game. Opponents will not be able to expose cheap units to counterattacks. I recommend recruiting Griffons before Cavalry—their aerial utility consistently outweighs cavalry speed for equal costs.
Lightweaver / Hierophant / Sun Herald (Tier 4). The main mid-game marksman, replacing the Crossbowman. Hierophant leans toward magical enhancement—it synergizes well with Execution Perfection and hero buffs. Solar Herald provides more direct support on the field. Incidentally, the Zenith specialization buffs both paths in her cities. Any upgrade is a significant step forward. The choice depends on the hero build, not the unit itself.
Cavalry / Noble Cavalry / Solar Cavalry (Tier 5). Frankly, this is the weak link. Cavalry are fast and capable of dealing damage, but they do not provide the consistent utility of Griffons, the support of Inquisitors, or the backline fire of Lightweavers. Do not invest in Cavalry growth at the expense of other branches. Yes, they fill slots and create speed pressure, but they never become the backbone of an army.
Inquisitor / Mother Superior / Excommunicator (Tier 6). Expensive both to build and to recruit. Mother Superior emphasizes healing, while the Excommunicator provides debuffs that put pressure on the enemy’s formation. Do not rush their buildings—first secure T4 and T3. Inquisitors only become relevant when the economy allows for the resources to be spent without sacrificing gem reserves.
Tier 7 Creatures Archangel and Apotheosis
Angel / Archangel / Apotheosis (Tier 7). Here is the gist. Archangels counter enemy buff strategies, while Apotheosis is a shield builder. The latter is a stubborn survivor, but Archangels are almost always stronger due to the adaptability they provide. And an important nuance: Angels are Incarnate, not Living. Do not expect morale buffs to boost the entire army equally—Angels benefit much less from them due to their low morale ceiling.
Choosing a Temple Hero Development Path Between Magic and Combat
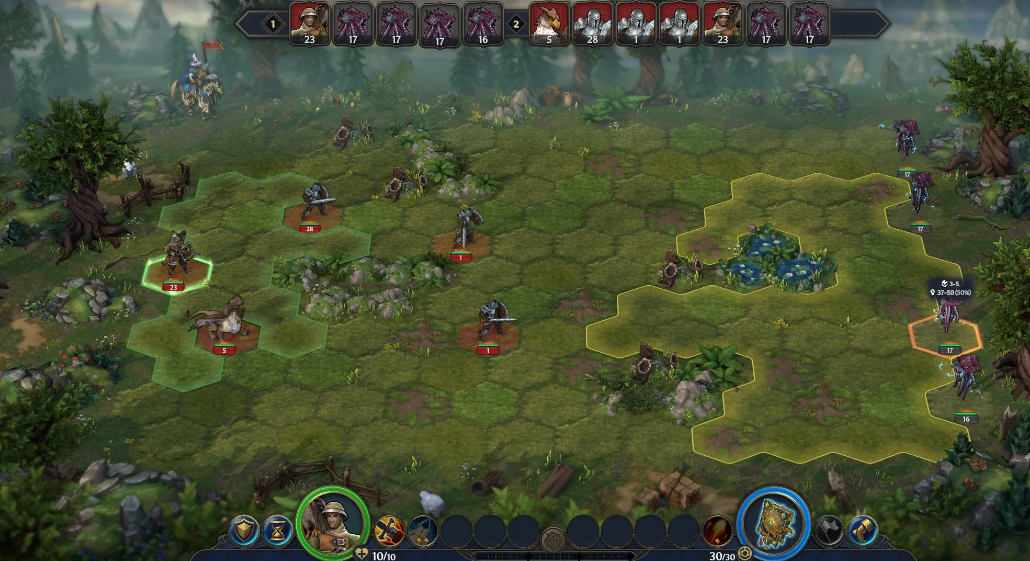
The Temple is a faction where both hero archetypes feel comfortable. The question of who will be stronger is not determined by abstract “overpowered” or “weak,” but by starting skills and the benefits of the first levels. Do not try to force a direction if early leveling says “no.” Listen to the game.
Magic support is the key to victory. Support mages prioritize Spell Power and Intelligence. And remember: the Temple prefers you to strengthen your army, not just take damage. Blessing, Haste, and buff extension—that is your holy trinity. “Perfection of Execution” (a law that strengthens every support spell) turns even a humble prayer into a powerful tool as the game progresses.
Light Magic is a natural choice. All the buff spells from this school fit perfectly into a buff-extending strategy, and many heroes have native skills for it. As a tip: build a Mages Guild level 2 whenever possible. This will dramatically expand your spell pool and add flexibility.
Combat Hero: Morale is everything. Warriors should greedily grab Attack, Defense, and Leadership. The Temple’s Morale system is the best passive buff imaginable. And Leadership makes this mechanism so reliable that you can build an entire strategy around it. If you play Eos or have a Morale-centric build, you do not need deep access to spells. A couple of buffs from Mages Guild level 1 will be enough to create tempo. Feel free to invest all other stat points into pure combat.
General advice: Heavenly Blades are a must for any build. “Heavenly Blades” is a spell you should always have with you, regardless of your build. It creates windows of explosive damage—and without it, achieving the same effect is extremely difficult.
Best Zenith Temple heroes Pip and Eos for starting
Zenith starts with a Lightweaver squad. This means one less building to recruit, plus a resource savings. Her specialization increases the production of these units in all cities and gives them direct stat bonuses. Convenient.
Pip is the absolute king of the early Law Point economy. His starting skill, “Insight,” unlocks the “Civic Innovation” subskill, which doubles Law Point generation. And if you also take Leadership, the effect doubles again. Bottom line: “Architect’s Mastery” becomes available incredibly early. Seriously, you will be surprised how quickly.
Eos is your choice if you build a strategy around morale. His “Inspiring Presence” ability grants each friendly creature +1 morale and an additional 2% bonus to their chance to take an additional action per morale point. This bonus starts with the first battle, and then grows by another 1% every four hero levels. Not a bad incentive to invest in morale, right?
Characteristics of playing in single hero mode for the Temple faction
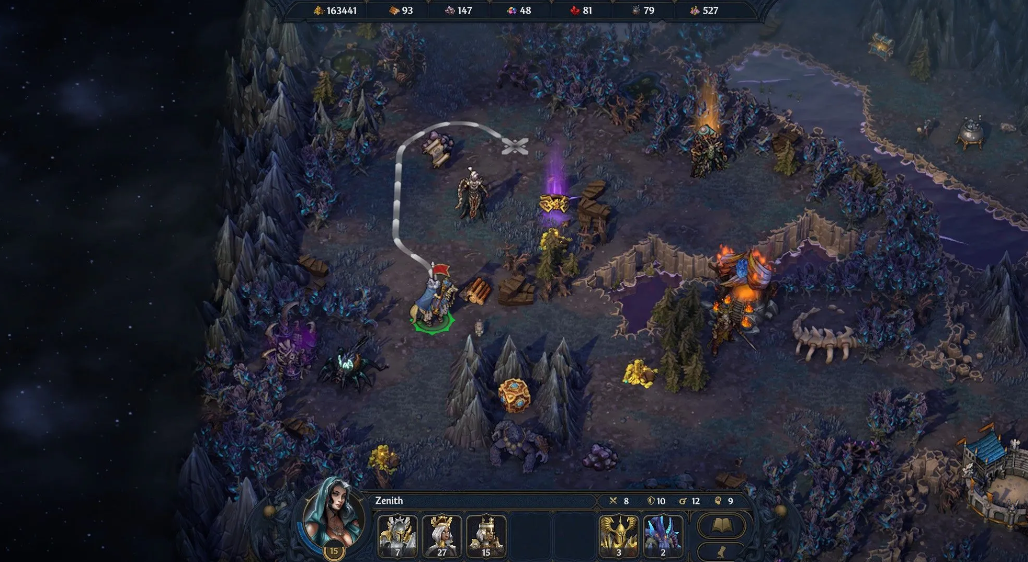
The Temple feels more confident in this mode than most. Why? Because the faction is self-sufficient: its units hold their ground well, and their strength growth is tied to the Laws, not to the scurrying of secondary heroes with resources. No delegated reconnaissance, no transports. The “Single Hero” restrictions hit the Temple, but not head-on—unlike factions where the synergy of two or three heroes is everything.
The main problem is recovery. One unsuccessful battle, and that is it. Imagine: your Lightweavers or Crossbowmen suffered heavy losses in a less-than-successful encounter. You do not have a second hero to back you up during cooldowns. No one will cover the gap. A wound or death of your primary hero spells doom for the entire party.
So play conservatively. Seriously, do not be a hero. Until your army reaches a clear strength threshold, do not venture beyond the map. First the base, then the squads—and only then adventures.