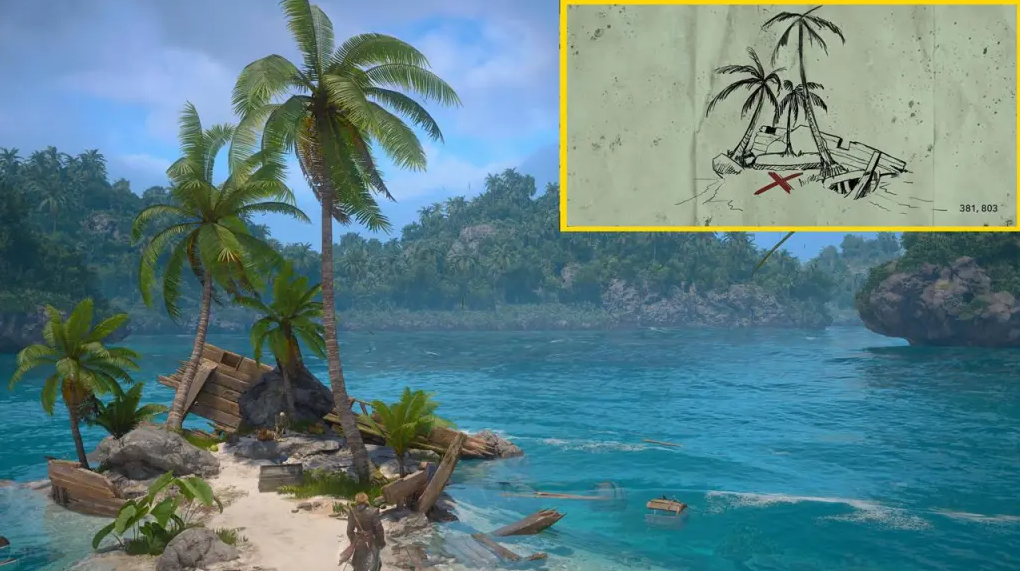
Celestine is a key resource for crafting the Modification Station and upgrading the Tadpole in Subnautica 2. But getting there isn’t easy—you’ll first need to explore the alien ruins and find the Tadpole Depot. Without this, the map won’t show the desired area.
Table of Contents
Celestine coordinates at initial depths of up to 250 meters
This material isn’t found on the surface or near the Escape Pod. Anything glittering in the shallows isn’t it. Celestine hides at depths of 250 meters and below, which is precisely the limit for the basic Tadpole without mods. The good news: at this depth, you can already dig up enough to craft the Modification Station and upgrade your craft. Then, dive even deeper for more.
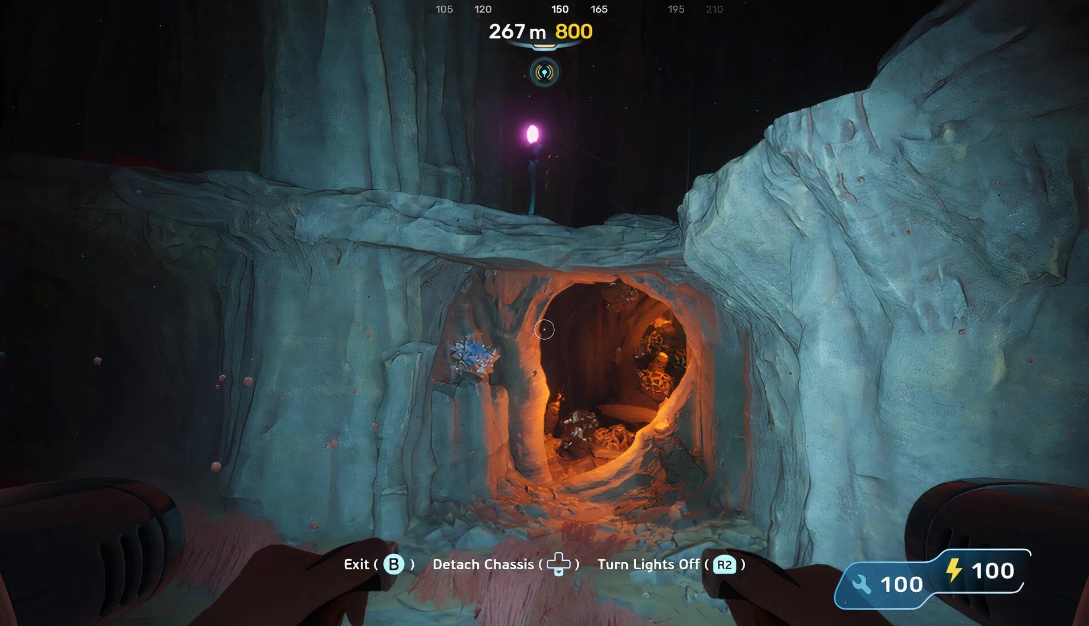
One of the shallowest locations is 2130 meters due east of the pod, at a depth of about 267 meters. Officially, the Tadpole doesn’t go there (its ceiling is 250 meters), but here’s a lifehack: park it at the maximum depth and swim manually. Your oxygen supply will be enough to reach the vein. Incidentally, a simple landmark is the entrance to a heated, glowing cave. Inside, in addition to celestine, there’s plenty of gold and sulfur. So don’t go empty-handed.
Deep sea celestine deposits and a sonic resonator craft
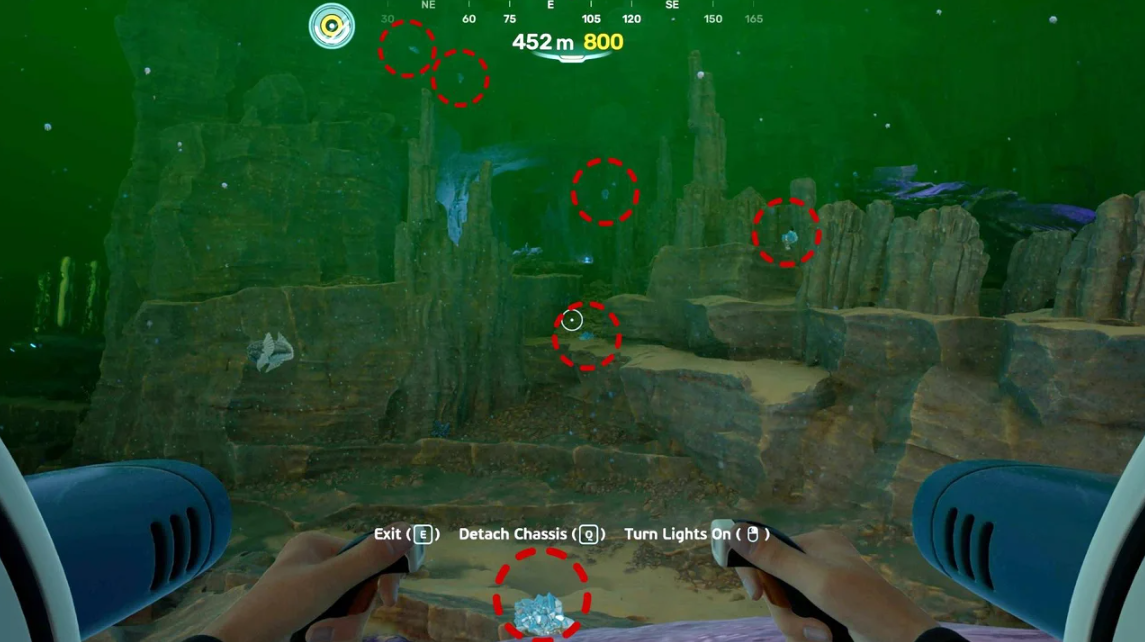
The second option is 1,280 meters east-southeast (105 degrees) of the Escape Pod, at a depth of about 290 meters. The crystals here are easier to spot during the day: they jut out along layered rock ledges. But be careful—the zone borders the edge of the map. Swimming beyond the red barrier will have dire consequences. The game doesn’t forgive stupidity.
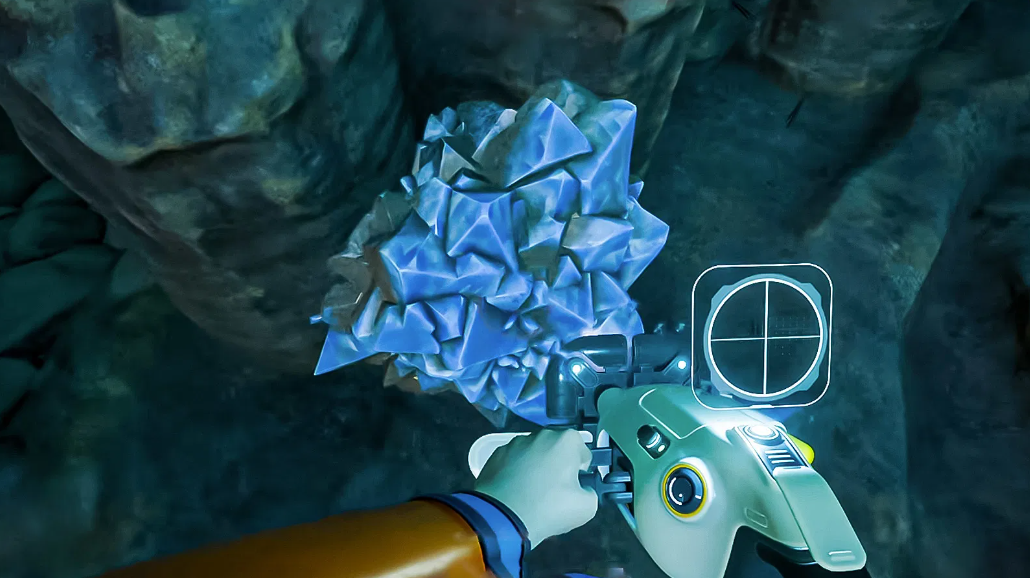
Once you’ve acquired the Tadpole Depth Module, head 1970 meters east (approximately 95 degrees) to a depth of 350 meters. There, you’ll find yourself at the edge of a huge dome-shaped structure surrounded by cliffs. Along the walls and at the base of the cliffs are several deposits of celestine. It appears as a scattering of light-blue crystals. To mine it, you’ll need a Sonic Resonator—without one, it’s just a waste of time.
Using a Scanning Station to Find Crystals
Another tip: if you’ve built a Scanning Station, you can track celestine through it. This resource is scanned, like many others.
Celestine farming in the Alien Ruins biome
At depths of 250+ meters, sunlight is virtually nonexistent. The daylight cycle doesn’t work here, but the celestine itself does an excellent job of illuminating the abyss. Its neon-blue teeth pierce the pitch darkness, and the characteristic glow can be seen from a solid 15-20 meters down, even without a flashlight. Searching for the resource on a flat bottom is completely useless. The crystals are always firmly embedded in sheer cliffs or hidden on the lower surfaces of stone ledges.
Where is the most profitable place to mine? It’s not the most obvious choice for a beginner, but it’s best to head straight to the Alien Ruins biome. The water there is crystal clear, and visibility is consistently at its maximum. By comparison, in geothermal zones, visibility drops to a measly 8-10 meters due to the thermal mist. The mining process itself directly depends on the type of deposit:

Mining single nodes and large clusters
-
Single nodes (small fragments of 0.3-0.5 meters). Picked up by hand on the fly.
-
Large clusters. Thick bundles of 5-12 fused pieces. You can’t get here with your bare hands—bring out the Sonic Resonator. Proper use of the tool will yield you 2-4 units of raw materials in a single pass.
Lifehack with an External Spotlight for Speeding Up Farming
Now, an insider trick for industrial scale. Found a rich wall? Deploy the Habitat Builder. Build a micro-base and install two External Spotlight modules. They will flood a 25-meter radius with light, and your farming speed will instantly increase by 50% due to perfect visual control of the site.
The main thorn in the side of such forays is the ubiquitous calcite. From a distance, this mineral also has a blue tint, forcing you to waste precious oxygen on false starts. To avoid wasting resources, aim your sights: the HUD will accurately display the desired signature from a distance of about 8 meters, even before you get close.
How to distinguish real celestine from calcite
The guide about Sulfur might be interesting to read.