The next Focus Stone isn’t sitting in a friendly corner of the Colony. This time, you’re teaming up with fire mage Milten – and he’s not just a quest giver, he actually pulls his weight in the fight ahead. The “Focus in Troll Canyon” quest looks straightforward on paper, but the canyon throws a few curveballs your way. Here’s the full breakdown: where to find the troll hides, how to shrink the beast, and what to do with those pesky harpies guarding the prize.
Table of Contents
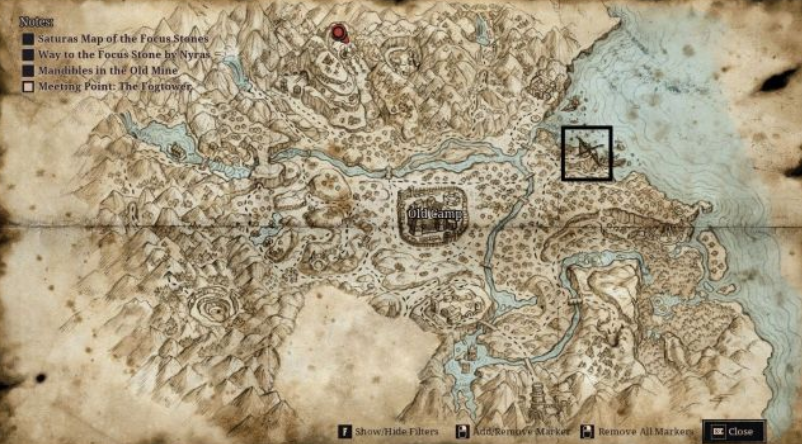
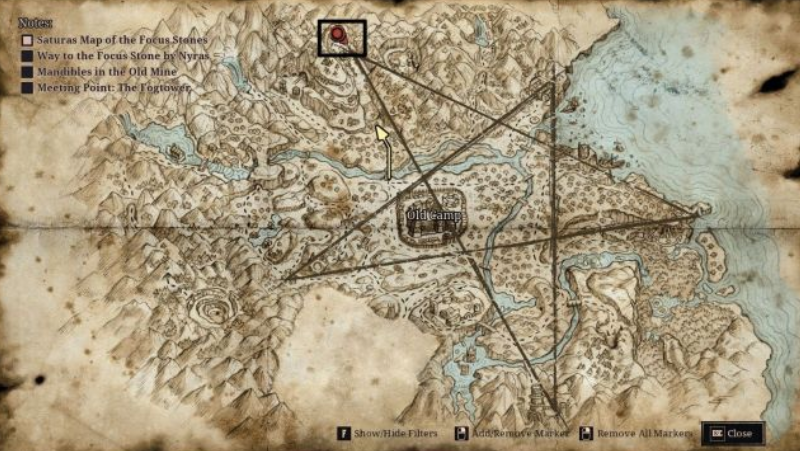
Finding Milten and Reaching the Canyon Safely
Troll Canyon sits on the northern edge of the Colony, and the hike there takes you through a hill swarming with snappers. If you haven’t grabbed the Light spell yet, make it a priority – the caves inside are pitch-black, and torches burn out faster than you’d like. Milten waits right at the entrance, so talk to him before stepping in. He’ll guide you through the first chambers, where you’ll have to dispatch a handful of goblin warriors. They’re not exactly raid bosses, but don’t turn your back on them – they love a cheap shot.
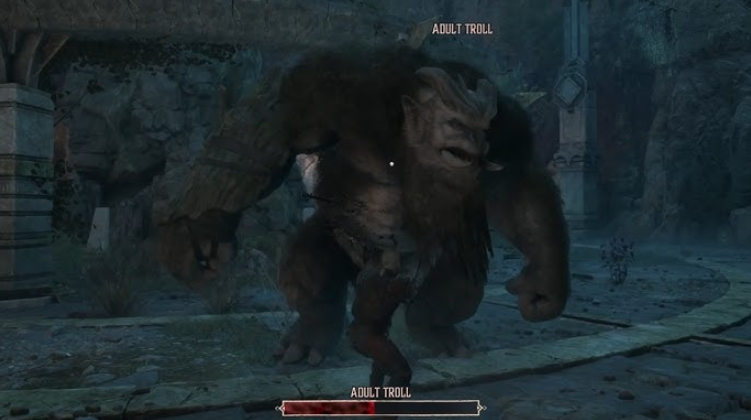
Once you’re past the initial scuffle, Milten leads you to a relatively safe room. That’s where the real planning begins. Spoiler: going toe-to-toe with a full-grown troll on your own is a death wish. You need a clever workaround.
Tracking Down All Three Troll Hide Pieces in Gothic Remake
Milten explains his scheme: he needs troll hide to craft a shrinking scroll. The hide is scattered across the main hall in three separate chunks – all within the troll’s patrol zone. One piece lies near the entrance you came through, and the other two sit beside a bloody corpse on the far side. The troll paces in a circle, giving you brief windows to grab each piece. The golden rule: never let it catch you looking. If it spots you, bolt back to Milten’s safe room – the troll won’t follow you in there.
You’ll run into more goblin warriors along the way, but they’re more of a nuisance than a real threat. Scoop up all three hides, return to the mage, and he’ll craft the shrinking spell. Equip it, and you’re ready for the main event.
How to Use the Shrinking Scroll and Defeat the Troll
Walk up to the troll, activate the scroll – and watch the giant shrink into a puny version of itself. With Milten backing you up, the fight becomes almost trivial. Sure, the troll still hurls rocks and slams the ground, but the damage is laughable now. Dodge its attacks, and within a minute, it’ll collapse. Don’t forget to skin it – that pelt is a valuable trophy.
After the beast falls, you’ll face a locked gate with two levers, one on each side. Pull the right lever while Milten handles the left, and the gate swings open. Simple teamwork.
Loot, Harpies, and the Focus Stone – What to Do Next
Beyond the gate, a corridor leads to a room with two exits. Take the one straight ahead first. There, you’ll find a chest packed with serious loot:
-
Amulet of Spiritual Strength – boosts your max mana and regen rate.
-
Parchment – a crafting or quest item.
-
Essence of Magical Energy – restores mana instantly.
-
Rune of Telekinesis – reusable, costs mana per cast.
-
Scroll of Healing – one-use health restore.
-
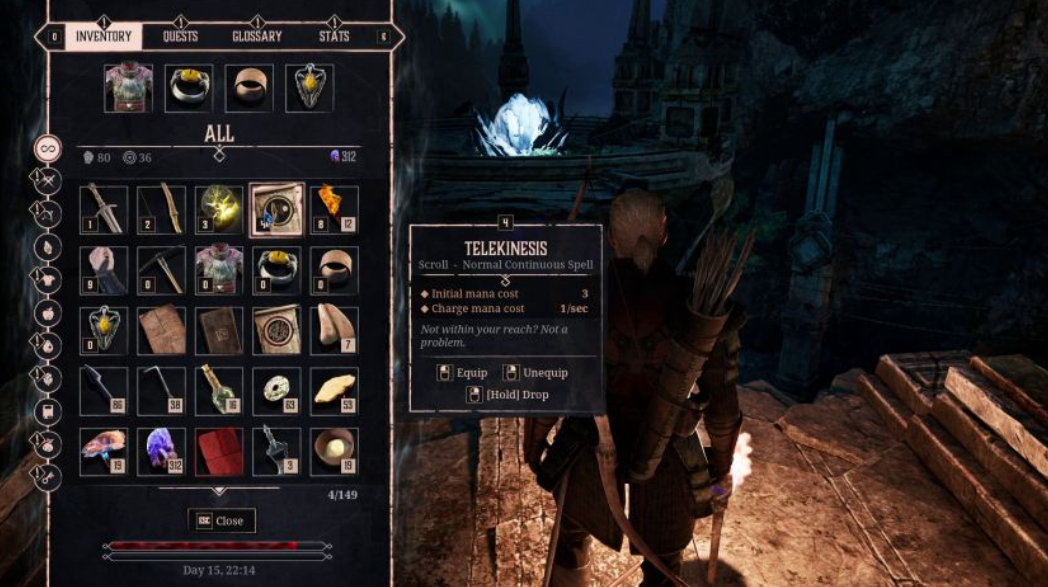
Scroll of Telekinesis – single free cast, then consumed.
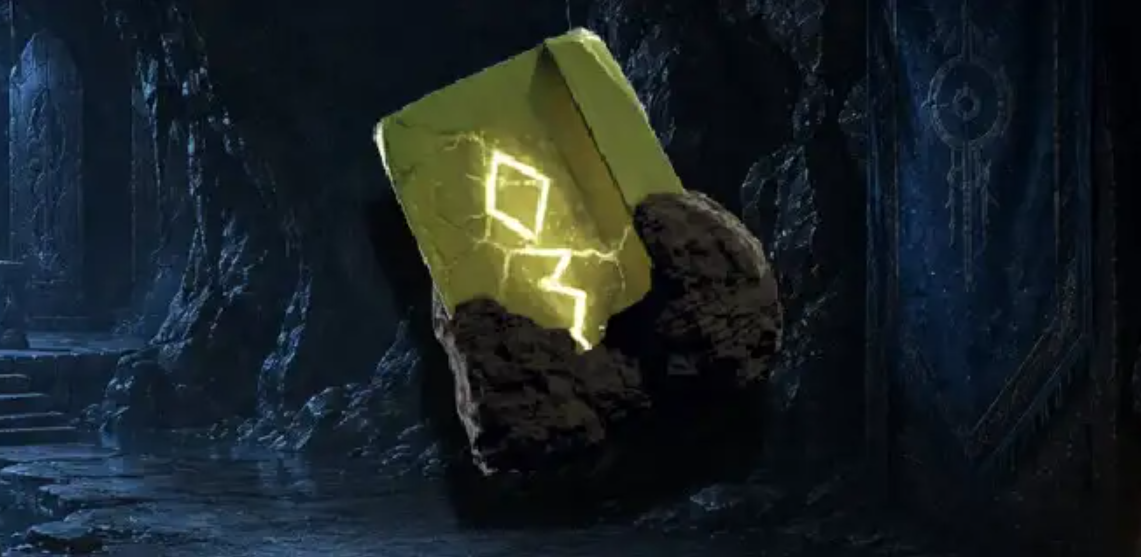
Equip the telekinesis scroll and head back to the previous room. The second exit leads to a chamber guarded by harpies – they’re the ones protecting the Focus Stone. Clear them out, then use telekinesis on the blue crystal rocks ahead. They’ll fuse into a bridge. Cross over, and the Focus Stone is yours.
Understanding Telekinesis Mechanics – Why the Game Gives You Two Versions
The loot in that chest isn’t random junk – it’s a carefully designed toolkit for one specific puzzle. The devs hand you both a scroll and a rune of telekinesis for a reason. The scroll burns after a single use, while the rune stays with you forever, albeit with a mana cost each time. If you’re planning to return to the canyon later – say, to grab a troll’s tooth for Ulu-Mulu – save the reusable rune and burn the scroll now.
The real star of that chest is the Amulet of Spiritual Strength. Slap it on before you start playing with the crystals – it significantly expands your mana pool. Why does that matter? Pulling those blue rocks toward you drains mana like crazy. Run out mid-pull, and the rock freezes in a crooked position, forcing you to restart the entire process. Plus, those harpies won’t wait politely while you fumble with your mana bar.
Step-by-Step: Building the Crystal Bridge Safely
Building the bridge takes a bit of finesse. Stand directly opposite the blue crystal formations, activate telekinesis, lock onto the nearest boulder, and start dragging it toward you. The fragments will slowly align into a stable path over the chasm. But there’s a catch – the spell only works if you have enough mana to maintain it continuously. If your bar empties halfway, the rock stays stuck, and you’ll have to start over.
So here’s the optimal sequence: first, kill every harpy in the area – no interruptions. Then chug that Essence of Magical Energy to top off your mana. Only then do you start moving the crystals. Trying to build the bridge while under fire is a guaranteed way to get knocked into the abyss.
Where to Deliver the Focus Stone and Finish the Quest
With the Focus Stone in hand, make your way back to Saturas – he’s usually in the library or his personal quarters. Hand over the artifact, and the quest wraps up. Your reward: 3,500 experience points and the satisfaction of a job well done. Before you leave Troll Canyon, double-check for any missed chests – sometimes they hold useful potions or herbs.
One last tip: if your health is low, save before entering the main hall with the troll. And don’t forget that Light spell – dark corners can hide essential hide pieces, and you don’t want to stumble around blind.