Surviving Subnautica 2 at the start is quite a challenge. Oxygen drains faster than you can even see your surroundings, half the local flora and fauna are harmful, and the developers seem to be deliberately hiding key mechanics. The good news: a couple of simple life hacks will turn the first hours of Early Access from torture into pleasure.
Table of Contents
How to avoid suffocation at the start of Subnautica 2
Yes, aggressive creatures and poisonous plants will cause problems. But the biggest killer for newcomers is simply lack of air. Remember the three life preservers.
Crafting a Cylinder and searching for silver in caves
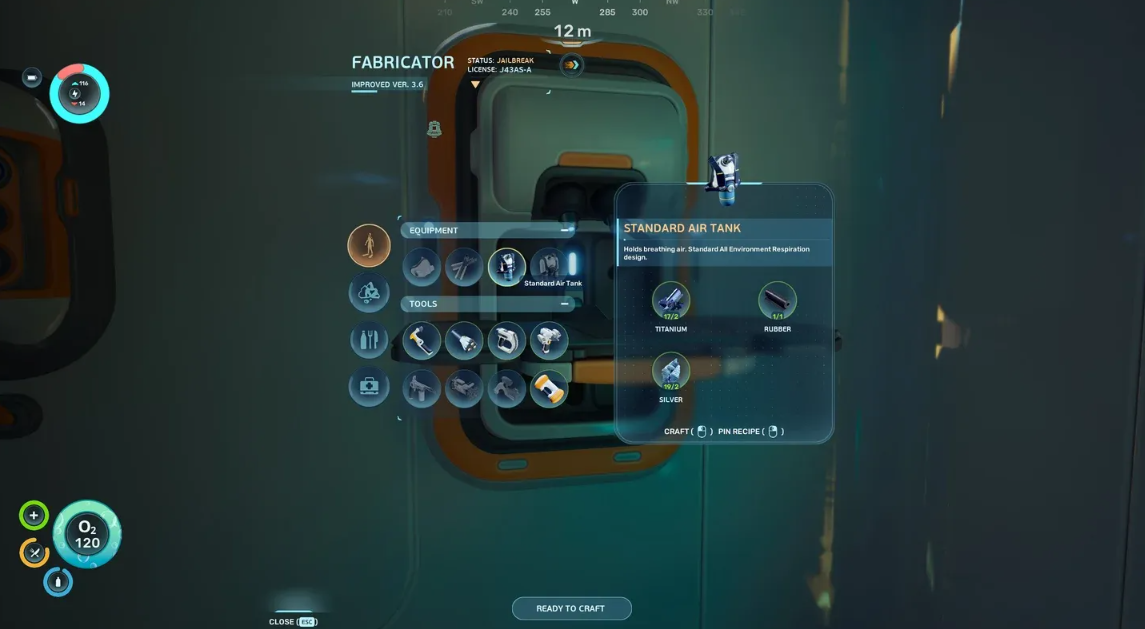
This is priority number one. A cylinder adds +30 to your oxygen supply—the difference between panic and peaceful exploration. Silver is reluctant to hide at the start, but it’s worth it: an extra minute underwater makes all the difference.
Oxygen Plants for Underwater Breathing
Blue bulbous plants scattered along the bottom. Swim to the blue bubbles, and your air supply is replenished without surfacing. A small thing, but a real lifesaver during long dives.
Air Bubble as a Rescue Tool
Crafted at the Fabricator in the Escape Pod. You’ll need Lucifer’s Rotten Sac and titanium. One press provides an instant 20 units of oxygen. After surfacing, the bubble recharges automatically. Ideal for those who constantly forget to keep an eye on the gauge.
Finding Food and Water in the First Hours of Survival
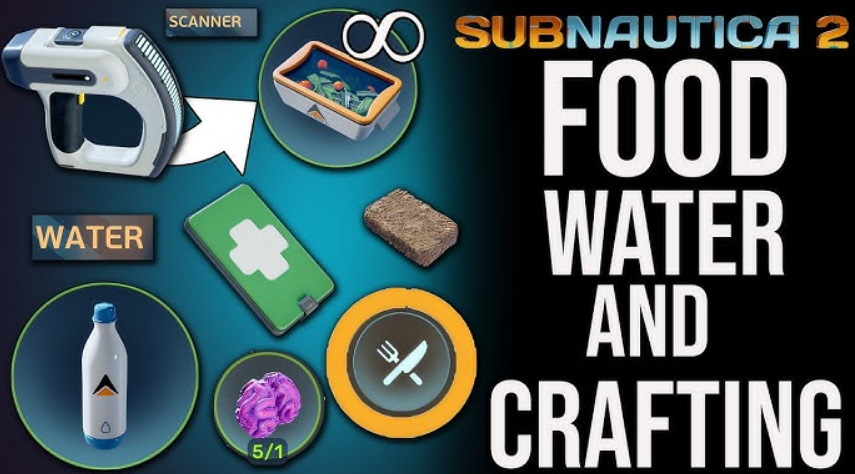
Water and food are the two basic survival gauges, and you can’t forget either one. Hydration is almost always a problem. But finding a stable food source is quite a quest.
Water Slugs for a Quick Thirst Quencher
The translucent blue creatures are scattered all over the seabed, including right next to the escape pod. Grab it, run to the Fabricator, and there you have it. Water comes out, thirst issues resolved.
How to unlock Food Adaptation in the game
At the start of the game, you have a “food incompatibility.” It sounds like an excuse, but the truth is: eating local flora or fauna is just not good for you. It’s cured by finding an “Angel’s Comb.” It unlocks “Food Adaptation.” Where can I find it? One of the early black boxes will lead directly to it.
Emergency Rations in the Capsule Storage
Haven’t even unlocked the adaptation yet, but you’re hungry right now? Check the escape pod’s storage. There’s a pack of nutrient pellets there. Not much to look for, but it’ll get you by.
Scanning Objects and Finding Blueprints

The scanner in Subnautica 2 is key to progress. New tools, buildings, vehicles, and upgrades are all unlocked through scanning. Without it, you’ll be stuck at the start forever.
Rescanning for Resources
What do we scan? Everything. Flora, fauna, tools, materials, furniture—any object scanned is useful. Don’t be lazy. One scan is often not enough. Many blueprints require scanning not just one, but two or three copies. The developers designed it this way: you won’t get a complete blueprint the standard way. Look for similar objects. Rescanning isn’t a waste of time. Even after a blueprint has already been unlocked, rescanning the same type yields materials. Resources are never too abundant, especially at the start.
Essential Tools for Survival in the Ocean

A scanner is a useful tool, but it’s far from the only one. The developers have included a whole set of tools that make underwater survival easier. Some even unlock new biomes. Let’s take this one step at a time.
A flashlight will come in handy right away. Dark areas of the ocean are common, and without a light source, you’ll quickly become disoriented. To craft one, you’ll need to find and scan two flashlights in the environment. So keep your eyes peeled.
A survival multi-tool is your first priority. It can be crafted almost immediately, and it will unlock fibrous pulp, which can later be turned into fiber. Without a multi-tool, you’ll be stuck.
A sonic resonator is a tool for those who’ve progressed a certain distance in the story. It’s essential for two reasons: first, it’s used to mine large resource deposits. Second, the resonator cuts through the blooming biofilm, which hides entirely new locations. Don’t miss it.
Inventory Expanding and Resource Storage
At the start of the game, you only have 20 inventory slots. And they fill up quickly, especially if you’re grabbing everything. Here are a few workflows to keep you from going crazy.
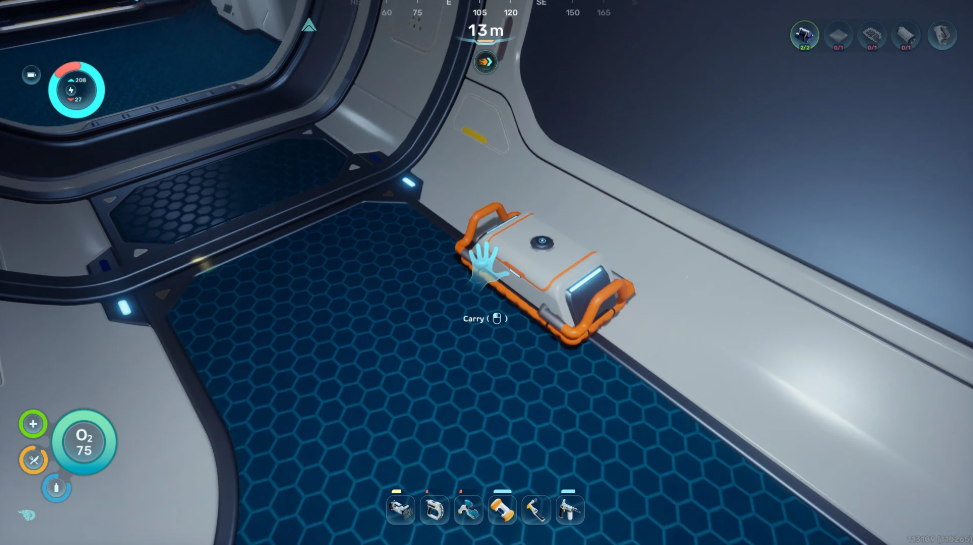
Portable lockers are a lifesaver on your first few forays. Look for them among the debris. They have 15 slots. You put your loot in them, drag the locker back to the escape pod, and you’ll get extra storage. This is especially handy at the start, when you don’t have a base yet.
Biobeds are a more interesting option. They’re found in colonists’ underwater bunkers. Interact with them once, and you’ll get a permanent +1 inventory slot. Or even more? Basically, don’t skip these structures; they’re pure profit.
Tactical tip: don’t lug home every blade of grass at first. Take only what you need for a specific craft. To remember a recipe, right-click on it in the Fabricator. The list of materials will be pinned to the upper right corner of the screen.
Two resources we make an exception for are silver and lead. If you stumble upon them early in the game, grab them without hesitation. Everything else can wait.
Building Your First Base and a Scanning Station
An escape pod is helpful in the first few hours, but it won’t last long. Your first full base removes a bunch of early restrictions and opens up systems you never even knew existed.
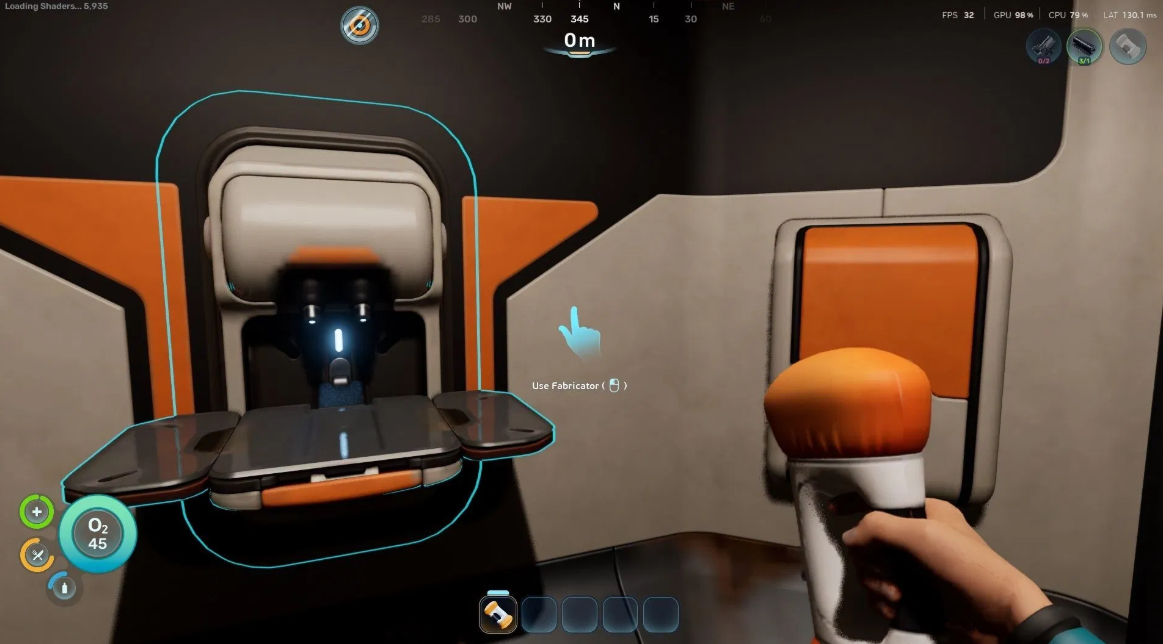
Fabricator at your base – no blocks
The capsule contains a stripped-down version. It’s not even close to a “fully functional Fabricator” – some recipes are unavailable. Install the same one in your base, and everything will work as it should right away. No unnecessary fuss.
Scanning Stations Will Save Your Nerves
Looking for silver or lead? Build a Scanning Station. It will show the exact coordinates of resources. It’s especially useful for scarce materials—you won’t have to rummage around looking for them. Incidentally, it’s best to install it early, before everyone starts cursing everything around you.
Storage is no longer a headache
Lockers at the base solve your inventory problem once and for all. And here’s a nice touch: structures automatically pull resources from nearby containers. Craft something, and the materials will come automatically.
NOA Missions and Black Box Searches
From time to time, the system on the capsule beeps: NOA wants to tell you something. Be sure to approach. These messages provide a waypoint to the black box.
Black boxes lead to perks
The first ones are located near important scannable objects, new mechanics, and even adaptations (those game-changing improvements). The point is: you can stumble upon these locations without a hint from NOA. But after receiving a mission, it’s best to double-check the location—it’s easy to miss something.
Survival Guide
Another bonus from communicating with NOA is a document that appears at the top of the database. It gives a good hint on where to start. Don’t scroll past it.
Exploration Tactics and Rare Resources
Subnautica 2 is built on exploration, which is unlocked gradually. You won’t complete everything on your first try.
“Unknown tool required” — don’t panic
Seeing this message? It means you haven’t unlocked the device you need yet. Remember the location and come back later. The developers deliberately hide progress behind new tools.
Adaptations are also necessary
Tools aren’t the only solution. Take hot zones for example. You swim up to them, but you’re thrown back by “heat intolerance.” Without the “Thermal Resistance” adaptation, there’s nothing to do there. Level up and you’re welcome.
Speed-up methods and the best biomods
Moving underwater initially feels like walking in syrup. It’s slow and cumbersome, but it’s fixable. Even early on, you can pick up speed and start pulling off maneuvers that will blow the minds of the local fauna (in a good way).
Fins: The First Step to Mobility
Got some Rotten Lucifer’s Sac and Fibrous Meat? Great. They can be used to craft rubber and fiber—and then fins. They provide a small but welcome boost in speed. A small thing, but it makes swimming noticeably more fun.
Biomods: When You Want to Rush Like a Torpedo
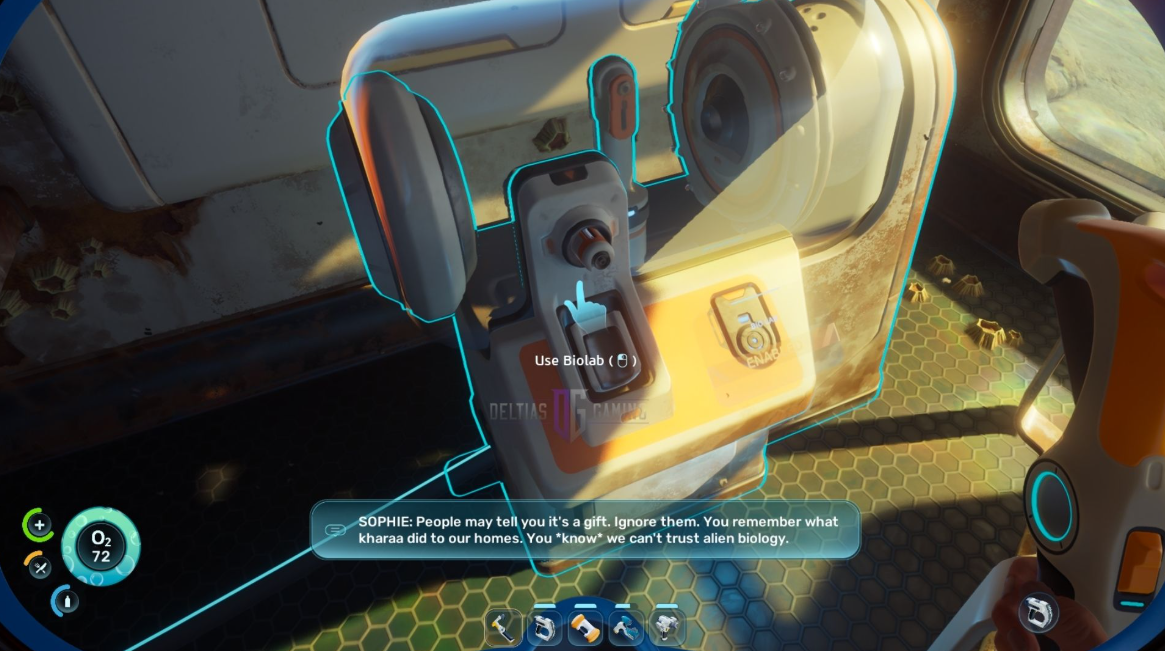
Biolabs are your best friends. Activate a structure, install a mod, and the usual physics will go to hell. For example, “Dash”: a sharp acceleration in the direction you’re facing. The “Sea Skier” increases your speed near the surface and the bottom—handy when gathering resources at different depths. Your own biolab at the base won’t open until later, but here’s a lifehack. Go to the Reception Center—it’s 85 meters southeast of the escape pod. Turn on the power there, and you’ll have early access to biomods.
Wavebreaker: Light and Mobility in One
A tool that can be scanned in the world (look for debris). Using it underwater makes you more flexible, improving maneuverability. Plus, it has a built-in flashlight. Why would you need a separate flashlight when you can combine it? The Wavebreaker illuminates and dodges.
Why rushing is bad (yes, there is a nuance)
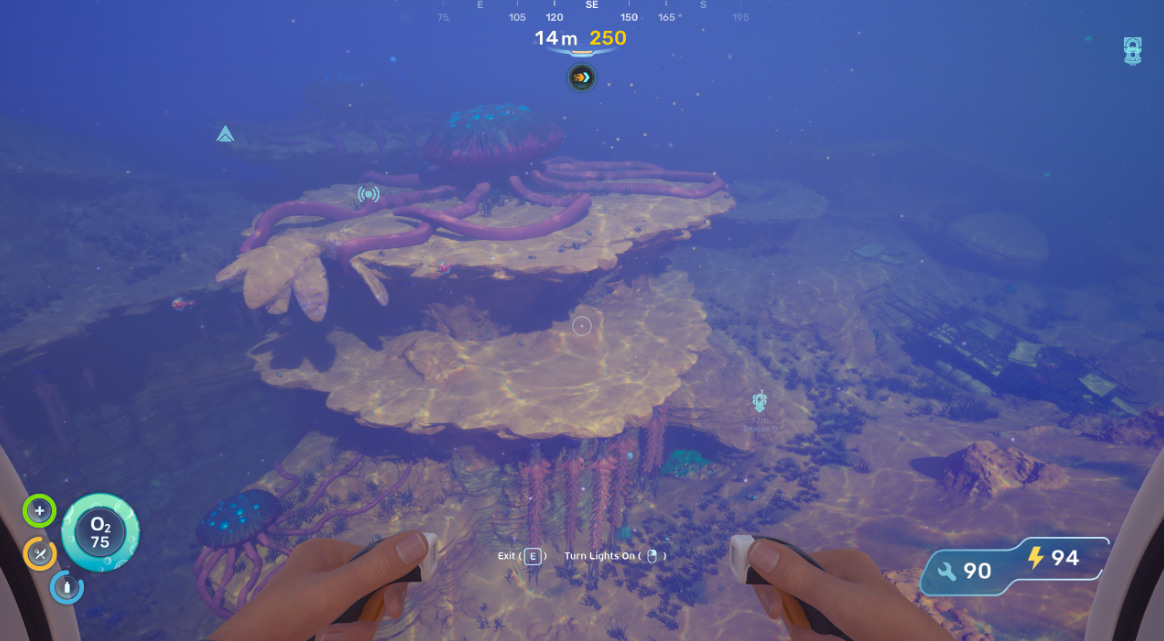
Oddly enough, sprinting to the next point often loses out to thoughtful exploration of corners. The game wonderfully rewards those who aren’t lazy and look under every stone. Wreckage and bunkers: valuable scans are often found in piles of scrap metal. Colonists’ bunkers (where they expand their inventory) are cleverly hidden in caves. Underwater lights are a landmark. See a glow? Swim there, you won’t regret it.
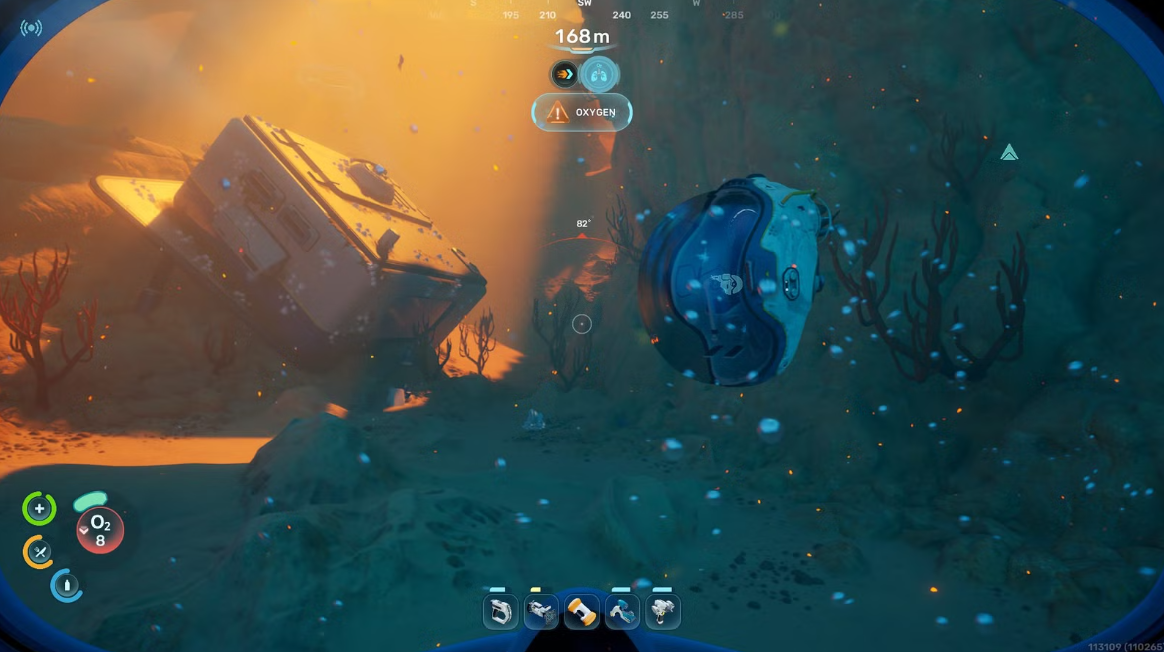
Rare resources like silver and lead aren’t found in obvious places. Mining nodes are easy to miss if you’re swimming headlong. Miss a node, and crafting an air tank will take longer. Then the deep caves will become a trap for you, not an adventure.
Welcome back, stalker: got a better tank and a sonic resonator? Head back to your old locations. With new equipment, deeper passages will open up—they’re full of things you missed the first time. The game doesn’t forget your efforts.
Quick Start Route for the First Two Hours
Chaotic swimming during the first hours is the main reason newbies get stuck: oxygen runs out, crafting stalls, and progress stalls. Below is a specific quick start route with distances and crafting priorities that works regardless of playstyle.
Starter Loot and Crafting: What to Do in the First 30 Minutes
Jump out of the capsule (Lifepod) and immediately dive into the hole directly below. There you’ll find copper on the walls, titanium at the bottom, and Lucifer’s Rotten Sacs, easily spotted among the purple-green vegetation. Collected the loot? Now head straight up. Swim to the Coral Dome (orange rocks near the surface) to farm quartz. The resources you’ve collected will be enough to cover your initial need for tools.
The optimal build order would be as follows:
-
Survival Multi-Tool: needed primarily for cutting flora into fiber.
-
Basic Battery: powers the scanner and is required to launch the Reception Center.
-
Scanner: without this device, progress is literally frozen.
-
Fins: increases mobility and speeds up farming.
-
Air Bladder: crafted from a pouch and titanium, provides an emergency +20 O₂.
-
Standard Cylinder: adds +30 to oxygen.
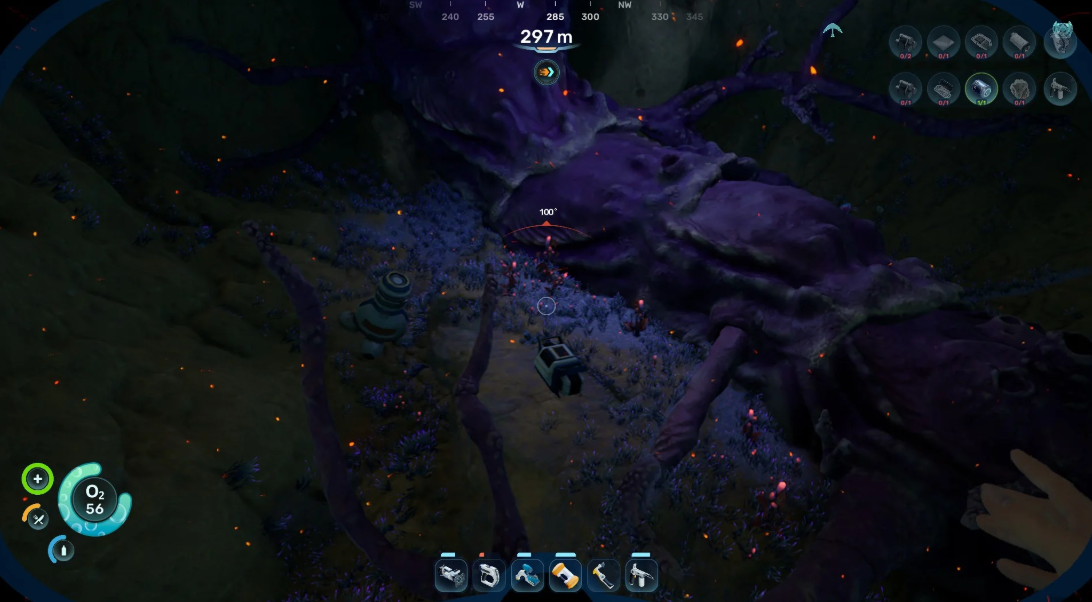
You’ll need silver for the cylinder. To get it, you’ll have to descend into the caves approximately 300 meters north of the Lifepod. Going there without fins and a bladder is certain death by suffocation.
Reception Center and Top Biomods (30-60 minutes)
Once the basic set is assembled, grab the battery and head 85 meters southeast of the capsule. Our goal is the Reception Center. Insert the power cell into the slot, and the facility instantly comes to life. Inside, you need to loot two critical items. First, the Biolab. Here you can install two starting biomods. The ideal setup for the beginning of the game includes the active “Dash” (helps you evade predators) and the passive “Oxygen Control” (stops the O₂ timer while you’re standing still). Second, don’t forget to scan the Habitat Builder. It’s lying in a hole in the floor. (Without it, you can forget about building.)
Where to build your first base and how to get “Digestion” (60-90 minutes)
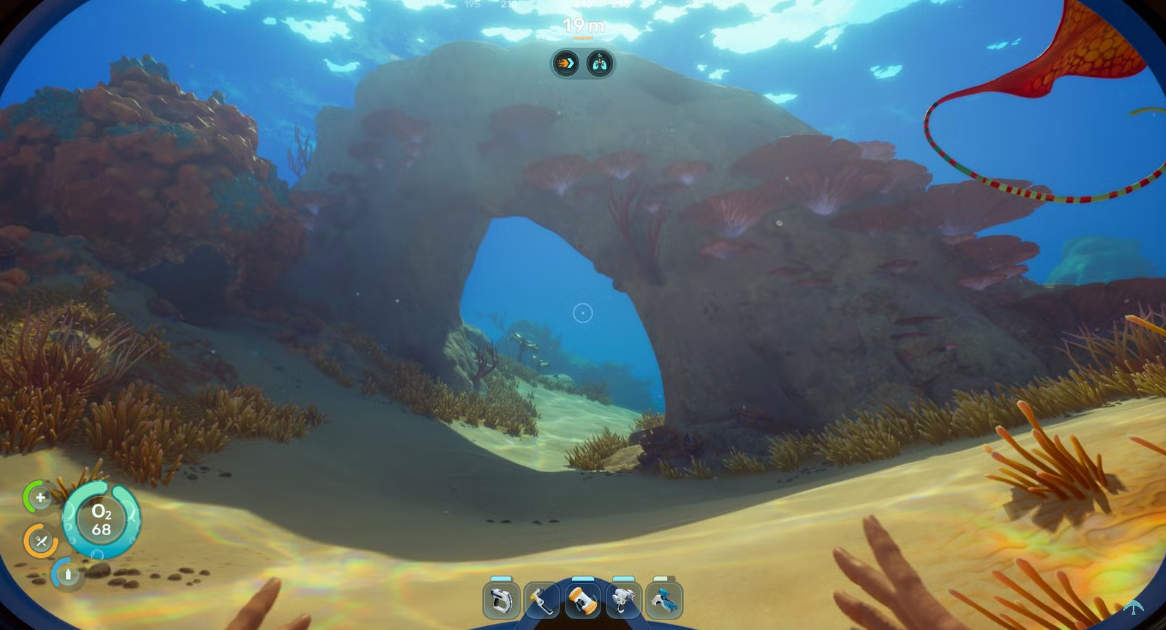
Stop eating water slugs and C-Rations. We’ll swim to the Angel’s Scallop site—it’s 158–164 meters north-northeast of the starting point, at a depth of about 19 meters. Contact with it unlocks the “Digestion” adaptation. Now the local fish will regenerate health. Meanwhile, we’ll lay the foundation for the first outpost. An excellent spot is just 60 meters east of the Lifepod. The blue wind tunnels will serve as landmarks (a hydroelectric turbine will fit perfectly there in the future). A minimal working setup: a room, a hatch, a power source, a fully functional fabricator, and a couple of cabinets. That’s more than enough.
Camp One and the Old Habitat: Midgame Blueprints (90–120 minutes)
By this point, your inventory is already full, there’s plenty of oxygen, and you’re not hungry. There are two more locations to visit to collect the main blueprints.
-
Camp One (approximately 250 m north-northeast) — collect the Scanning Station blueprints and Wavebreaker fragments.
-
Old Habitat (approximately 420 m north-northwest) — the Sonic Resonator and Bioreactor fragments are hidden here.
That’s it, the starting sprint is complete. You now have a full arsenal of tools to dive to normal depths and explore the ocean.