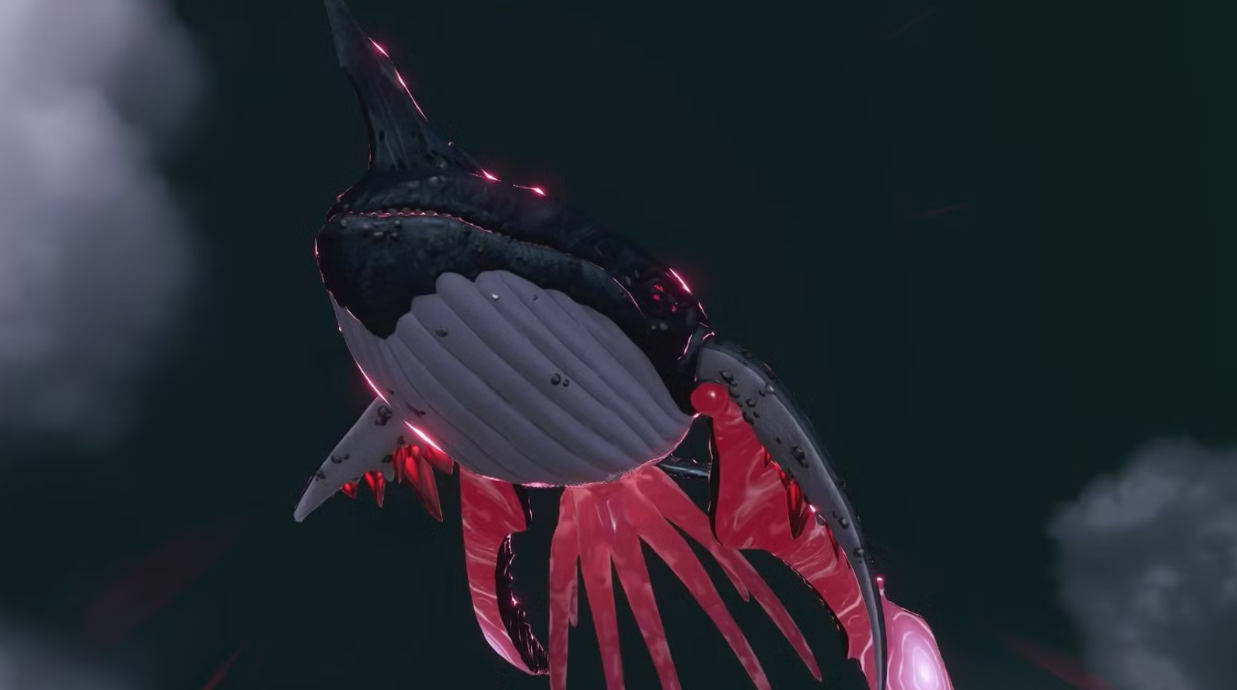
A new world boss has arrived in NTE: Neverness to Everness—the Sea Prisoner. This creature is the target of the anomalous commission “Deep Blue Sorrow,” which resides in the New Herland district of Hetereu. Finding the arena on your first try is quite a quest. The game doesn’t explicitly say, but you’ll need a four-wheeled vehicle and the right road. Without them, you’ll simply drive past.
Below is the exact route to the boss and tactics for subduing it to complete the commission.
Table of Contents
How to reach the Sea Prisoner and Nautilus Tunnel entrance
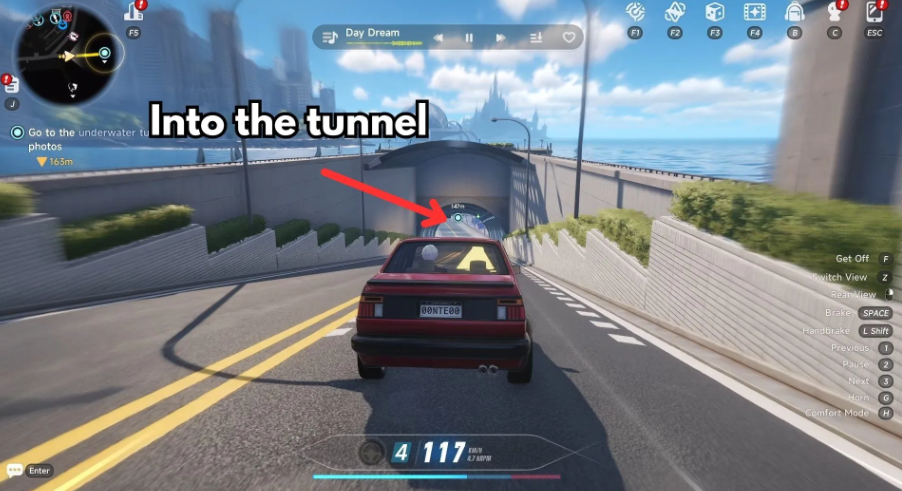
First, buy a car. Any car, as long as it has four wheels. Then open the map, find the anomalous commission icon (lower right corner), and activate “Deep Blue Sorrow.” Teleport to the Wertheimer Tower in Bridge Crossing. From there, head south to the main road (Coastal Highway Z42). Call a car with the key fob on the side of the road. Now, here’s the important part: you need the eastern entrance to the Nautilus Tunnel. It connects Bridge Crossing and New Herland.

Drive inside. Continue straight through the tunnel until you see the “Deep Blue Sorrow” anomaly. Enter, and ride along the water-and-ice path. It will lead you straight to the Sea Prisoner arena.
How to defeat the boss and Pacify mechanics in NTE
The fight itself is a test of reaction and evasion. The Sea Prisoner attacks with wide waves and ice spikes. Stay to the side or behind—a head-on kill will quickly dominate. The main goal after defeating him is to “Pacify” him. Without this, the commission will not be counted.
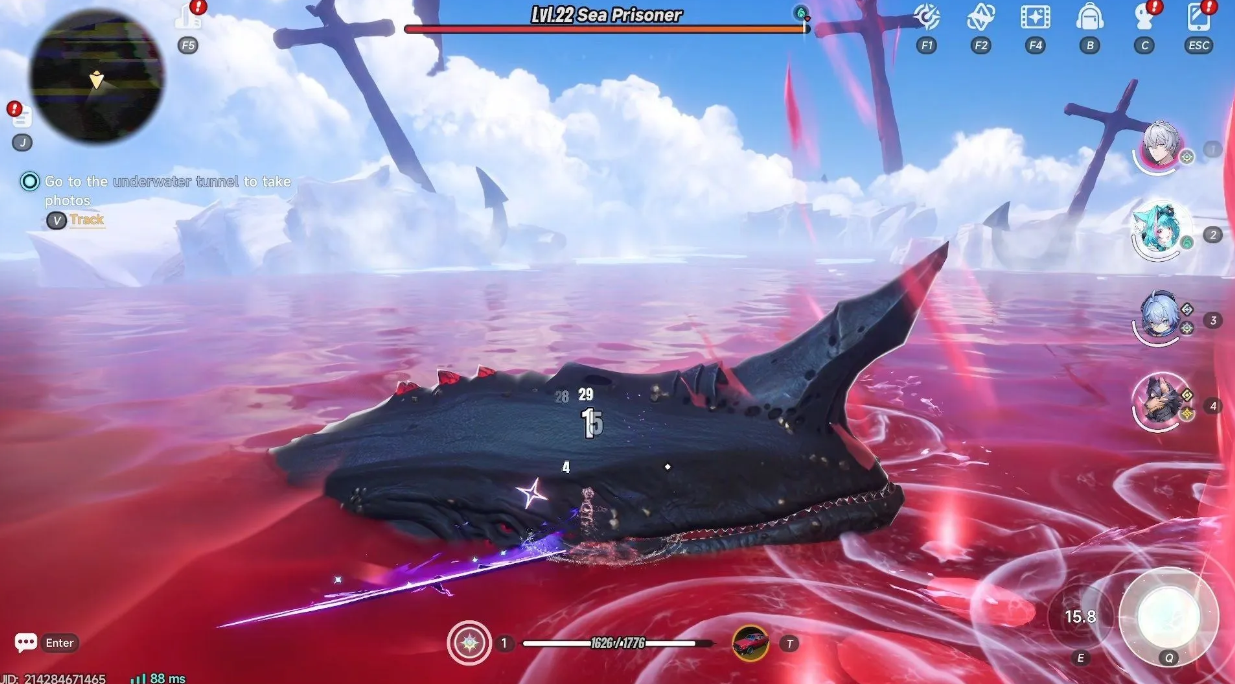
By the way, pacifying him drops some decent loot. According to rumors, it includes reinforcement materials and rare resources. So it’s worth the effort.
How to take down the Sea Prisoner in NTE
First, a quick rundown of the composition. This whale is vulnerable to Anima damage, so characters like Mint, Juyuan, and Nunnally are true counters. The ideal lineup is Nunnally, Juyuan, Sakiri, and the main character (Zero). But if you have another well-leveled team, it’s also fine.
Phase 1: How to parry rams and boss jumps
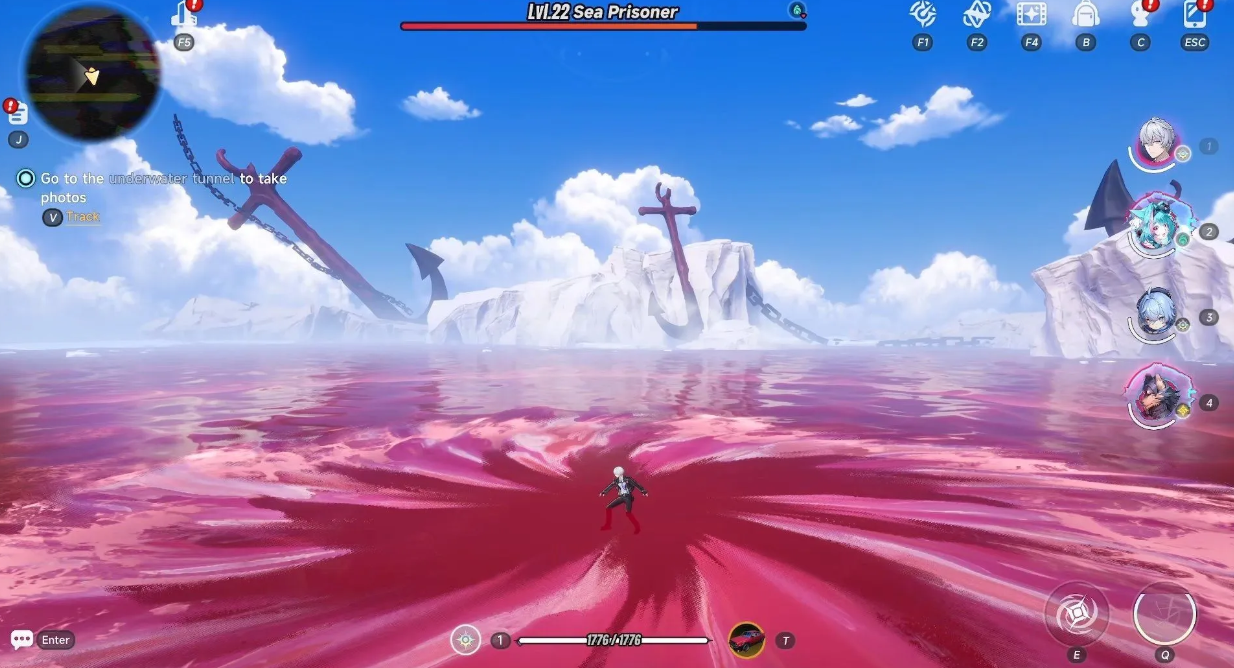
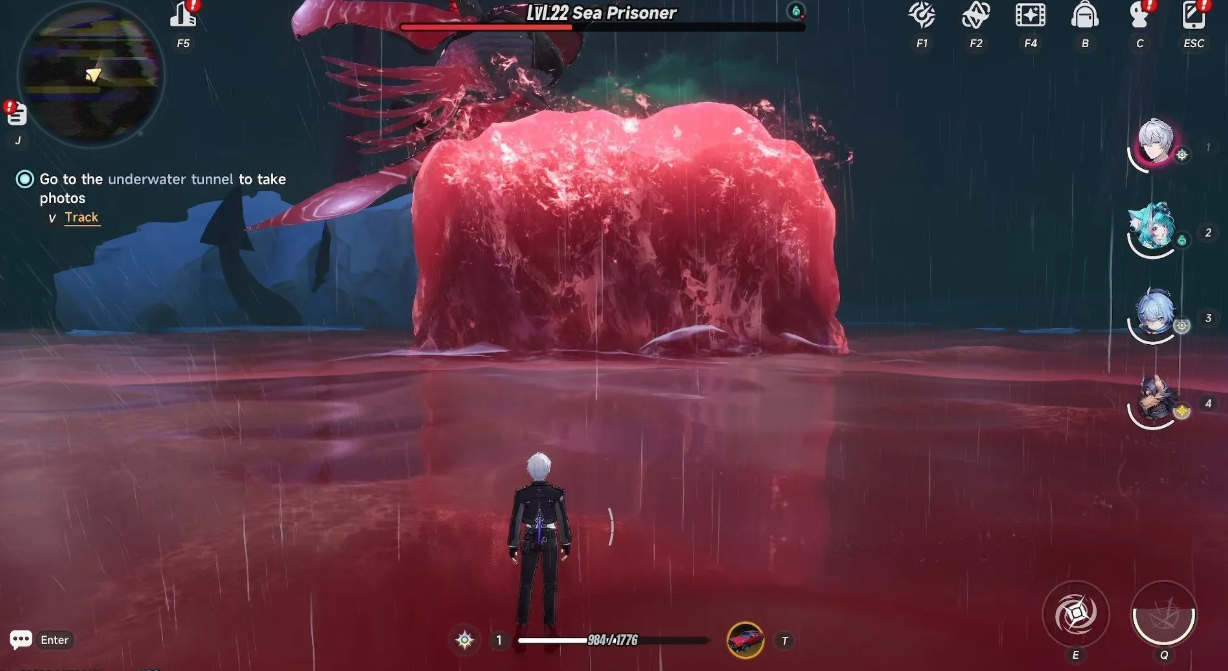
The best time to use your ultimate is when the boss jumps out of the water, splashes back down, and slowly resurfaces. This is where you need to unleash everything you’ve got. Sometimes the Sea Prisoner leaps into the air and spits balls of red water. A simple sideways roll is fine.
When a whirlpool swirls beneath your feet, brace yourself. The whale will emerge right from under you. You can try to escape, but the force of the pull and the surrounding water columns make this a poor idea. It’s better to roll—invulnerability frames will save you.
Another nasty trick: the boss creates a whirlpool to immobilize you, then rams you head-on. This attack has a loophole—parry it with any misdirection skill, your ultimate, or even a normal attack as the enemy approaches. A great chance for some free damage.
Phase 2: How to survive tsunami and red anchors
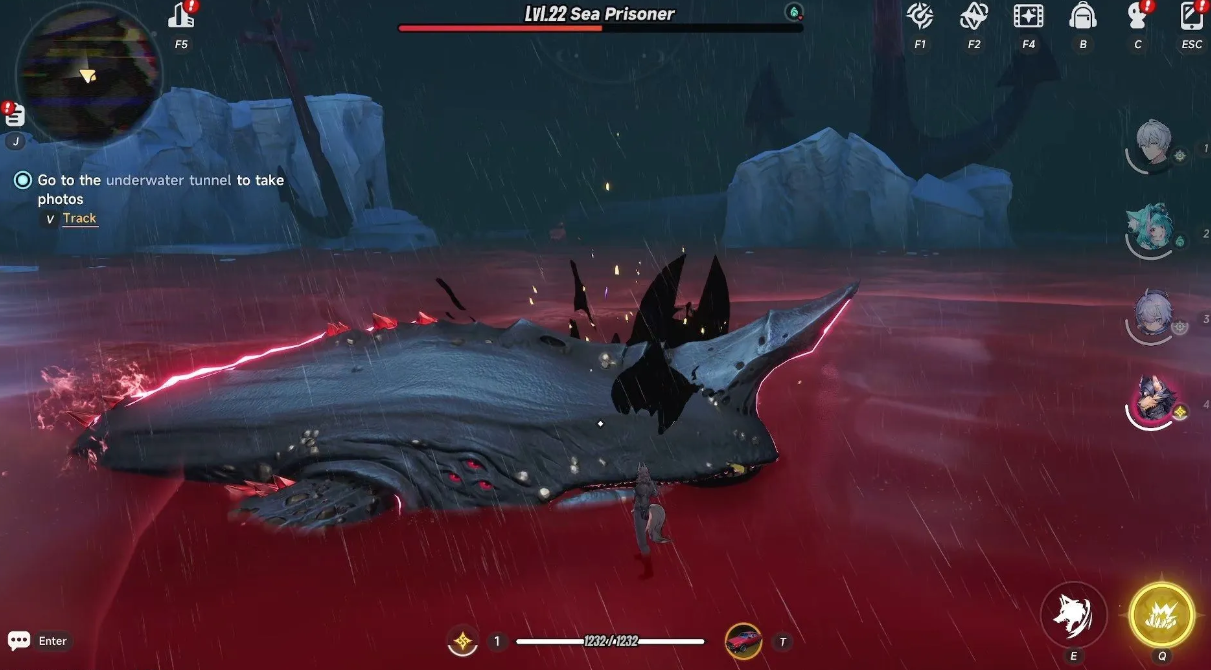
When your health reaches half, the sky darkens, rain begins, and the rhythm changes. The second phase is more aggressive. The boss gains new tricks. Now he hurls a bright red anchor at you from above. Dodge it with a roll, no other option.
The most dangerous moment is the tsunami of red water. Wave after wave comes. Don’t try to escape—the roll’s timing is very gentle; rely on your invulnerability. It really works.
Why the Sea Prisoner is destroying parties: main mistakes
The main reason for wipes is a simple disregard for the elements. People stubbornly rush into the arena with groups of enemies using Electro or Thermo, and then are surprised by the zero damage, blaming it on the whale’s inflated health. It doesn’t work that way. The Sea Prisoner only successfully penetrates Anima (other attacks hit the base resistance of about 50%). Without specialized damage dealers like Mint, Juyuan, or Nunnally, it will take twice as long to harass the boss. As a result, you are guaranteed to drown in wave spam by the second phase.
Ultimate timing is also a disaster. The desire to quickly waste a cast usually results in half the ticks being wasted while the whale dives or performs a jump animation. Wait for the resurfacing. After a heavy impact, the carcass freezes for 2-3 seconds (the perfect window for guaranteed damage). The same applies to trying to block a head-on ramming attack with a basic attack, as the activation frames are critically low. This charge can only be countered with a specialized redirection skill or an ultimate (Sakiri, for example, has this feature that works flawlessly).
Forget about instinctively running away from a tsunami. As soon as a huge AoE marker appears, many people habitually sprint to the edge of the area—and inevitably fly back to respawn. The whirlpool’s radius of contraction greatly exceeds the dash’s range. The situation becomes critical during the second phase, when tsunamis are generated in bursts of 3-4, completely covering the area. The only saving grace is a wave roll (the developers thoughtfully gave it extended i-frames).
The final chord of the battle often becomes the biggest disappointment. Having depleted their HP bar, players sigh with joy and simply skip the “Calm” mechanic. The result is disastrous. The coveted button remains active for only 4-5 seconds, after which the boss restores health, forcing them to start the phase all over again. Naturally, the “Deep Blue Sorrow” commission doesn’t count in this scenario, and the final drop is mercilessly reduced.
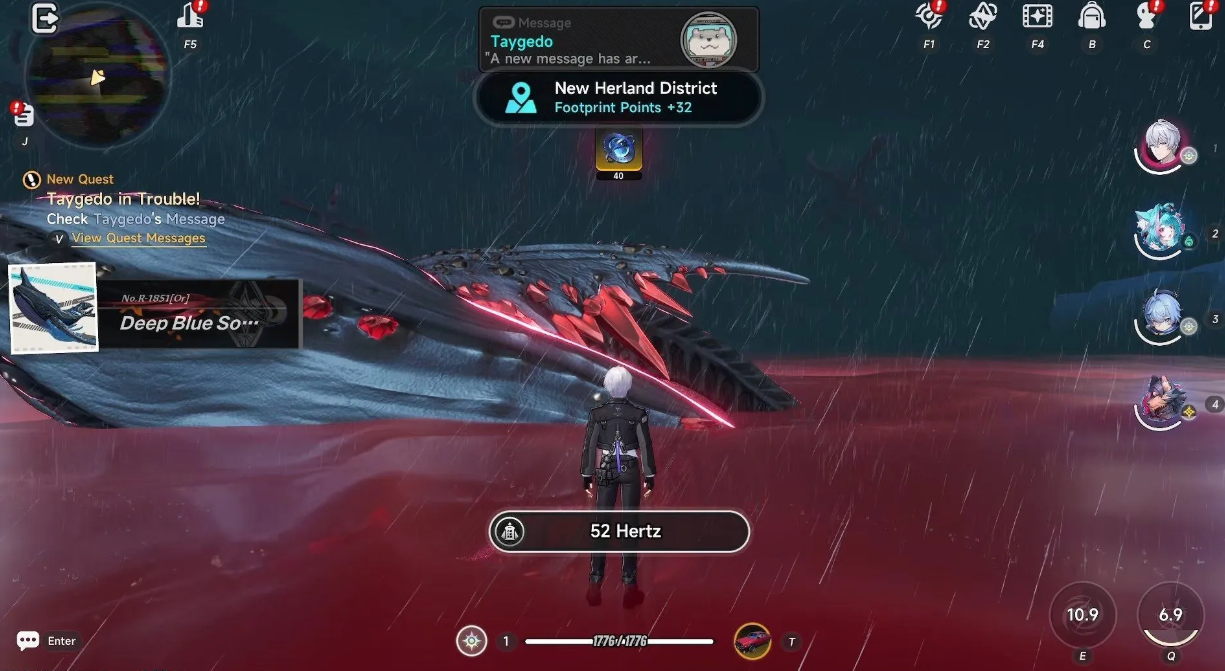
Whale’s Song Arc review: stats and best builds
The reward for defeating the Sea Prisoner and containing the anomaly is an S-rank plasma arc, “Whale’s Song.” Base attack: 33. Attack bonus: 11%. The effect is called “Deep Blue Sadness,” and it’s truly sad for enemies. What does it give? +12% attack, +12% damage to broken targets, and 30% HP restoration when finishing off a broken enemy. However, it only triggers once every 30 seconds.
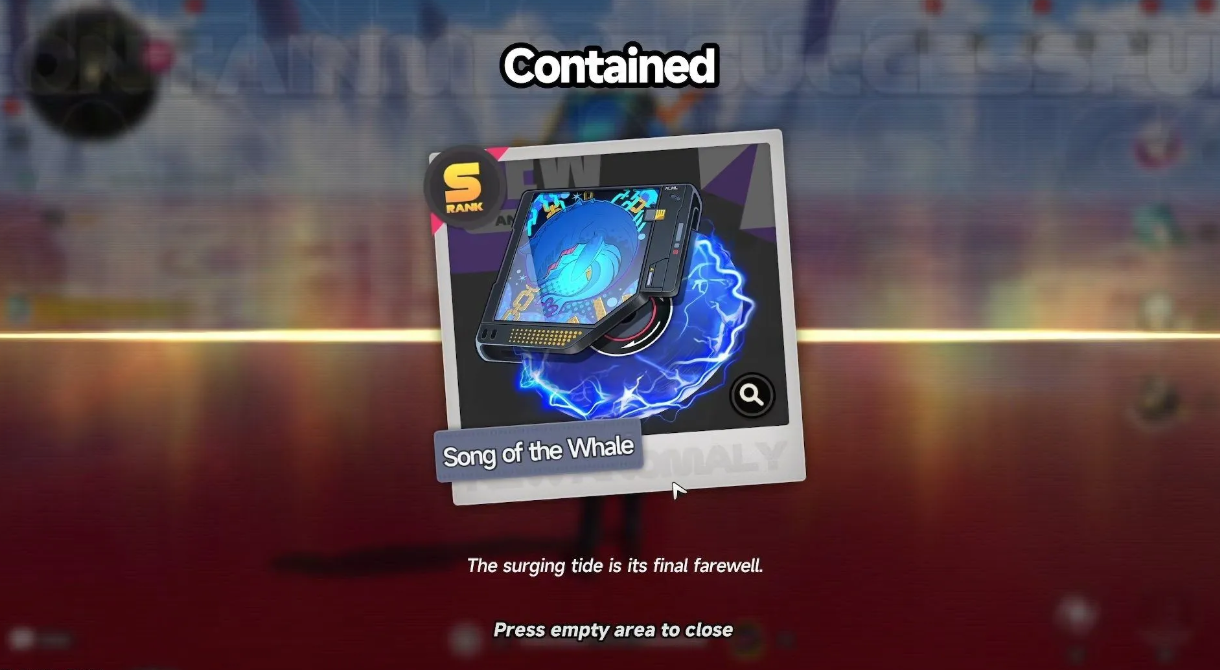
The purpose of the effect is to encourage an aggressive style. You don’t just strike—you hunt down already broken enemies. Each finished mob restores a third of your health. The arc isn’t very effective in short skirmishes (the cooldown prevents it from triggering often), but in protracted battles with bosses or hordes of elites, it’s a whole different story. You can activate it a couple of times per battle and forget about health packs.
“Song of the Whale” works best in builds focused on quickly breaking down enemy armor. If your team is good at breaking through enemy armor in seconds, this arc turns every penetration into both bonus damage and constant healing. It’s exactly what you need in the midgame and endgame.
Rewards for Deep Blue Sorrow commission in Hetereu
This boss drops two types of rewards. The first time you complete it, you’ll get the “Song of the Whale” arc itself. Subsequent runs won’t even be the arc itself, but simply upgrade resources. And the combo is pretty cool.
-
Your first run will reward you with: 40 Annulites, 80 Silver Carrots, 5 Anomaly Material Selection Boxes, 30 U-ODINs, and 7,500 Beetle Coins.
-
Repeated clears (without the arc): 300 Hunter XP and 6,000 Beetle Coins.
-
The main haul, of course, is on the first run—especially the Annulites (40 of them) and boxes of materials. It won’t be as lucrative later, but 6,000 coins for farming isn’t a waste either.
Incidentally, the Sea Prisoner is exactly the type of boss that encourages delving into the NTE mechanics. The re-entry trigger, the chase, the parry window during the dash attack—none of this is handed to you for free. Master the timing, assemble a decent Anima team, and the “Song of the Whale” arc will make subsequent fights a breeze.
See more on the website: How to Change Time and Weather?