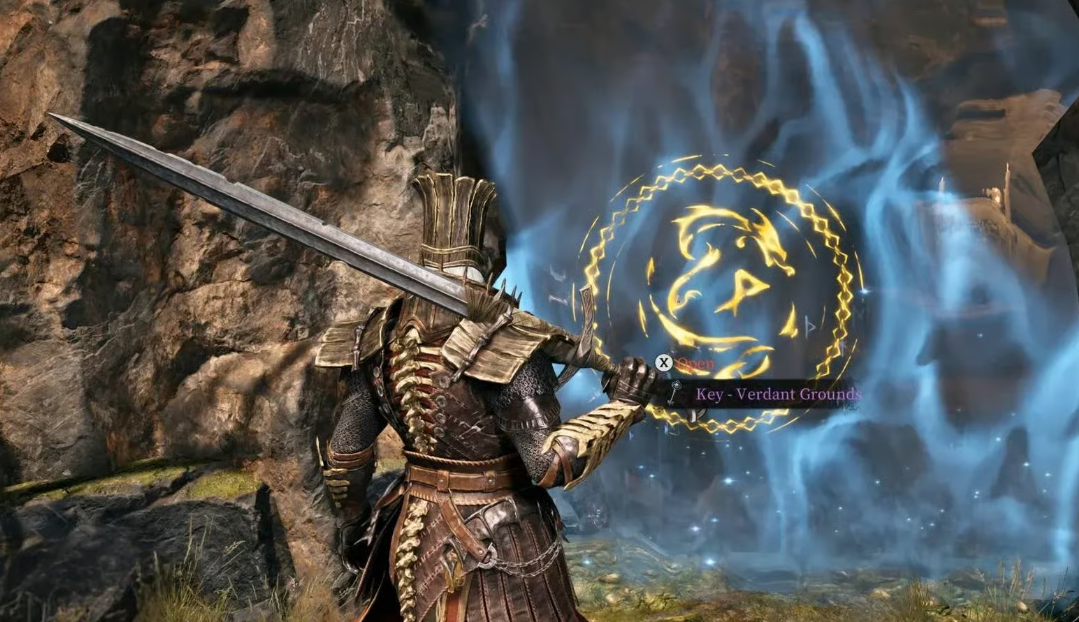
The Withered Knight in Mistfall Hunter is a rare case where a slow and sluggish class can become a killing machine when properly built around the Wither mechanic. The mechanic is simple: three light attacks charge your sword with Judgment energy, the next hit marks the enemy with Wither, and a heavy attack detonates it, causing the target to take additional damage from the execution. The trick is to do this quickly, repeatably, and without losing the mark. The game was released July 29–30, 2026, on PC, PS5, and Xbox Series X—now’s the perfect time to explore builds before the meta settles.
And here’s the interesting thing: despite its tanky appearance, the Withered Knight is very vulnerable. A misplaced positioning, a poor parry, or losing the Wither mark—and you’re gone in a matter of seconds. So the build revolves around one idea: killing the enemy before they can respond. No lengthy exchanges, no tug-of-war—just explosive damage and tempo control.
Table of Contents
How the Wither mechanic works for the Withered Knight?
Everything this class does revolves around a single cycle. You deal light blows, which build up Judgment. When the gauge fills, the sword begins to glow. The next hit marks the enemy with a Wither mark—recognizable by a blue sign above the target. Then you use a heavy attack or a skill with an execution effect (Execution/Reckoning), and the mark explodes, dealing additional damage.
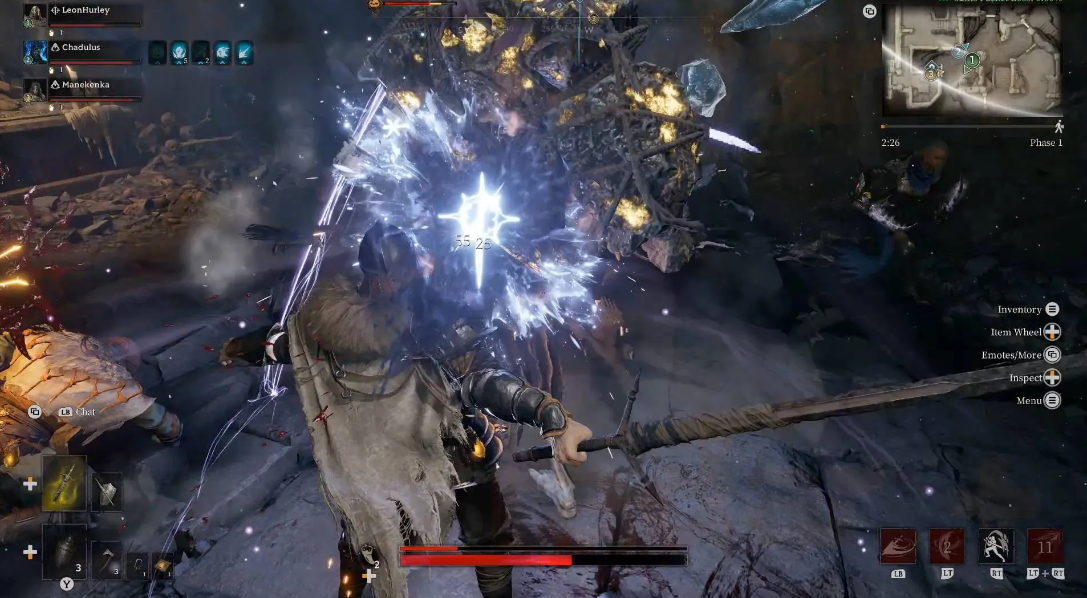
Sounds simple. But the devil, as always, is in the details.
Each execution restores energy and reduces skill cooldowns—so with the right rotation, you can repeat this cycle endlessly. The main thing is not to swing your sword haphazardly. Rhythm is more important than speed here: mark → strike → finish → repeat until the enemy tries to escape or counterattack.
Why the Greatsword is the #1 choice for a solo build?
The Withered Knight has two weapon sets: a greatsword and a spear and shield. And if you’re playing solo, the choice is obvious.
The Greatsword is all about aggression, mobility, and control. The Parry skill blocks all frontal damage for five seconds or five hits, allowing you to move and turn—unlike the spear’s Sacred Bulwark, which locks you in place. A successful parry unlocks a counterattack that instantly inflicts Wither.
Spear and shield are all about survival and support. Sacred Bulwark creates a huge barrier that blocks enemies and attacks, but you stand still. Solo, this is disastrous: you’ll simply be outflanked. For a trio, yes, it’s a viable option. But for maximum damage alone, a greatsword is the only option.
⚔️ Weapon Comparison — Minecraft
Best Skills of the Withered Knight
Greatsword specialization in the talent tree opens a fourth skill slot, at the expense of one spear skill. This should be used to advantage.
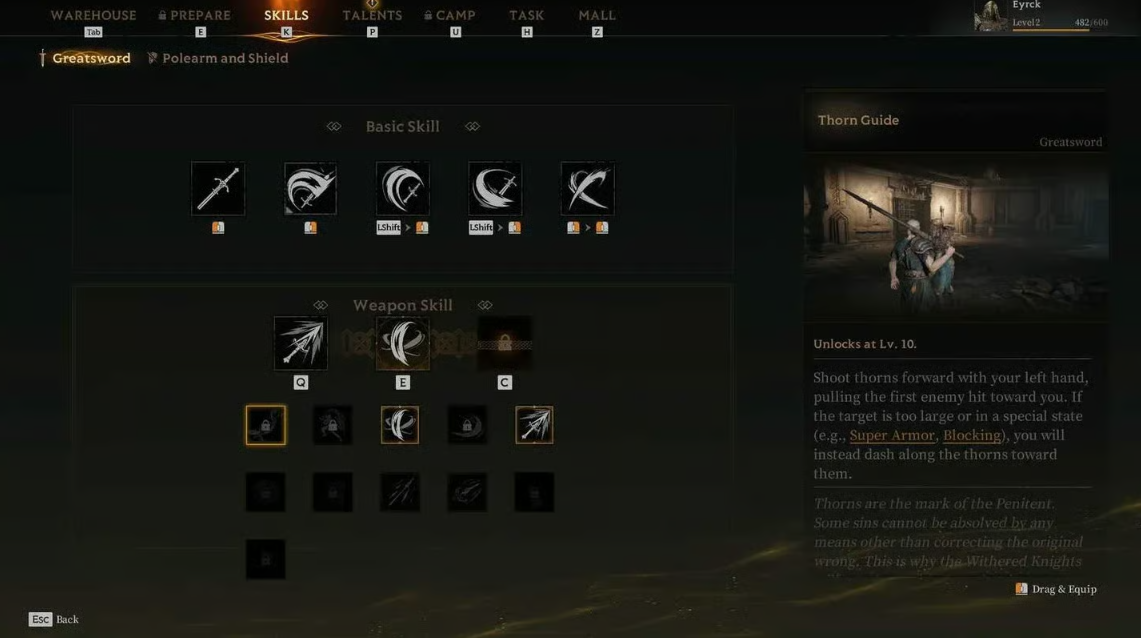
Greatsword Skills
-
Radiant Retribution – a combo of three quick, sweeping strikes. Simple yet effective: the final strike has super armor, so you can’t be interrupted. Perfect for opening combat and instantly charging up Judgment.
-
Parry – your main defensive tool. You enter a stance for five seconds or until you’ve successfully blocked five times. After parrying, you have a choice: either a slashing area-of-effect strike or a dash attack. Both options apply Wither. Without this skill, you’re useless in close combat.
-
Breakthrough Charge – a two-phase attack: first a dash forward, then a finishing move with a swing to the left or right. It addresses the class’s main weakness—slowness. It allows you to suddenly burst into combat or catch up with a fleeing enemy.
-
Thorn Guide – fires spikes that pull the enemy toward you. If the target is super armored or has block power, you dash toward them yourself. It’s a lifesaver when an enemy tries to kite you from a distance.
Spear and Shield Skills (if playing in a team)
Because of the Greatsword specialization, you’ll only have one spear slot. Choose wisely.
-
Javelin Thrust – Throw a spear at an enemy, then dash and apply Wither. It provides mobility and an additional way to apply a mark. It’s the best option for solo play.
-
Sacred Bulwark – That barrier. In a team, it’s a lifesaver, especially when you need to cover allies or block an entrance. Useless solo.
Key Talents for Maximum Damage
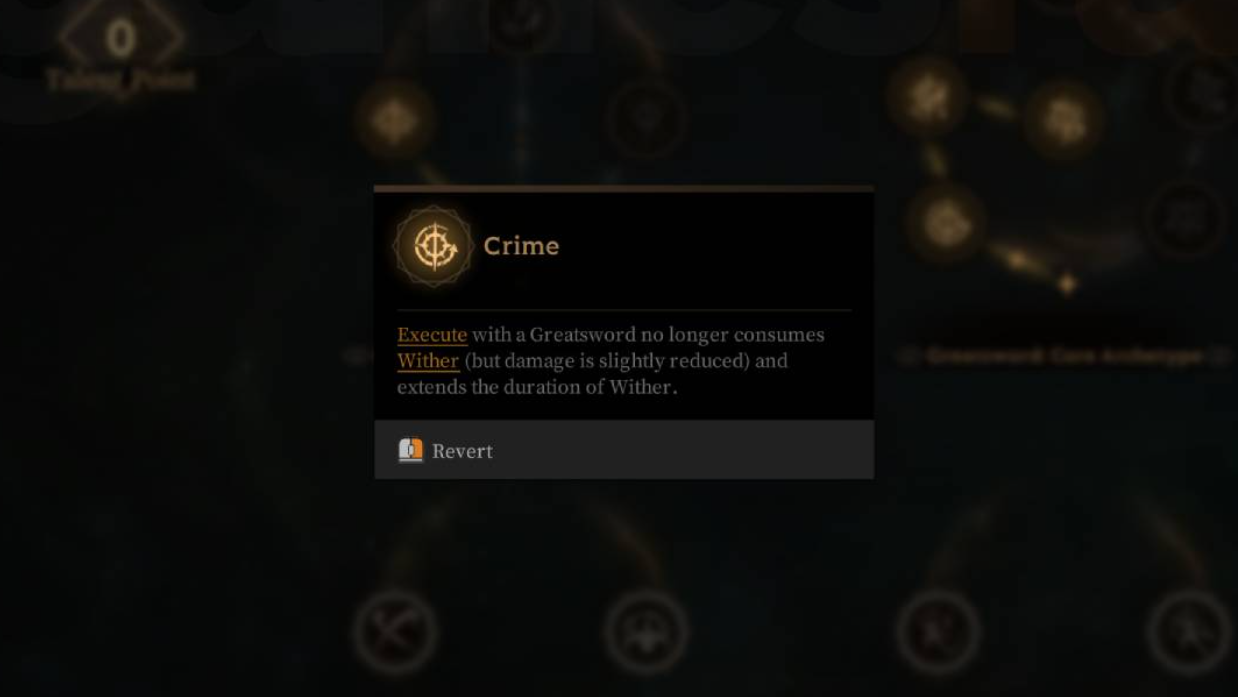
There’s no room for experimentation here. There’s a mandatory combo, without which the build won’t work.
-
Greatsword Specialization – Unlocks a fourth skill for the Greatsword. Choose it first.
-
Crime – The most important talent in the build. Execute no longer consumes Wither. The mark simply lasts longer. Without it, you land one explosive strike and that’s it—the mark disappears, requiring you to recharge Judgment. With Crime, you can execute the same target multiple times in a row. Yes, the overall execution damage is slightly reduced, but the ability to repeatedly execute more than compensates.
-
Bad Karma – Works in tandem with Crime. When executing, it applies a chain of debuffs: first, it reduces the enemy’s movement speed, then increases their vulnerability, and finally, the target begins to lose health over time. Each subsequent execution increases the effect.
-
Legacy – Restores health when an enemy marked with Wither dies. Grants resilience in protracted battles.
-
Endless Flow – Reduces the cooldown of all skills. Allows you to use Thorn Guide and Breakthrough Charge more often, meaning you’ll be vulnerable less often.
Affixes and Attributes — What to Look for in Gear
Affixes are what turn a good build into a killer one. Look for them on your gear and through Wine of Victory.
Affix Priority:
-
Burst – Increases Wither execution damage. Your main affix.
-
Tenacious – Increases health and increases healing. With Legacy, it provides excellent survivability.
-
Valor – Increases physical damage and defense penetration.
-
Stoic – Defense and additional bonuses at low HP.
-
Aegis – Increases defense and reduces block cost.
-
Fervor – Additional damage and reduced energy cost at high HP.
Attribute Priority:
-
Physical Damage – Primary damage. Everything else is secondary.
-
Max Health – Survivability. You’re in close combat, after all.
-
Defense Penetration – Defense penetration. Especially important against tanky classes.
Full Rotation and Combo Sequence
Now the most important thing is how to apply all of this in combat. Without the right rotation, even the best skills and talents will be useless.
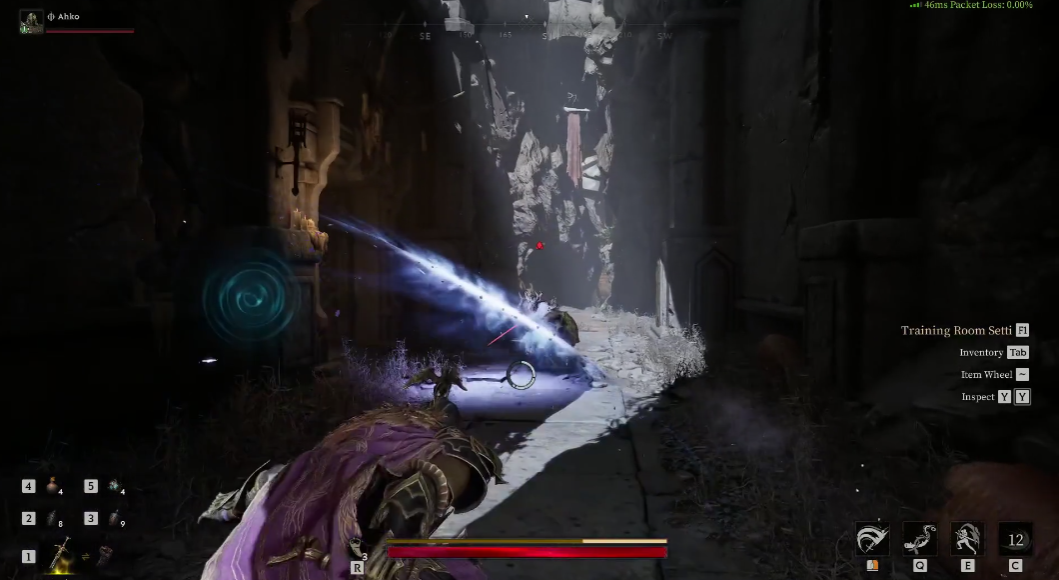
Basic Rotation (single enemy)
Thorn Guide → Light Weapon Swing → Withering Mark → Reckoning
How it works: you pull the enemy with your spikes, immediately strike with a light attack (this cancels the animation after Thorn Guide), apply Withering Mark, and instantly detonate the mark with a heavy strike. This all takes a couple of seconds—the enemy simply doesn’t have time to react.
Parry Rotation (against multiple enemies)
Timed Parry → Heavy Greatsword Swing → Withering Sigil Stacks → Reckoning
You’re attacked—you parry, confuse the enemy, apply Withering Mark to everyone nearby with a wide strike, and detonate everything with a single execution.
Important Warnings:
-
Reckoning has a high vulnerability—you are blocked in the animation. Don’t use it unless the enemy is stunned or superarmored.
-
Never use Reckoning without applying marks—it’s a waste of time and leaves you open to a counterattack.
-
After Breakthrough Charge, you can choose the direction of the finishing move—use this to dodge counterattacks.
Strengths, Weaknesses, and Common Mistakes
This build is powerful, but unforgiving. One mistake and you’re dead.
Pros:
-
Huge burst damage through repeated executions (thanks to Crime)
-
Parry is one of the best defensive skills in the game
-
Excellent range control with Thorn Guide
-
Good survivability thanks to Legacy and Tenacious
Cons:
-
Slow – you’re easily kited if skills are on cooldown
-
Complete reliance on Wither – without marks, you’re nothing
-
Long learning curve – you’ll have to spend time practicing timing
-
Reckoning leaves you vulnerable – incorrect use = death
Common mistakes:
-
Incorrect Parry. The stance only blocks frontal damage – you’re open from the sides and back. Don’t stand still, turn toward the threat.
-
Using Reckoning without marks. A waste of time and a guaranteed counterattack.
-
Losing Wither. If you miss a Heavy Attack or your mark expires, the cycle is interrupted and you lose momentum.
-
Poor positioning. You’re not a tank. Don’t rush into the middle of a crowd without a plan.
The Withered Knight is a class for those who like to control the pace of combat. You don’t just strike—you dictate when and how your enemy takes damage. One well-placed execution can turn the fight around. One mistake and you’ll be sent to respawn. Master the rhythm, and no one will stand firm.
See further: Mistfall Hunter: complete beginner guide — from class selection to extraction