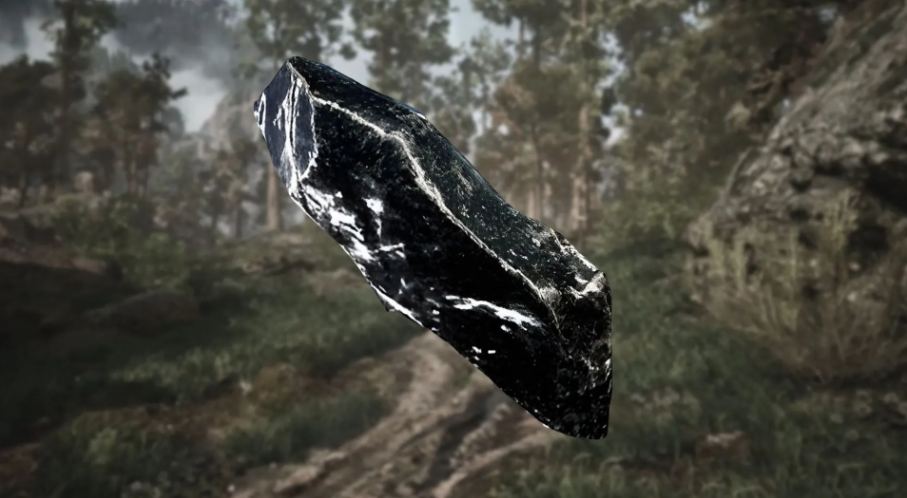
Progressing through the Saros story campaign gradually reveals not only Arjun’s story and the mysteries of the world of Carcosa, but also new gameplay mechanics. Yellow barriers, grappling hooks, and trampolines—all of these are found in the biomes from the very beginning, but they don’t work without the necessary skills. Fortunately, they unlock automatically as you progress. And some even have unexpected uses in combat. Below is a detailed description of each of these features.
Table of Contents
Where to find the Jump Network in the Ancient Depths biome?
Where to find: Ancient Depths biome
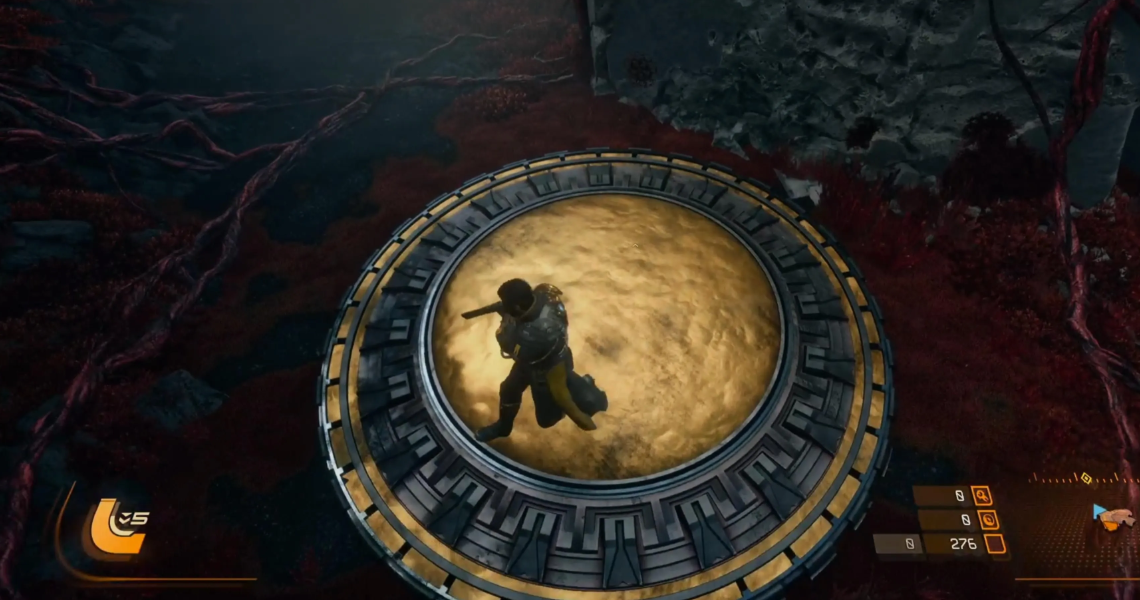
Immediately after defeating the first boss (the Prophet), you’ll reach the second biome. But to activate the jump platforms, you’ll have to return to the Passage and then teleport back to the Ancient Depths via the World Disc on the Primordial. This is where you’ll receive this ability. It sounds like a quest with loops, but it’s worth it.
Once unlocked, all platforms in the game are activated simultaneously. Just press jump on this thing, and your character will fly much higher than usual. This will allow you to reach previously inaccessible places. Incidentally, these same platforms are used in one of the boss fights.
How to get the Grappling Hook in the Shattered Descent?
Where to find: Shattered Descent biome
You’ll start noticing grappling points in the first two biomes. However, they only activate in the third, the Shattered Descent. First, you’ll need to find an item there and deliver it to the Passage. After the cutscene, return to the terminal. Activate it, and the grappling hook is yours.
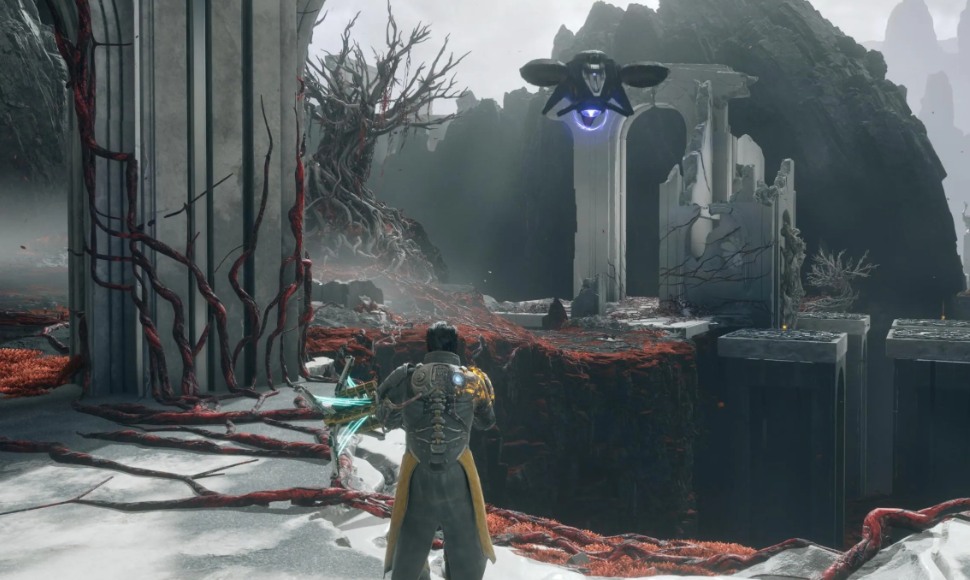
How it works: Press triangle, and Arjun quickly covers large distances. Useful not only for exploring side paths, but also in combat. Grappling points are located in boss arenas and enemy rooms. Enemies getting too close? Jump into the air—dodging projectiles and attacks becomes much easier.
Overcharge Combat Mechanics and Farming in Saros
Where to find: Infested Swamp biome
No tricks here: this ability is purely combat-oriented. No secret rooms or new routes—only damage. The mechanic charges when you hit enemies with your primary or power weapon. It unlocks in the fourth biome (the aforementioned Infested Swamp). Once the meter is full, a hint will appear on the screen. Activate at any time: hold L3 and R3 simultaneously.
Overcharge is especially effective against bosses and alpha enemies—it shreds a significant chunk of health. It can also be used in crowded rooms, but it’s more effective to first group the mobs together and then attack them all at once.
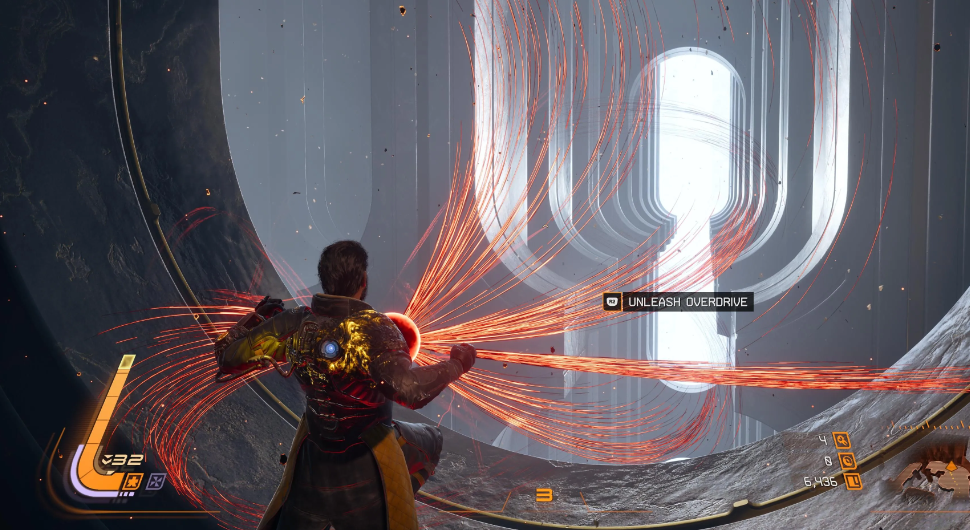
Incidentally, killing 30 enemies with this ability awards a bronze trophy. If you’re aiming for platinum, don’t be lazy; use Overcharge to clear enemy units whenever possible.
Parrying Nova attacks and defending against red projectiles
Where to find: also in the Infected Swamp
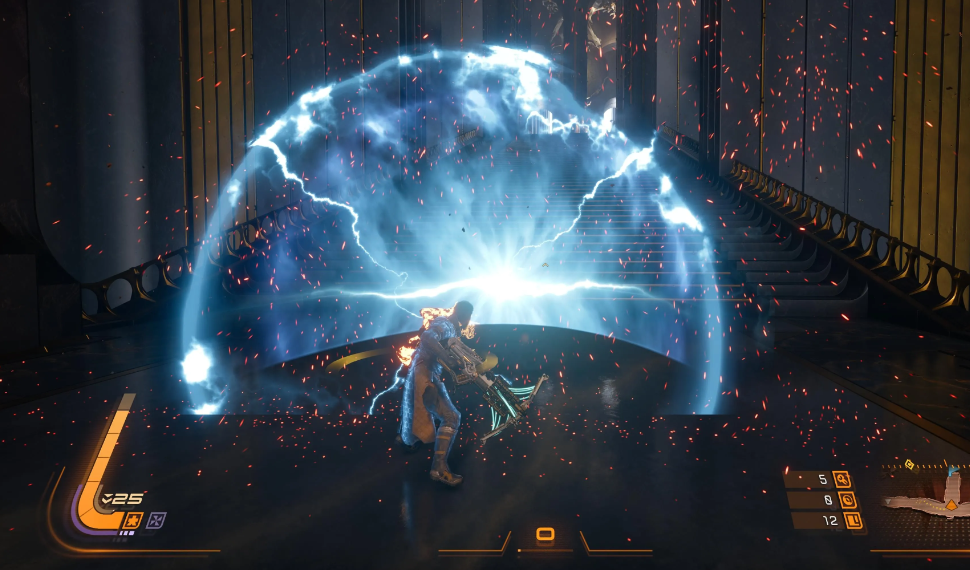
Early in the tutorial, you’ll encounter Novas—red projectiles that can’t be blocked by the Soltari Shield or passed through like yellow ones. Until the middle of the fourth biome, you’ll have to simply dodge them. But then you restore power, talk to an NPC, and the parry ability is yours.
It works simply: when you see a red projectile, press the melee button. The hero will deflect it in the direction you’re facing. Once unlocked, many enemies will also start using Nova. Parrying and stunning them significantly changes tactics.
How to use Eclipse Threads for fast travel?
Where to find: Corrupted Fortress biome
This ability is easy to miss. It’s not as noticeable as the grappling hook or jumping platforms. You’ve probably noticed rooms where containers hang too far away, making it unclear how to reach them. If you look closely, you’ll see a faint white line, curved, as if someone was drawing an arc.
These are Eclipse Threads. They unlock in the fifth biome. Once unlocked, approach a thread and press L1—your character will glide along it for a long distance. Traveling between biomes becomes much faster. True, threads aren’t found in every room. However, they do open up side paths and collectibles that were previously out of reach.
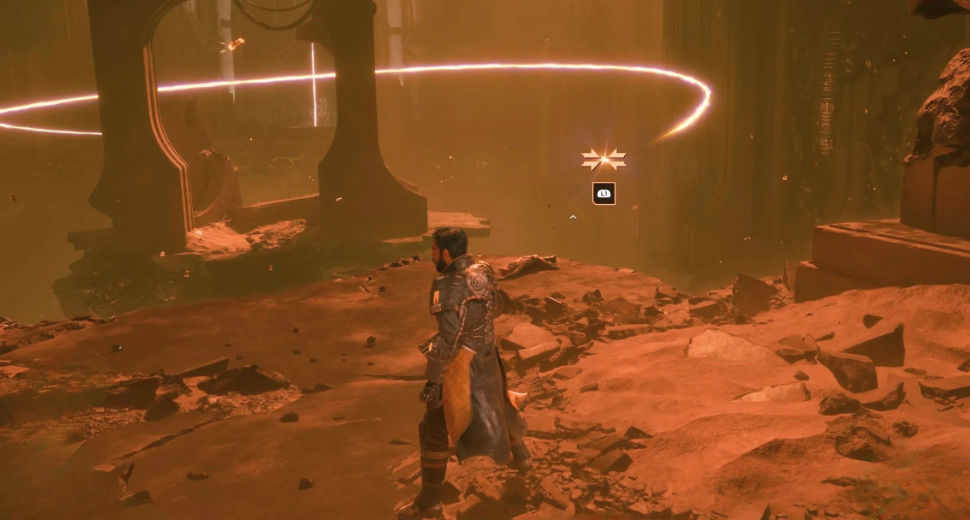
Important note: you can only use Threads while an Eclipse is active. If it’s not active, you’ll only see that faint line, but you won’t be able to travel.
How do I break the yellow barriers and unlock the Blazing Strike?
The Blazing Strike in Saros is a must-have for anyone who’s ever tripped over a yellow barrier. And this is no coincidence: already in the first biome, you’re met with these pesky barriers—a mechanic familiar from Returnal. But there’s a difference. In the previous Housemarque game, you had to craft a special artifact for your melee weapon to break barriers in the next run. In Saros, everything is simpler—and simultaneously more challenging.
The ability is tied to the story. You unlock it not just anywhere, but in the final biome—the Yellow Coast. You need to reach it by completing Act 2. Only then do you encounter that very yellow barrier blocking your path. And behind it lies your prize. Not the most convenient moment, you’ll agree. But once you’ve unlocked the Blazing Strike, it works everywhere: return to the Passage or any other locations—the barriers are no longer a problem.

By the way, the cool stuff doesn’t end there. The yellow locked containers that usually require the Carcosa Key can now be broken, too. Just melee them and grab the Power Weapon. Save time and nerves.
And another bonus – against stunned enemies. Deal enough damage to a regular mob or Alpha? It’ll freeze for a couple of seconds. Press R1 – take monstrous damage. This often kills regular enemies outright. So, the Blazing Strike is not only the key to yellow barriers, but also a great tool for teamfights.
The Best Saros Build: Armor Matrix Leveling Guide
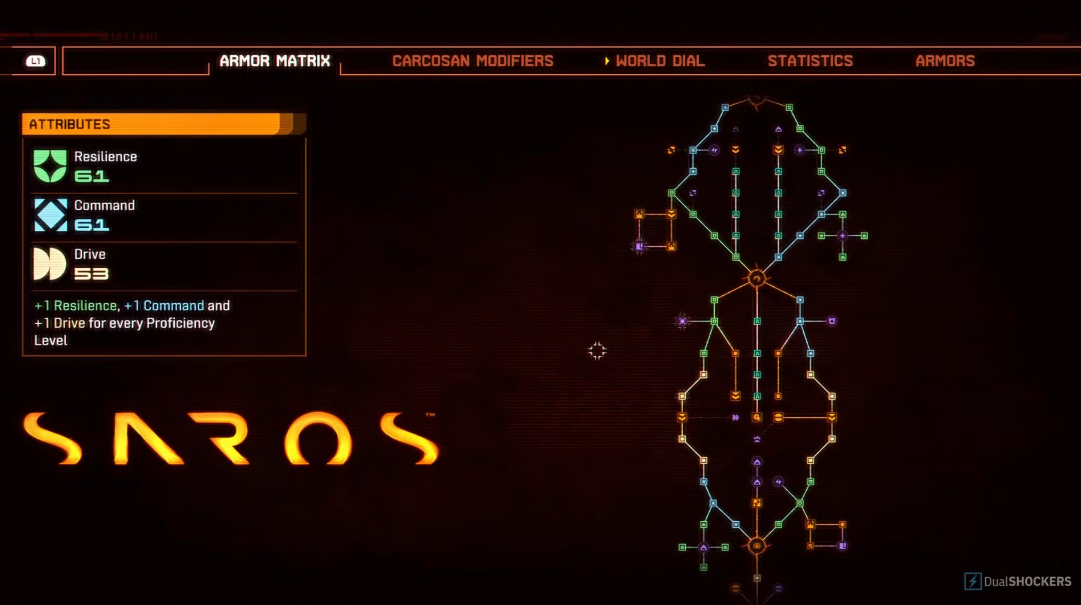
To avoid turning Saros into an endless grind, it’s best to focus on the meta build right away. Proper resource distribution in Armor Matrix is the foundation without which your character will struggle to thrive in the mid-game. Based on the current meta, we’ve compiled a priority list of investments: Proficiency Enhancements, Drive Upgrades, Restoration and Aether Upgrades, Artifact Slots, and, only at the end, Attribute Enhancements. This sequence allows you to speed up progression and unlock new abilities faster.
Character Development Priority for the Meta Build
Upgrade Priorities
Many beginners make the classic mistake of wasting Halcyon on everything. In fact, this currency is the cornerstone of leveling up in Armor Matrix, as it unlocks elite purple nodes. Pay special attention to Drive: it’s far more important than Resilience at the start, as it directly impacts Lucenite production. The more of this resource you loot from mobs and find in locations, the faster the build pays for itself. Economics is key.
If you follow this plan, you first boost resource production, then improve survivability, and only finally refine the build to suit your combat style and specific weapons. The end result isn’t just a list of stats, but a viable build that starts pulling you along long before the credits roll.