If you thought the co-op action genre had run out of surprises, Far Far West will give you a pleasant shock. It’s a wild mix of revolvers, magic, and merciless wastelands—the gameplay formula is reminiscent of Helldivers 2: run into a mission, shoot some loot, and escape alive. But the devil, as always, is in the details. There are a ton of mechanics here, and many of them work differently than you’re used to. So, a few tips before your first raid won’t hurt.
Table of Contents
Salon Guide: How to Level Up Your Character and Weapons
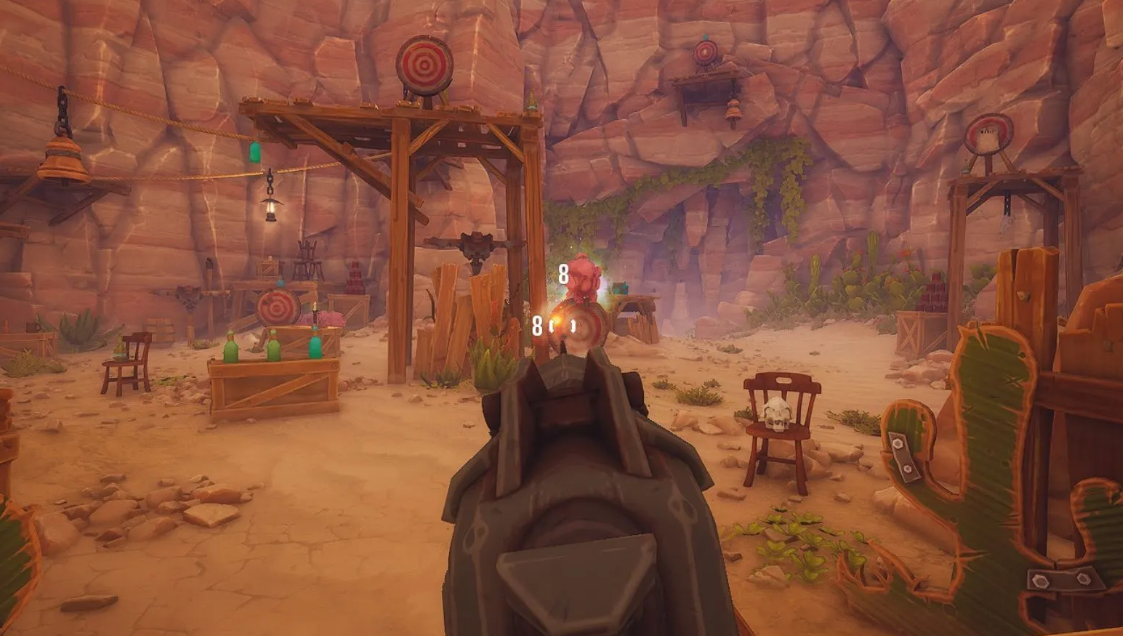
Immediately after the tutorial (which you can skip if you’re looking for something more extreme), you’ll find yourself in the main hub—the Salon. This is where all the character-upgrade magic happens. First, visit all the NPCs with markers. They are clearly divided into roles: one is responsible for spells, another for equipment, and a third for leveling up your character. There’s even a dedicated cosmetics shop and a roulette wheel for gamblers—yes, you can spend your hard-earned money on luck here. The Salon also has a shooting range: it’s convenient for testing new guns and magic without risking your life.

Speaking of weapons, keeping an eye on your guns isn’t a whim, but a matter of survival. A worn-out revolver will misfire at a crucial moment, while a well-maintained one will boost your critical hits. The difference is palpable.

Tips for beginners on surviving raids
Now, on to the battlefield. Here are a few observations that helped us stay on track.
-
You can heal while running. First aid kits (healing bottles) are usually found near quest objectives, on bosses, or in chests. Refilling ammo and healing don’t slow down your sprint—use them while you’re escaping the crowd.
-
Quests often give out the “Joker”—a powerful gadget that makes life much easier before the boss. Don’t skip the intermediate objectives; they’re worth it.
-
Wishing wells are a gamble. They can make you rich, but they can also leave you with an unpleasant surprise. If you need currency, take risks, but be prepared for bad outcomes.
-
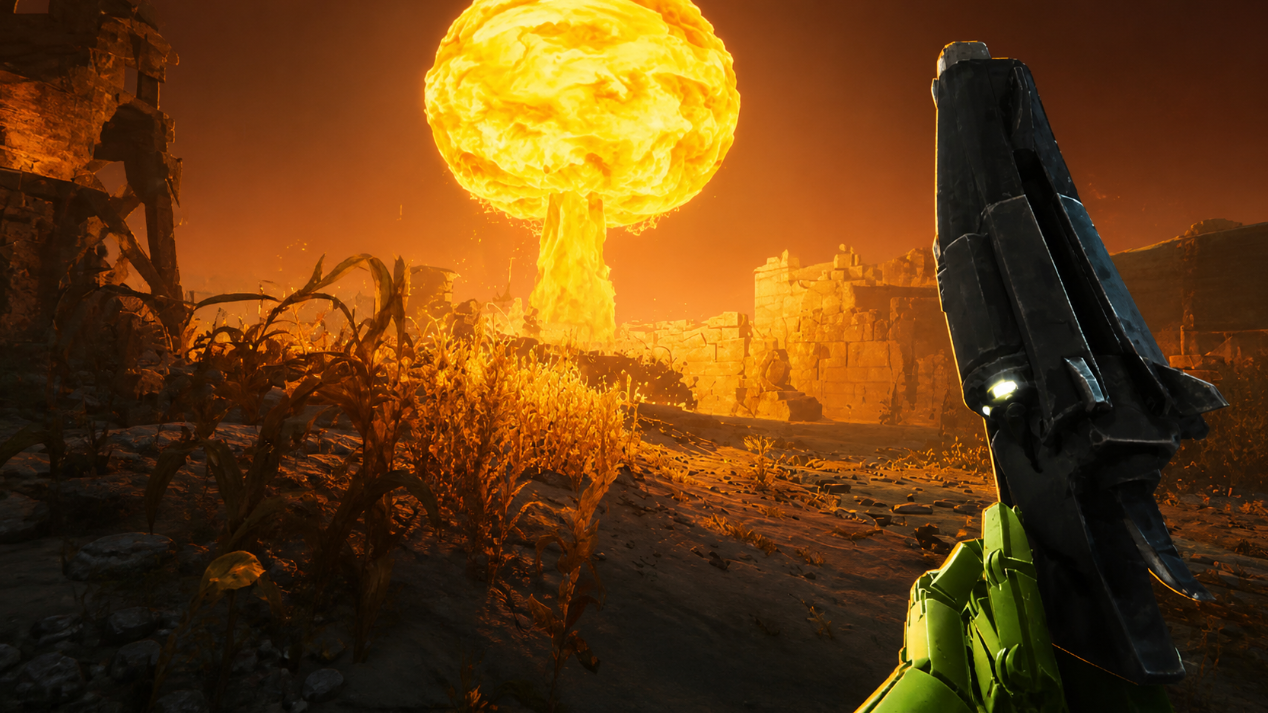
Nuclear enemies. They’re deadly at first touch—one hit and you’re dead. But there’s good news: they’re great at clearing out waves of their own kind if you detonate them from afar. Distance is your best friend.
-
Spell combos. Just use them. Combinations work, experiment.
Far Far West Endgame: The Path to a Top-Ended Build
Bottom Line: Far Far West isn’t a case of simply running and gunning. The game requires tactical audacity and an understanding of the mechanics. But once you get the hang of it, each foray turns into a mini-Western adventure with great risk and even greater rewards. Come into the Salon, clean your revolver and remember about the nuclear scientists.
Hero development plan for the first 30 minutes of the game
The opening segment of Far Far West is the foundation for all subsequent progress, and it’s easy to screw it up. A new player typically has a 25-30 minute window before the first serious skirmish sends them respawning. Instead of jumping into spectacular but pointless firefights, focus on the base.
First and foremost, no tutorial skip, no matter how tempting it is to dive right into the action. Complete the tutorial, then clear the Salon of all NPCs with exclamation marks—that’s your starting capital. Don’t forget to pick up the starting pack of Jokers. An important point about leveling up: at the start, pour your Souls into your flask and stamina. Damage can wait; now your task is not to get knocked off by a random sneeze. Build on your success with an easy mission: this will help you get a feel for enemy timing and the specific recoil of the revolver. Only after this preparation can you venture into more challenging areas.
Top 10 Beginner Mistakes and How to Fix Them
Working with Jokers is a particular headache. Many people fill their slots based on the principle of “whatever you roll, that’s what you put on,” but in Far Far West, this is a dead end. It’s foolish to waste a slot on a card that grants attack speed for damage if you plan to play stealthily—the passive simply won’t work. Before spending resources, decide: are you a marksman, a mage, or do you prefer melee? You don’t need unnecessary junk in your deck—sell unnecessary cards immediately. They’ll return your souls at a slight discount, but you’ll free up space for truly useful perks.
Finally, don’t skip camps. A campfire in this game isn’t just a decoration; it’s a powerful tactical tool. Cooked food provides buffs for 5-10 minutes, which can be crucial in a sweaty mission. You can also skip time by meditating by the fire. Remember: at night, some NPCs simply sleep, and during the day, patrols become more active. Use the day-and-night cycle as leverage to make life easier in dangerous areas.
Farming Gold and Souls: The Best Ways to Earn
There are a ton of ways to make money in the game, but the easiest and most reliable is to search for gold veins directly on the maps and not ignore side objectives during runs. Both options yield around 50 gold for next to nothing. Upgrades add up over time, so it’s best to save up from the start. When it’s time to build top-end gear and improve your survivability, extra supplies will come in handy. At first, I advise not focusing on damage. Upgrade your flask capacity and healing speed—they’ll really extend your life in a raid. And stamina: it makes it easier to move and carry heavy weapons without getting exhausted after a couple of shots.
Joker System Overview: Card Types and Slots
Jokers are divided into temporary (given in missions for a single run) and permanent. The latter are attached to weapons or directly to your character and provide passive bonuses. They have levels, and this is the second most important source of progression—after the usual ammunition and attack power upgrades.

A few notable examples:
-
Legendary: Increases attack speed for every 50 damage dealt during a run. Takes up 5 slots.
-
Common: Completely negates fall damage. Takes up 1 slot.
-
Prime: Chance to fire explosive projectiles. Takes up 3 slots.
Jokers are purchased with Souls—a currency dropped from slain enemies and for completing missions. Prices range from 50 to over a thousand, but there’s another problem: which cards you can equip at a given time depends on the slot limit on your character and weapon. The limit increases over time. Let’s say you have seven slots. You can equip one three-slot and one four-slot Joker—or any other combination, as long as you have room. Tired of the set? Sell the cards for a small amount of Souls (the discount depends on their rarity).
High-level Jokers are initially locked to a specific character level. But there’s a loophole: the “Gamba Machine.” If you’re lucky, you’ll land a legendary card long before the official reveal. If not—well, luck is fickle in the heat of the moment.
Select missions and difficulty levels to progress
Rewards aren’t just handed out—you have to use your head. First, understand how the quest chains in different zones are connected, and then decide which difficulty to adjust based on your current Power Level. Seems obvious? But many people jump right in. The city is a fun place; you can wander around it for hours. But sooner or later, you’ll have to grab a gun and take down some bad guys. Each region has its own quest chains, collectibles, and local bosses. Icons on the map clearly highlight what’s already been completed and what’s not, and what difficulty level it’s on. Convenient? Of course. Finish a quest and collect all the loot points—fly to another location. There’s a fresh batch of threats and quests there.
Navigation secrets and finding hidden loot
Reading the map like a pro: From the first burst of information, you’re overwhelmed. Icons are everywhere: objectives, enemy clusters, points of interest. The basic route of a typical run looks like this: start → boss → extraction. But the map screams, “Hey, look around!” Beyond the main path, there are a ton of secondary activities.
The most valuable icons are NPC quests. There’s a catch: completing them completely will take several runs. So, complete them one at a time—this will unlock new content significantly faster. Question marks are small puzzles or minigames. They reward decent gold, and if you’re lucky, even the Joker will fall. There are also unmarked points: wishing wells, music discs. The player must be attentive—trust the map, but don’t turn off your eyes, either.
By the way, don’t forget to activate special perception modes. They highlight not only enemies, but also hidden resources, mechanisms, and rare components. A very useful thing to not miss valuable loot while crawling around corners.
Side quests and pre-boss activities
Explore the map before the boss – don’t miss the side quests. It’s best not to rush from point A to point B. Side activities in the world, collectibles (like music discs) – it’s all yours. Plan a mini-route so quests are collected along the way and you don’t have to backtrack. There are no time limits, but a quick run is still the most effective.
Gold and Souls? Their potential will really increase if you don’t click on the main objective right away. Destroy a hut – get an injection of Souls. Jump to a generator, turn it on – and you’ve got a chunk of gold. It’s worth exploring any points on the map before meeting the boss. By the way, use camps as a hub for preparation. Cooked food provides temporary buffs, and the time of day changes help you adapt to the mission conditions or a specific task. A small thing, but a nice touch.
When the area is cleared and there’s no loot left, then welcome to the boss. Finding Jokers along the way will make combat much easier, especially if you’re soloing. And another thing: high ground is your best bet. Enemies rarely look up, and attacks from above often hit harder. Plus, it’s much safer to clear enemy camps.
What’s next?
What’s next? Have you mastered the basics? The world is yours. The best way to progress is through quests in each zone. They grant additional experience and open up new locations to explore. The game is full of unlockable content: spells, Jokers, weapons. Take your time. Focus on what’s truly interesting, rather than trying to squeeze the maximum out of every mechanic. Although for those eager to reach the endgame as quickly as possible, the difficulty slider is a true friend. The harder the mission, the greater the rewards. Which means, the stronger the cowboy at the end.