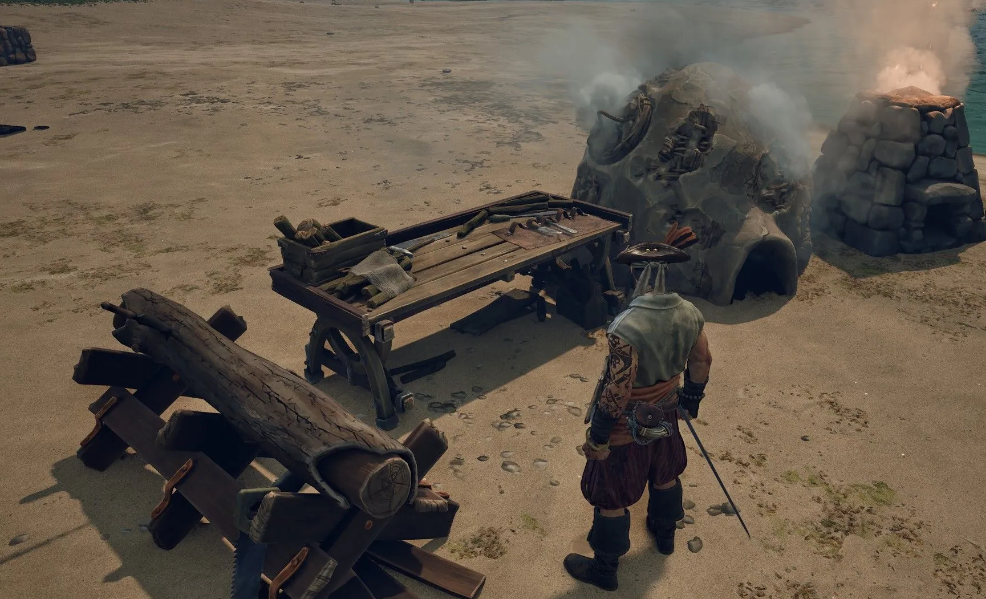
The workstation upgrade system in Windrose works differently than in most survival games. There’s no “upgrade” button. Instead, you have to build additional structures next to the workbench you want to upgrade. Sound complicated? It’s actually quite logical—especially if you’ve played Valheim. But there’s a nuance that makes things easier.
The key mechanic: the additional structure doesn’t have to be directly adjacent to the workbench. It only needs to be within range of the same Campfire. At least, that’s how it works for Goats (needed to upgrade the workbench). A nice perk, you’ll agree.
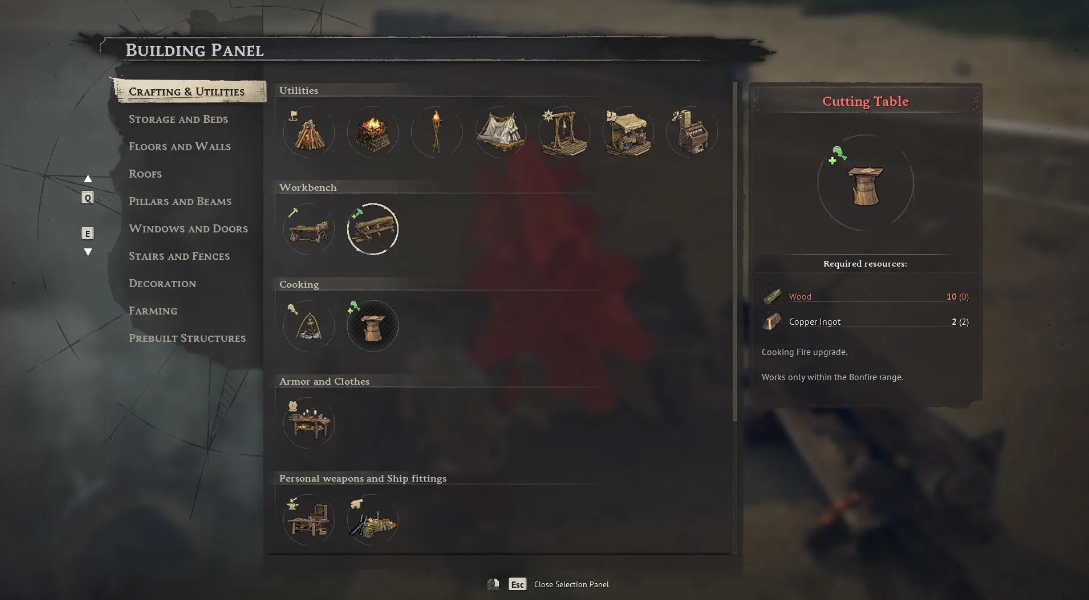
Why bother with these structures at all? The answer is simple: you simply can’t craft many cool items on basic workbenches. The earliest example is the “Sailor’s Backpack,” which increases your inventory. To craft it, first craft the “Torn Canvas Sack,” then upgrade the workbench with Goats. And this trend continues throughout the game. So, when you’re not chasing treasures or firing cannons at enemy ships, take the time to upgrade your workshops. It will pay off handsomely.
Table of Contents
How Workbench Upgrades Work in Windrose?
Each station type has its own set of additional objects. Recipes for these objects are unlocked gradually by completing quests or finding blueprints in adventures (chests, defeated bosses, and sometimes merchants). To fully upgrade a workbench, you need to build one of each of the required structures within the same Bonfire range. Building two identical structures is pointless—the effect doesn’t stack, and you’ll just waste resources.
By the way, the same additional structure can work on multiple compatible stations at once. For example, Kozlov alone will be enough for all nearby workbenches. However, they won’t affect the Weapon Forge or Armor Workshop—they require their own equipment.
Full list of buildings for upgrades
Below is a table to save you from scrolling through the wiki. Remember or save it.
Stations and Upgrades
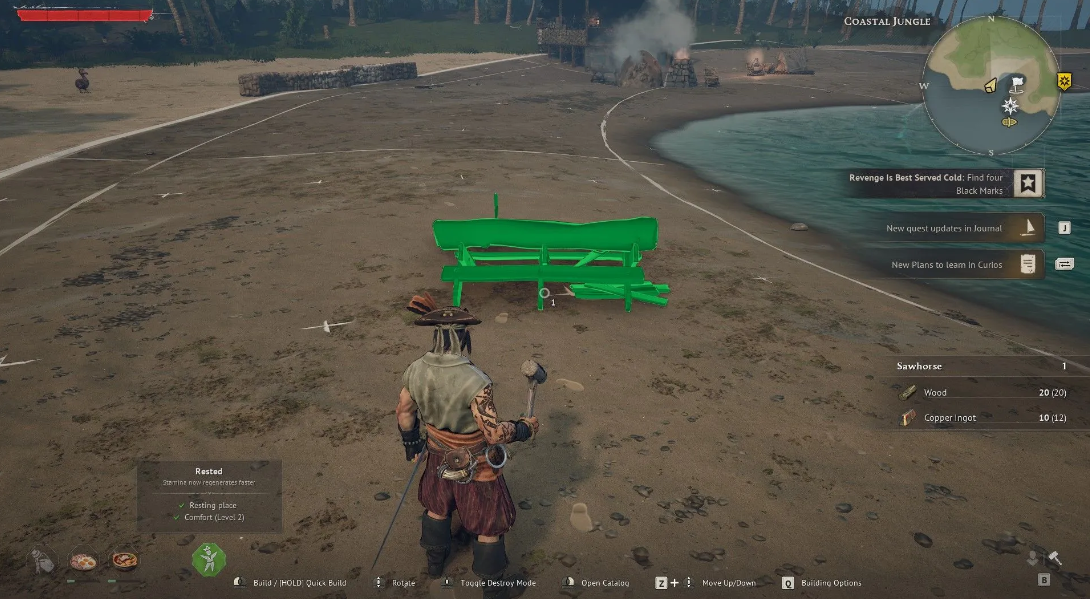
A couple of final practical tips. First, plan your base with plenty of space—each station and its attachments require quite a few free tiles. Second, don’t rush to upgrade all your workbenches at once. First, upgrade your Workbench to a level that allows you to craft a backpack and basic equipment. Then, upgrade your Weapon Forge. And only then tackle Jewelry Crafting and Alchemy. This way, you won’t get bogged down in resource shortages and will get to interesting content faster.
And one more detail that newbies often overlook: the blueprints for some buildings (for example, the Distiller or Dressing Mannequin) are not awarded as part of the story. You’ll have to find them in underwater caves or buy them from traveling merchants for a special currency. So don’t be lazy and explore the map—and your workbenches will reward you with access to top-tier equipment.