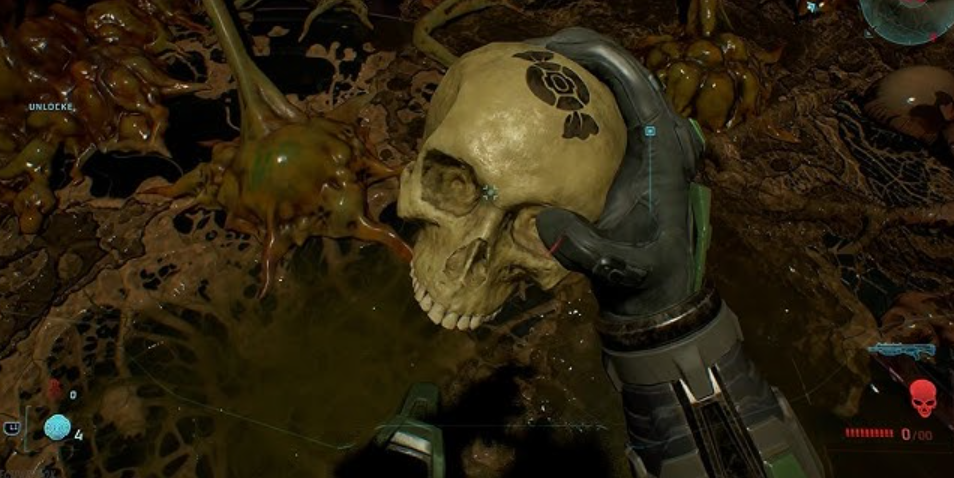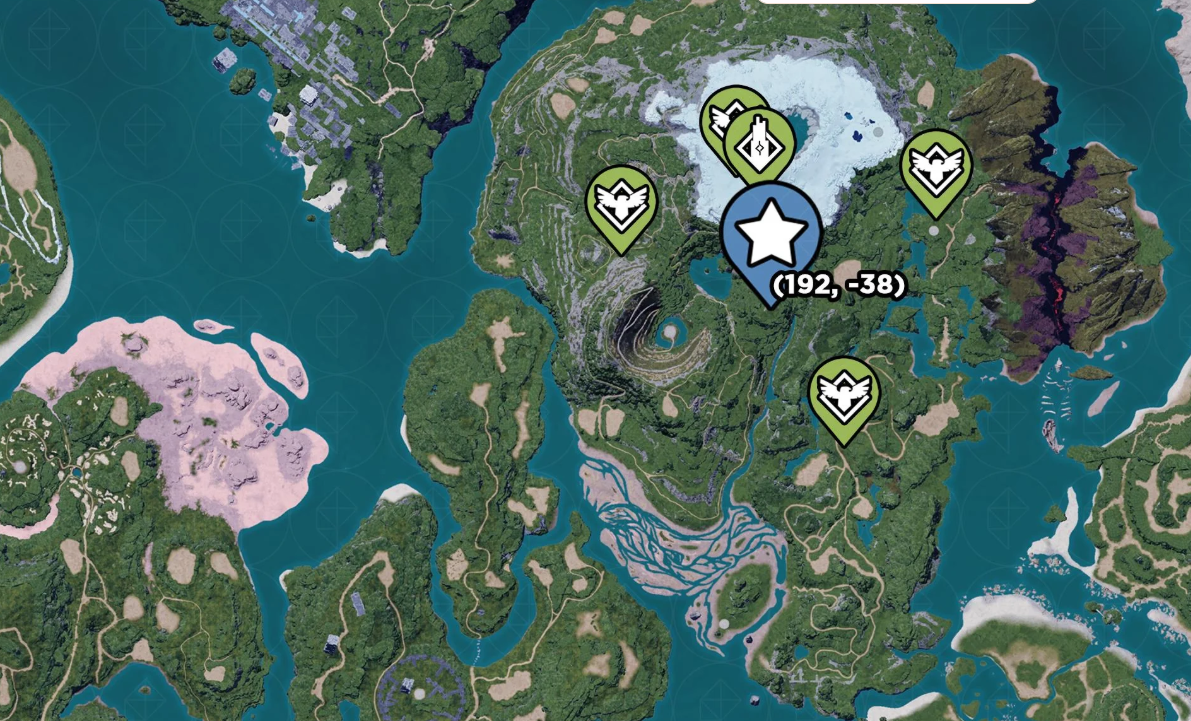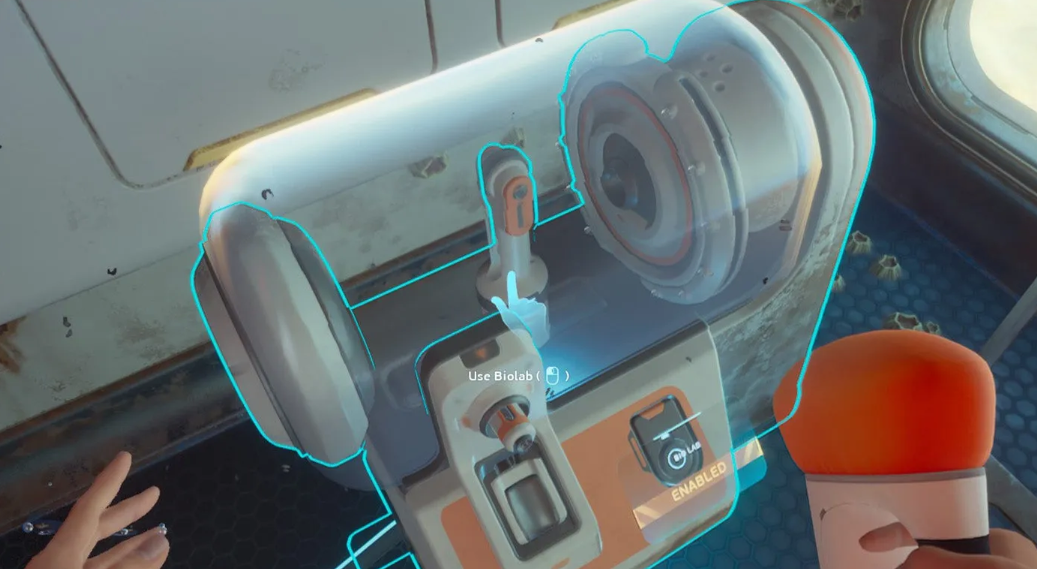
Subnautica 2 has a whopping 15 biomods—but only five are active, the rest are passive. If you don’t want to drown or become someone’s lunch within the first few hours, the best of these upgrades are worth exploring right now. For most situations, the optimal combination is “Dash” and “Screen Float”: the former gives you a quick forward dash, the latter accelerates you at the very bottom. Together, they turn you into a torpedo. But each biomod has its own niche—and sometimes “Electric Discharge” or “Road Home” are more useful than running around the map. The main thing to remember: only two modules can be equipped at a time, so you’ll have to choose carefully.
Table of Contents
Top Best Active Biomods for Survival in Subnautica 2
We’ve selected the top five—from the basic ones that are available from the start to those you’ll have to search for.
Dash Biomod for instant acceleration
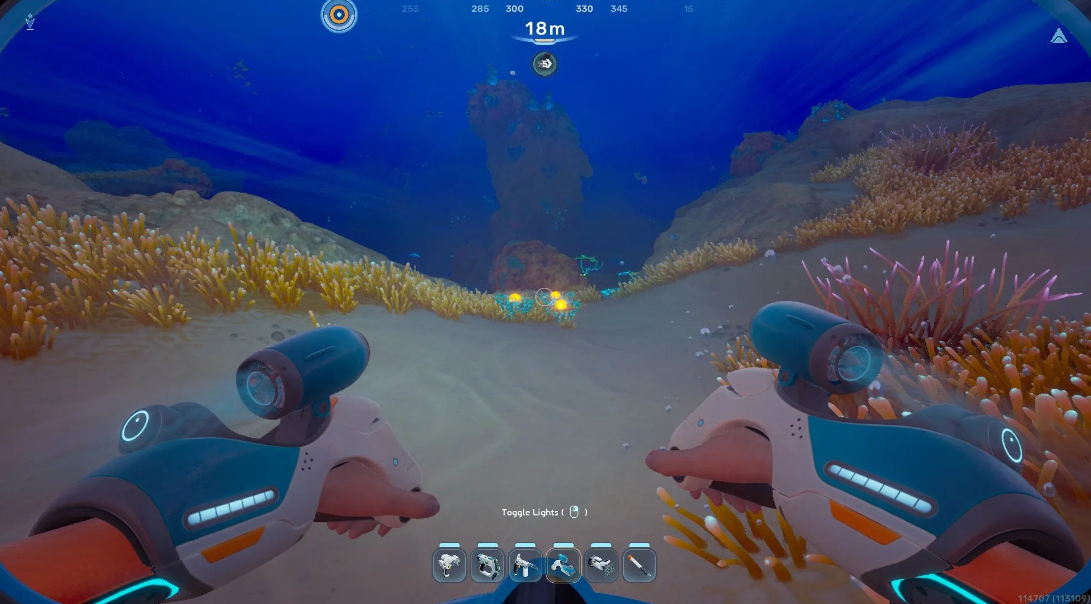
How to obtain: by default (already available)
Honestly, Dash should be considered a core mechanic, not a separate biomod. But since it’s there, we use it. Instant forward movement with a five-second cooldown. Protects against predators, oxygen deprivation, and speeds up exploration. Incidentally, without it, the first hour of Subnautica 2 turns into a slow, terrified swim.
Submersible Ekranofloat Mod for accelerating near the bottom
How to obtain: also by default
Want to zip around the map like a torpedo? Equip the Submersible Ekranofloat and stick to the bottom. The closer to the bottom, the faster you go. Combine it with Dash, Improved Fins, and Wavebreaker… and you’ll be faster than any fish in this ocean. There’s just one caveat: Submersible Ekranofloat is useless in deep water. The Tadpole rules there. So, for vertical routes, it’s better to build a different build.
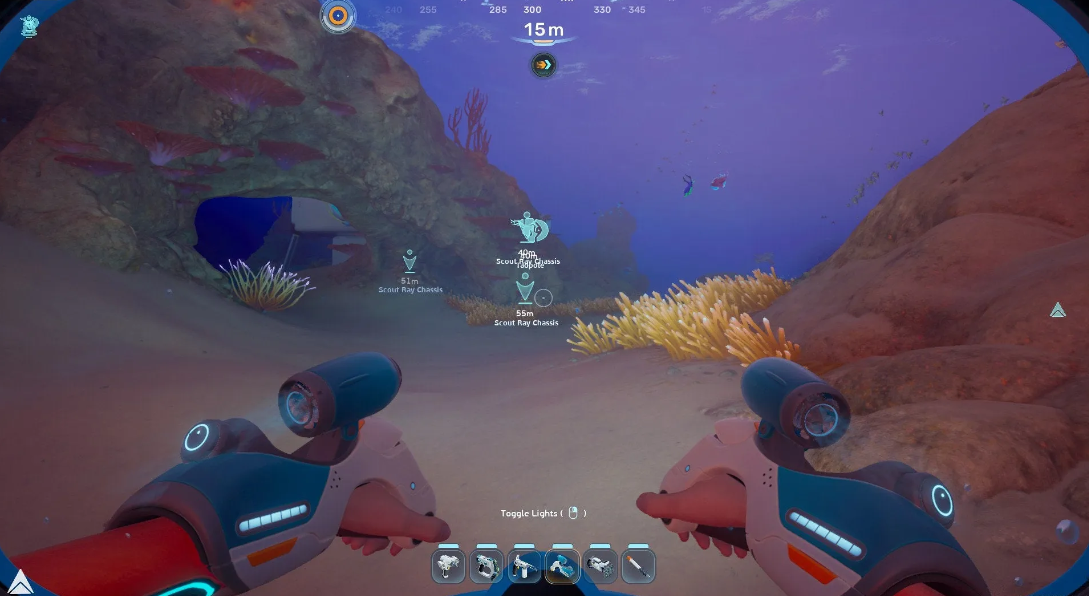
Active Biomod: Anti-Predator Shock

-
Type: Active
-
Effect: 800-volt electric shock – repels medium and large predators
-
How to obtain: Scan Electrojordies
Where to find these creatures? The main location is near the Alien Turbine. From the research outpost in the Alien Ruins, swim east, towards the Angel Comb Jelly. There, near a large metal pillar with a blue flame (resembling a chess piece), you’ll spot an Electrojordie. Several more specimens can be found near the green glowing pools near the metal extractors. And an important lifehack: use the Tadpole as bait. These creatures love to latch onto it and deliver electric shocks in response.
Homeward Bound Navigation Module for Base Search
How to obtain: Scan the Shocker Jellyfish (200-300 meters south of the escape pod, wreckage at a depth of about 50 meters) and the Ram Fish (all over the starting area, “The Shallows,” where the pod is located).
Subnautica 2 doesn’t have a map yet. None at all. So any tool that helps you find your way around is valuable. Homeward Bound automatically highlights bases, ships, and any power sources with icons. You can immediately see whether a facility has power—no need to swim up and check manually. Plus, you’ll spot locations you previously missed. Apparently, the developers deliberately avoided providing a map so you could experience every meter of the ocean. But with this biomod, exploring becomes much more comfortable.
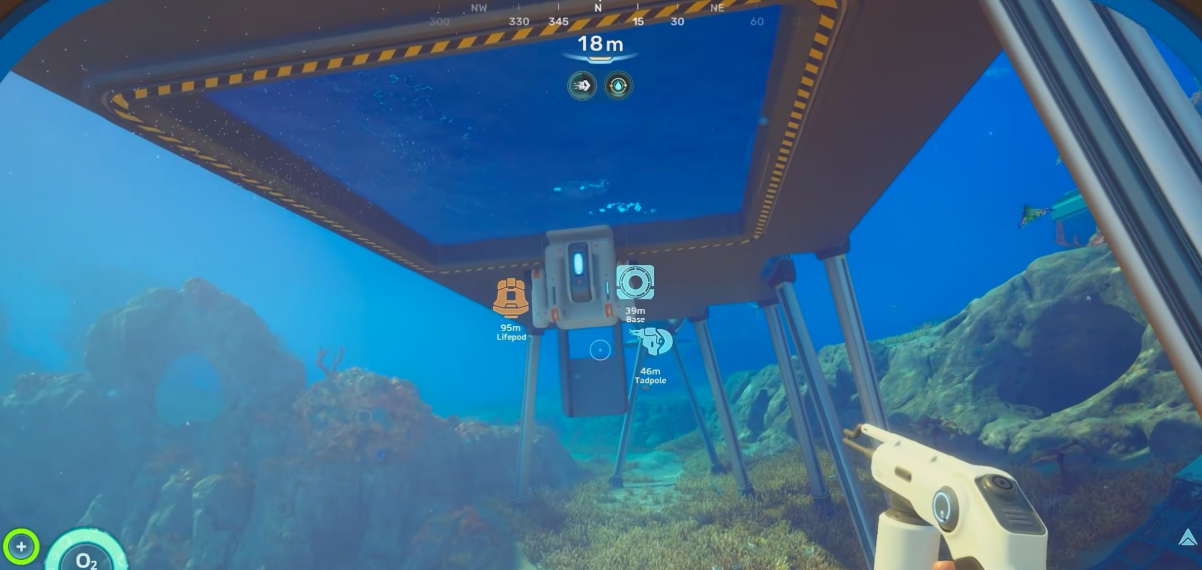
Leviathan Camouflage Biomod
How to obtain: Scan the Bullet Squid. The coordinates are 1485 meters due east of the escape pod, at a depth of 300 meters. Search along the cliff walls, facing west. These cliffs are west of a massive alien base.
“Camouflage” is situational, but it can be a lifesaver when needed. Activate it, and enemies stop noticing you, even if they’ve already launched an attack. It’s especially useful against Leviathans like the Collector or the Shiver. This biomod is indispensable in solo playthroughs. And if you also have the Tadpole, you get double protection: one distracts, the other hides. Incidentally, camouflage doesn’t work instantly, but a second or two after the icon appears. Keep this in mind in a critical moment.
Echolocation module for quickly finding resources
How to obtain: Bioscanner on the Leviathan Collector. Coordinates: 1000 meters east of the escape pod, depth 65 meters.
Activate it, and resources around it will be highlighted: silver, titanium, and all sorts of small stuff. Cooldown: 10 seconds. Yes, you’ll find a ton of useful stuff yourself, but Echolocation won’t let you miss anything. It saves a ton of time. If you plan to farm materials (especially when you know exactly what and where to look), feel free to swap it for Dash. Crafting will be slower, but you won’t miss a rare vein.
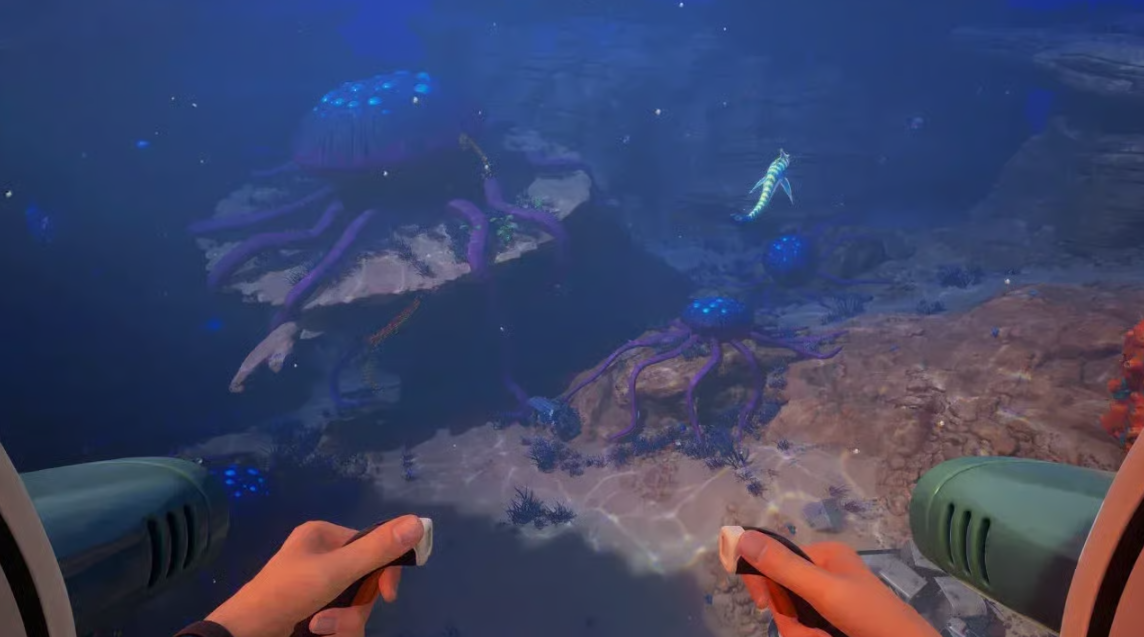
Passive Bioluminescence Biomod for Dark Caves
-
Type: Passive
-
Effect: You glow in the dark
-
How to obtain: Scan a Trapper and an Electrogeordie
If you already have “Electric Discharge” unlocked, you’ve almost certainly scanned the Electrogeordie. Otherwise, return to the Alien Turbine; there are plenty of them there. Look for Trappers in the shallow starting water. They burrow into the sand or lie right on the bottom. I personally found one in a cave 70 meters west of the escape pod—literally a stone’s throw from the start. Sometimes shifting sand gives them away. Keep an eye out.
What’s all this for? At night or in dark caves, you turn into a living flashlight. Not the most powerful bonus, but it helps avoid predators at first.
Water Retention Mod for Long Expeditions
-
Type: Passive
-
Effect: Enlarged kidneys (like a killer whale’s) – you get more water from any source
-
How to obtain: Scan a coral crab
Where to find these crabs? The easiest route is a stone pillar on the open seabed near the Chepa base. It’s about 200 meters from the escape pod, bearing 120 degrees southeast, just past the Arrivals Hall. But they can also be found near the Pike Hound and the Cicada wreckage, which rises above the Tadpole depot in the volcanic zone. This biomod doesn’t look impressive, but on long expeditions, when fresh water is scarce, this passive significantly extends your battery life.
Sixth Sense Perk for detecting hidden threats
-
Type: Passive
-
Effect: Detects nearby threats through specialized hair cells
-
How to obtain: Scan a Spiketail
Spiketails are small fry, hard to find. Scanning them in practice is challenging: they’re small and quick. But you don’t have to search far—they’re found almost everywhere around the Alien Ruins. Personally, I recommend swimming to the edge of the pit with the Leviathan Collector. It’s between the ruins area and the Tadpole Depot, about 300 meters south-southwest of the Alien Ruins. There are enough of them there to cover the scan without any unnecessary stress.
Why all this? “Sixth Sense” will warn you of predators before they even notice you. It’s not the most powerful biomod, but in dark caves or dense thickets it can save you from a surprise attack.
Passive Biomod: Dermal Garden Against Hunger
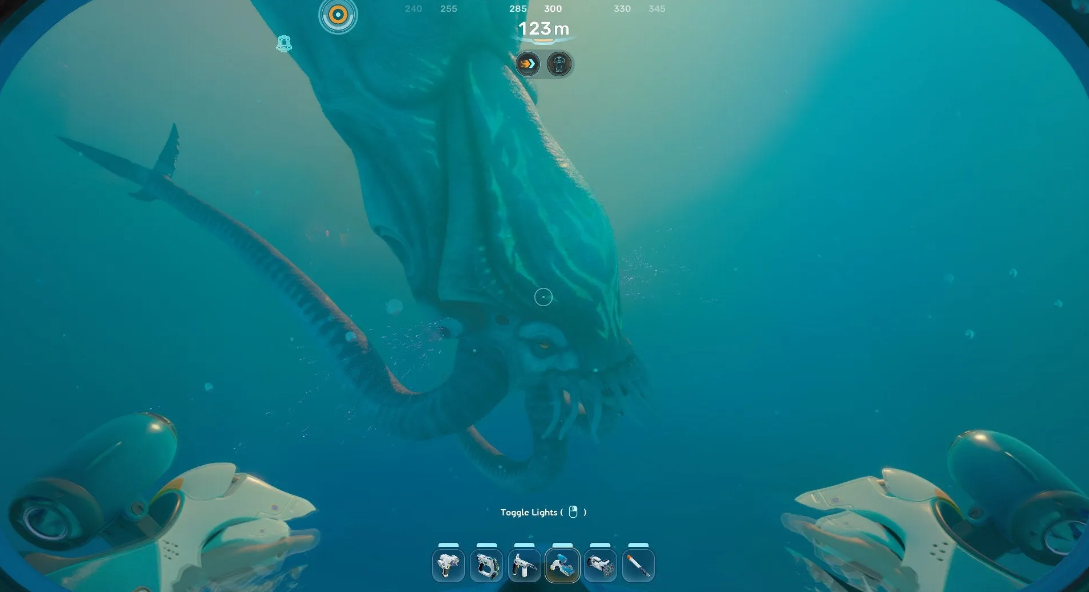
-
Type: Passive
-
Effect: Slowly grows nutritious algae directly on your skin
-
How to obtain: Scan a Needle Shark
When encountered, a Needle Shark is one of the most convenient targets. They have a separate nesting area, which you’ve likely visited before. Why? Behind the creature’s enamel, a Ruby Black Box, or a Tadpole Depth Module. Coordinates: approximately 250 meters southeast of the Research Outpost in the Alien Ruins.
The best time to scan is before or immediately after the Needle Shark fires. The creature has a slight delay, and you can safely swim up to it during this window. The passive granted by this biomod is strange at first glance: algae on the skin. But on long expeditions, when food runs out, you’ll be grateful for every edible blade of grass growing right on you.
Passive Biomods for Metabolism and Water Filtration
The passive biomod “Slow Metabolism” does exactly what it promises: food is consumed more slowly due to the more efficient functioning of the microbiome. It’s scanned from a scaly shark. And these predators are a dime a dozen in the starting shallows. Just swim away from the escape pod in any direction, and you’ll encounter them. The most reliable landmark is the Chepa base, 250 meters to the southeast, or the Old Dwelling, 350 meters to the north. Remember these coordinates.
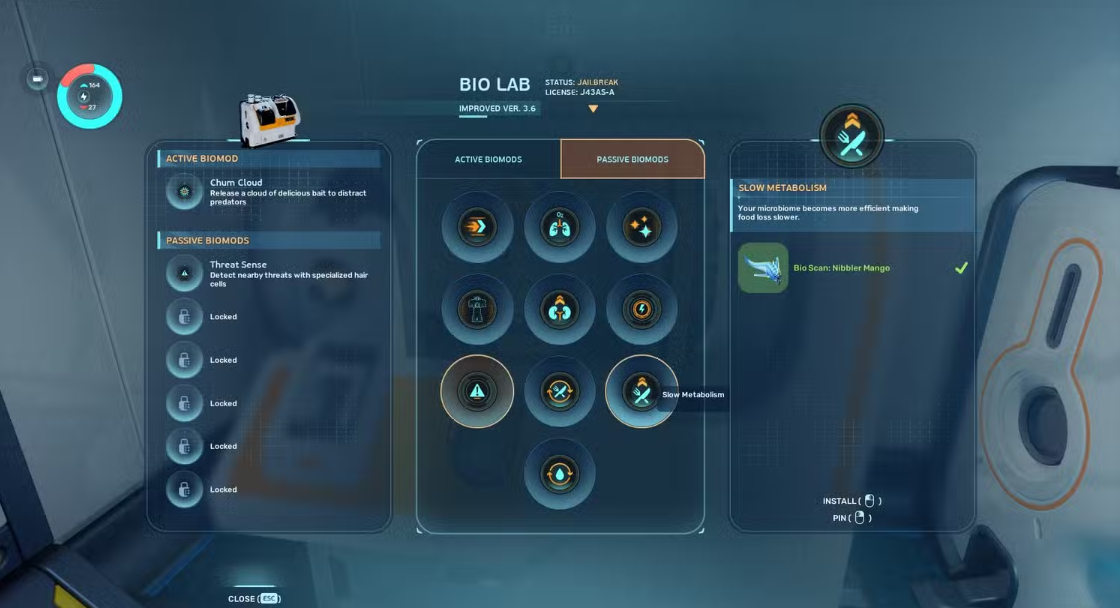
Drinking water is a similar story, only the module is passive and is responsible for filtering fresh water from seawater—it gradually refills the water bag. And it’s scanned from… an aquatic slug. Yes, that same humble slug that supposedly exists solely to one day turn into a bottle of drinking water. You can find it almost anywhere on the seabed: anywhere from near an escape pod to a research outpost in the Alien Ruins.
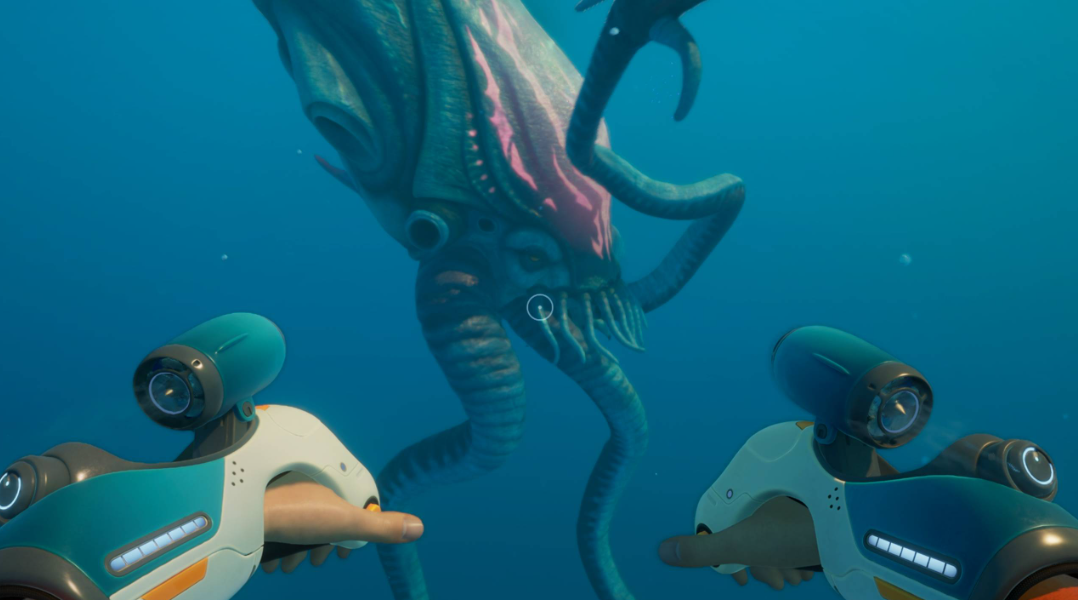
Rating of Useful Mods for Your First Build
Currently, in Subnautica 2 you can only equip one active and one passive biomod—the choice is critical. Some options seem downright questionable (for example, “Road Home,” which searches for power bases). But there are also real lifesavers if you’re stuck on a specific problem.
Here are my personal top biomods to get first:
-
Dash—an active biomod, unlocked almost immediately after visiting the Arrivals Hall. For me, this is a must: it helps me both evade predators and move around the map faster. I can’t live without it.
-
Electric Discharge—when a vicious creature is already on my tail, an electrical pulse stuns it for a couple of seconds. This is usually enough to break distance and escape to safety.
-
Camouflage – a passive ability that makes you invisible while standing still. Perfect for quietly sitting next to a Leviathan that’s already scented you. I’ve tested it myself – it works.
-
Dermal Garden – sounds like a crazy idea, but growing edible algae directly on your skin is surprisingly useful. Especially in the Alien Ruins area, where natural food is becoming scarce. Aquatic slugs can still be found there, but fibrous plants are a problem.
So, experiment. Biomods in Subnautica 2 are the thing that can turn survival into an almost comfortable adventure. Almost.
The best combinations of active and passive biomods
The developers have given us exactly two slots for gene modifications (one active, one passive). And this isn’t an attempt to stretch out the gameplay. Subnautica 2, a survival game, harshly punishes poor preparation before diving in. Assemble a garbage build, and routine resource farming will turn into a panicked swim away from a leviathan. Skill synergy here is based on a precise balance. An active skill addresses an emergency (an attack by fauna, complete disorientation in the darkness), while a passive one smooths out the background wear and tear of the body. If you equip two combat abilities at once, the outcome is predictable. While you’re fending off the local creatures, your character will simply die from dehydration or lack of calories.
Table of the best synergies for different biomes
Dangerous Biomod Combinations and Build Errors
Incorporating two situational perks at once is a frankly weak tactic. Let’s take a classic mistake: “Homeward Bound” plus “Bioluminescence.” The first skill only saves you during critical disorientation (when oxygen is running low), while the second only helps you in pitch-black caves. In 80% of standard dives, these skills will be useless. A similar trap awaits stealth enthusiasts when combining the skills “Camouflage” and “Sixth Sense.” Both mutations are designed for safety, but they completely overlap. You either blend into the terrain or detect a threat in advance and move out of the way. Mixing them makes no sense (it’s best to take one stealth skill and add a passive survival skill on top). Another subtle conflict is the “Screen Float” + “Echolocation” duo. Mechanically, they don’t conflict, but the problem lies in the game’s tempo. The underwater glider dramatically increases your speed near the bottom (you fly like a torpedo). As for terrain scanning, it requires thoughtful, slow combing of a sector. When you dash, you’ll physically miss all the valuable veins the radar can detect.
What to see next: coordinates of all Angel Crestworms and adaptations.