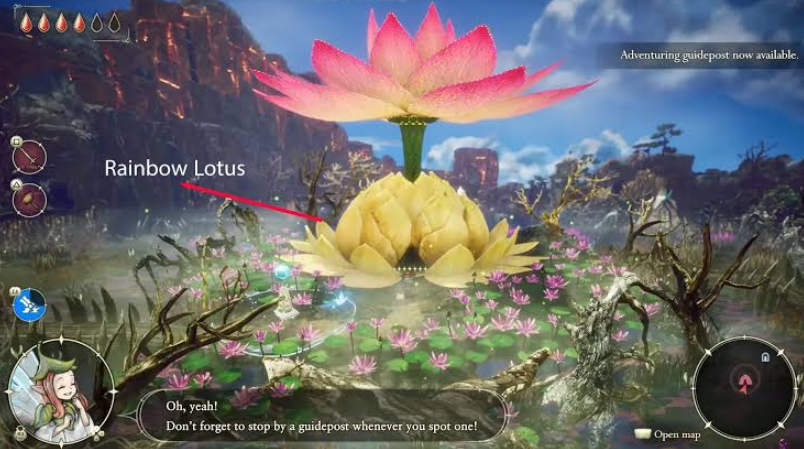
The Rainbow Lotus location in The Adventures of Elliot: The Millennium Tales is intricately designed—its layout depends directly on which era you’re visiting. There are four in total, and players first encounter it during the storyline during the Age of Storage. This version is the most expansive and complex, a veritable labyrinth with water channels, floating platforms, and dozens of secrets. You won’t be able to find everything in one run, but we’ll guide you from the entrance to the boss, and also tell you what you’ll need to return for later.
Table of Contents
How to Find the Entrance to the Rainbow Lotus
When the quest marker for the Age of Storage points to the Rainbow Lotus, head underneath it—literally down to the Southern Westeren waypoint. From there, head north and cross the bridges, keeping to the right. Climb along the right “petal” of the lotus, then turn left above it, descend along the left side, and from the bottom, turn right again, straight to the entrance. This route is universal for all four eras, so keep that in mind.
Completing the Age of Storage for the First Time
Let’s warn you right away: you won’t get everything on your first try. Some chests behind blue barriers will only open with special weapons, and the cat can’t be tamed at all until you unlock the corresponding mechanic. So our goal now is to complete the dungeon and grab what’s available.
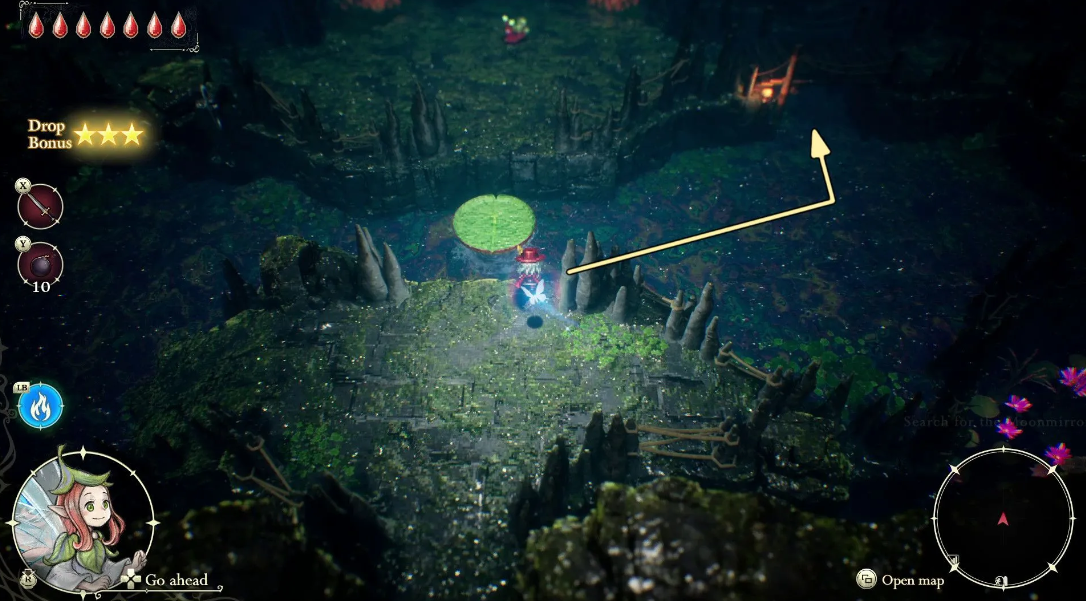
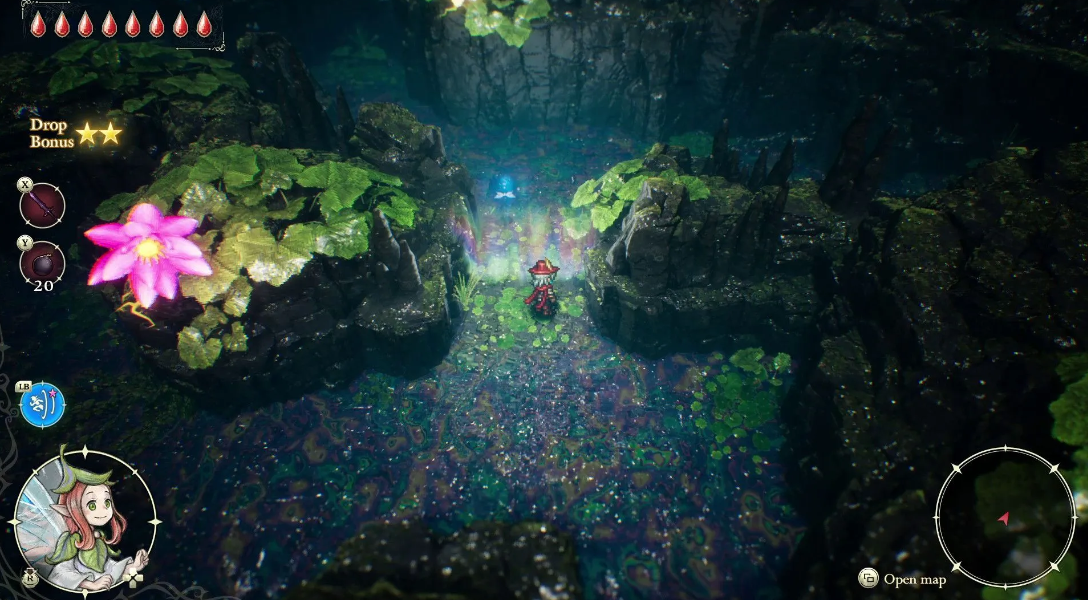
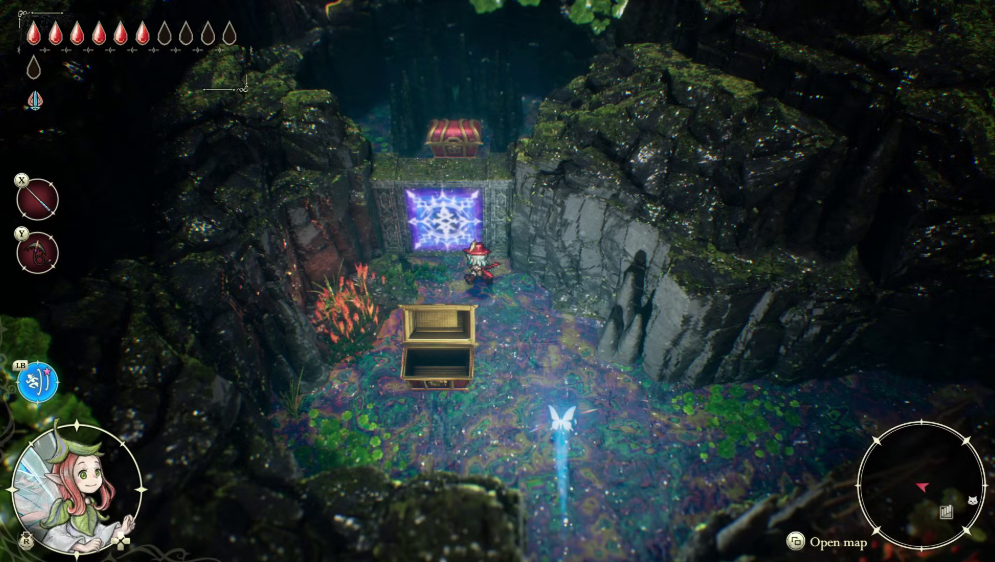
Dive into the water right at the entrance and swim up and to the right. Hidden under the bridge is a chest containing a 2-star “Enhanced Knockback” magicite—take it, it’ll come in handy. Return to the place where you first jumped, wait for the lily to rise, and jump onto the raised walkway. Move left and up, descend the ramp into the water, and swim left into a large open area. Cross the bridge and run along the path to a slab with an orange pattern.
Stand on the slab—another lily pad rises to the left. Jump off, swim left, climb the ramp, go right to the newly spawned lily pad, and jump to the next level. At the end of the path, drop down—there’s a chest containing 230 Tul. A nice boost to your budget, by the way.
Where to Find the Blue Key and the Chain Scythe
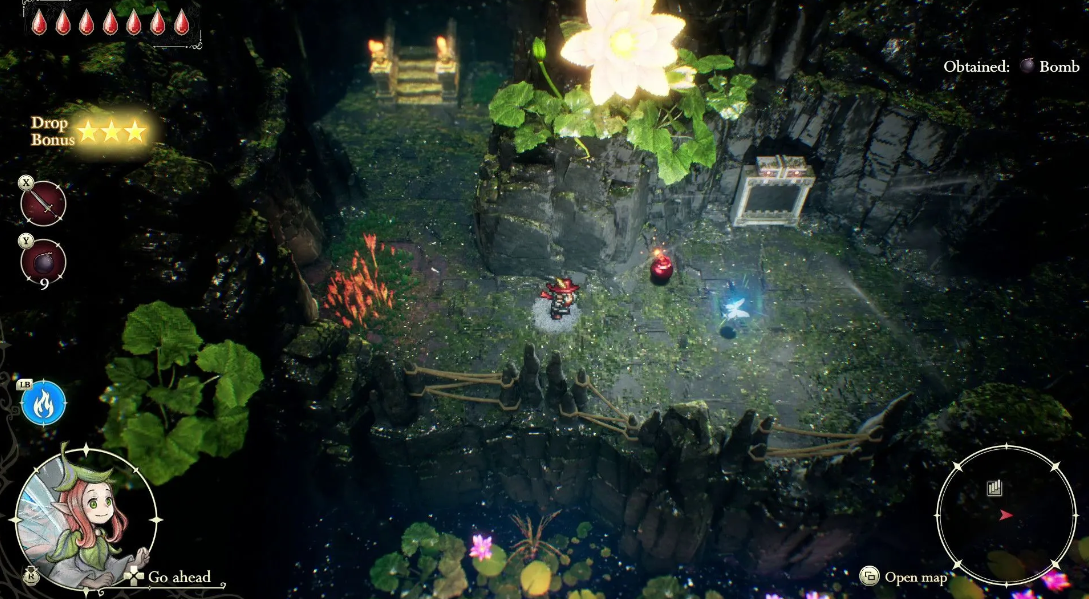
Climb up and down the stairs to the First Sublevel. There are vacuum enemies down there; it’s best to blow them up with bombs. Pass the locked blue door. Beyond it is a small area with a ramp and another slab. Destroy the vacuum on the right wall (a bomb again), go up the ramp, activate the plate, and a bridge will rise. Cross it, and there it is, a chest containing the Blue Rainbow Lotus Key.
Return to the blue door, open it, and take the Chain Scythe—a 1-star scythe weapon—from the large red chest. There’s a blue barrier above the chest—you’ll only be able to break it in the Flourishing Era, when you obtain Leitstaff from the Water Ruins. So don’t worry about it for now.
How to Pass Arenas and Activate Sentry Plates
Then the path leads to the right, to the arena. Kill all the mobs, and the gate will open. Climb the ramp and stairs. Incidentally, if you go down and to the left before the stairs, you’ll notice a cat, but it’s unreachable for now—you’ll come back for it later.
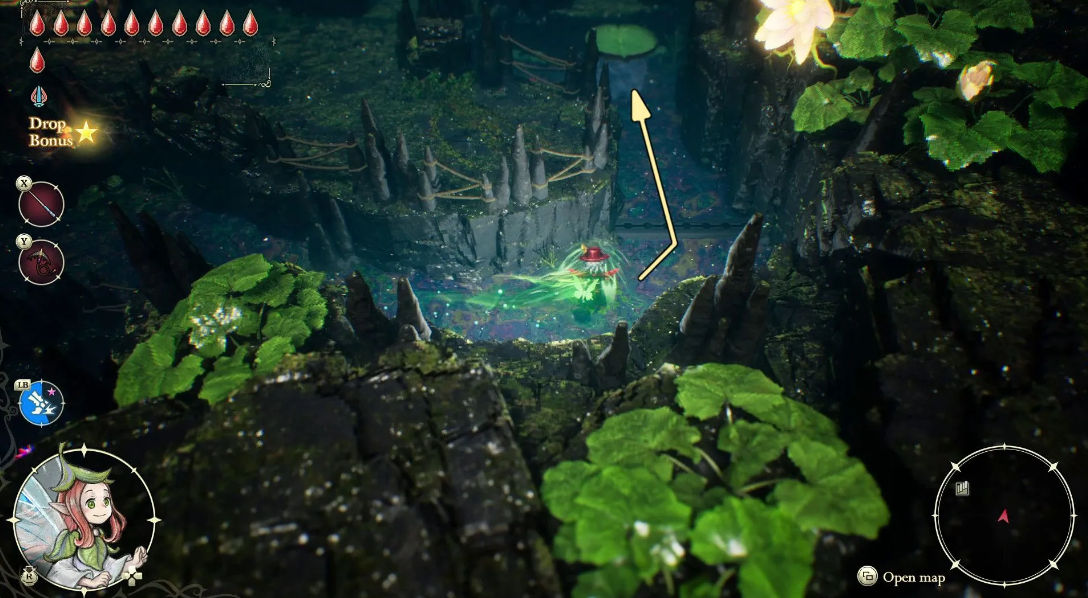
At the top of the stairs, descend the ramp into the water and swim under the bridges to a dark area. Light the torch with the Fairy’s “Ignition” ability and proceed further. Another ramp, a slab, raises a lily pad on the left. Dive in, swim back to the entrance, use the lily pad to reach the next platform, then jump onto another raised lily pad and ascend further.
How to Get the Red Key on a Timer
At the top, there’s another arena. Victory means the gate goes down. Blow up the vacuums, descend into the water, and step on the timed slab—it temporarily raises three lily pads. This is where you need to act quickly: run back to where you blew up the enemies and jump on the lily pads before they drop. Don’t have time? Activate the slab again and use “Sprint”—the Fairy’s ability is a real lifesaver.
Descend the stairs past the lilies, step onto another slab—lilies rise to the right. Quickly jump to the red chest containing the Red Key. Nearby is another clock slab; activate it and return to the left.
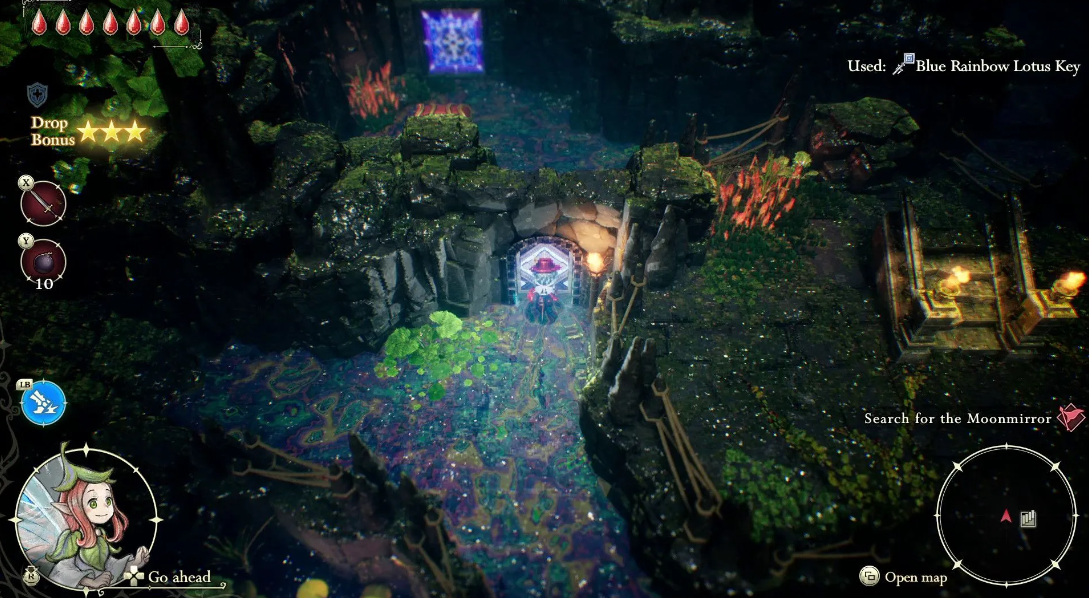
Where to Find the Lord of the Maw and the Moonlit Mirror
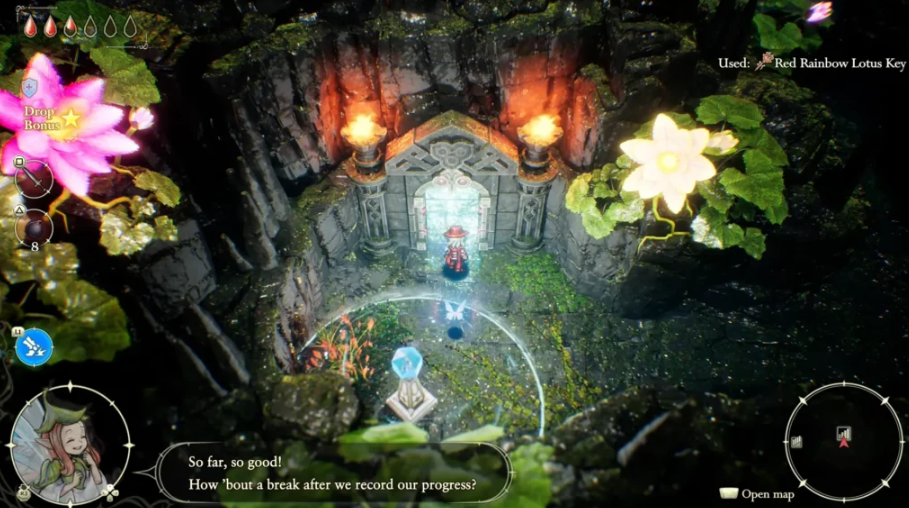
Now descend the bridge under the stairs, head to the arena, and deal with the enemies. The gate will fall. Reach the door and open it with the Red Key. Behind it is the Lord of the Maw. The fight isn’t easy, but after defeating it, a large red chest containing the Moonlit Mirror awaits you. To the left of the chest is a sparkling dot; interact with it to receive the manuscript “Message from the Hero-King.” This completes your first visit to the Rainbow Lotus. Quickly travel to the waypoint at the entrance and exit the dungeon.
Tactics Against the Lord of the Maw Boss
The Lord of the Maw is the final and only boss of this dungeon, guarding the most valuable loot of your first playthrough. To obtain the Moonlit Mirror and the “Message from the Hero-King” manuscript, you’ll have to fight hard in a tiny circular arena. There are no pillars or cover—survival is dependent on reflexes and a keen understanding of timing.
The boss changes its behavior in three stages as its health bar depletes. At the start, it relies on physical strength: spamming melee attacks and rapidly moving from one side to the other. The main rule is to roll directly to the side, as jumping back guarantees you’ll be hit with a linear charge. Entering its second phase, Lord of the Maw begins burrowing underground to deliver powerful area-of-effect attacks. Watch the floor: before the enemy appears, glowing cracks will appear on the surface, requiring immediate movement. The final stage of the fight is the most chaotic. The boss summons small vacuum minions that can attract players. Immediately bombard them with explosives, otherwise you’ll be caught in another heavy attack.
Damage to the Overlord is only effective at certain moments. Take advantage of the lulls when he pauses after completing a dash or immediately after emerging from the ground. This is your ideal window: unleash charged combos, your strongest skills, and toss bombs right at the monster’s feet.
Lord of the Maw Phase and Attack Chart
Battle Stage: Boss Health, Behavior, and Attacks, Effective Counters
-
First 100–66%: Melee attacks, quick dashes across the arena, sideways dodge, counterattack exactly when the boss locks on
-
Second 66–33%: Burrowing, powerful area-of-effect attacks upon resurfacing, controlling cracks in the floor, well-timed distance breaks
-
Third 33–0%: Vacuum summoning spam, increased dash speed, rapid destruction of small mobs with bombs, final burst
Equipment for the Void Lord Boss Fight
Going into the Void Lord with empty pockets is a questionable decision, as the battle requires specific arena control. Be sure to assemble the correct setup before entering.
-
A supply of bombs. This is a key consumable for quickly annihilating vacuums in the third phase and dealing explosive damage to the boss’s body during vulnerable windows.
-
“Sprint” for the Fae. This ability is vital for instantly breaking distance before the boss begins his next high-speed charge.
-
“Ignition” activated. Press it early. The location is quite gloomy, and in the darkness, it’s simply difficult to notice the glowing crack underfoot before the underground strike.
When Lord of the Maw’s health reaches zero, the passage behind him will open automatically. The valuable artifact, the Moon Mirror, awaits you inside a red chest, and the quest manuscript can be picked up from the highlighted spot slightly to the left.
How to Open the Blue Barrier and Claim the Eye of Reason
Once you obtain Leitstaff from the Watery Ruins in the Age of Restoration, return to the Rainbow Lotus and retrace your steps to the blue barrier near the chest containing the Chain Scythe. Destroy the barrier, and the chest contains the 5-star magicite “Eye of Reason.” This is a serious artifact, don’t miss it. To the right of the chest is a path to that very cat—it’s yours now. Take it; it will come in handy in your future adventures.
Secrets and Farming in the Age of Restoration
In the Age of Restoration, the Rainbow Lotus welcomes you with familiar waters, but the path to the rewards changes significantly. Enter, dive into the water, and swim under the bridge, just like last time. However, when you reach the end of the canal, don’t turn off—go up the ramp on the left. Continue right, use the raised lily pad at the end to reach the next platform, and follow the path to the stairs leading down to the First Sublevel.
Here, at the foot of the stairs, to the right, you’ll notice a sparkling dot—this is the manuscript “A Traveler’s Notes on the Swamps.” Take it; it’ll be useful for your collection. Then, climb the stairs, turn left at the top, and use the lily pad to jump to the next platform. There, you’ll find a chest containing 180 Tul—not a huge amount, but enough for small expenses.
Where to Find the Long Throw Magicite
Return back through the lily pad, now turn right, and go down the same stairs you just climbed. The path then goes right and up, passing the stairs until you reach water. Descend into the water and continue left to the very end—there’s another staircase there. Climb up, then follow the path down and to the right, where you’ll find a chest containing a 2-star “Longshot” magicite. A great addition to your arsenal, especially if you enjoy attacking from afar.
This concludes the Age of Restoration in Rainbow Lotus. No bosses, no keys—just a couple of useful finds and a manuscript for lore lovers. But the real meat and potatoes await in the Age of Magic and the Age of Flourishment, so don’t get too comfortable.
Completing the Age of Magic in a Few Minutes
In the Age of Magic, Rainbow Lotus greets you with its familiar water at the entrance. Dive in, swim right, then up, and climb the ramp on the left. Then, continue left and up until you reach a staircase. Descend to the foot of the staircase—a clock plate awaits you there. Activate it and immediately activate “Sprint” with the Fairies. This is critical: you need to reach the far right of the zone before the time gates are open.
How to Get the Life Shard
Go through them and use the lily pad at the end to reach a path leading to another staircase. Climb up, turn left at the top, descend the raised lily pad, and continue left—there’s a chest there with the Life Shard. This entire quest takes a couple of minutes, but the reward is worth it: the Life Shard is useful for crafting or trading with merchants. There’s nothing else to do in this era, so grab the trophy and move on.
How to Use Distortion in the Era of Flourishment
The final, fourth era—Flourishment—opens access to the most hidden chest in the entire dungeon. Enter, descend into the water, and follow the left path until you see a barrier. This is where the “Distortion” ability comes into play: send the Fairies through the barrier, activate the ability, and you’ll be able to pass through the barrier yourself.
Where to Find the Broad Blade Magicite
Follow the corridor to the end—at the end, you’ll find a chest containing the 4-star Broad Blade magicite. This is a powerful melee weapon that will significantly increase your effectiveness in future battles. With this, you’ve collected all the Rainbow Lotus collectibles, and the walkthrough is complete. Return to the main quests—you’ve earned a rest.
Player Mistakes When Clearing the Rainbow Lotus
The Rainbow Lotus is merciless to the inattentive—half the valuable items are strictly tied to timings, and one wrong turn can easily ruin all progress. Newbies regularly fall into the same trap. Of course, the most frustrating thing is leaving top-tier gear behind simply due to a lack of knowledge of the dungeon’s timeline.
Perhaps the most frustrating fail is completely escaping the blue barrier in the Age of Storage zone. Directly above the chest containing the Chain Scythe is a force shield that cannot be penetrated by basic weapons. Most players simply forget to return to this point, completely depriving themselves of a top-tier drop. After all, behind the barrier is hidden the five-star magicite “Eye of the Mind” (and that’s no exaggeration—it’s one of the strongest artifacts in the current meta). The solution is this: leave a marker on the map and return here later, taking Leitstaff from the Water Ruins with you when the Age of Restoration opens.
There’s another secret right here, right next door. You’ll notice a cat by the stairs during your first playthrough. You won’t be able to tame the furry creature right away—the mechanics are blocked, causing it to be conveniently forgotten. In fact, the path to it is to the right of the chest containing the “Eye of Reason.” It’s easiest to grab the animal and the magicite in one go to save time.
Time trials in the dungeon are also very challenging. The clockwork plates raise the lily-shaped platforms for just a few moments. The classic scenario is to activate the mechanism and only then frantically figure out where to jump next. Naturally, this approach guarantees a fall into the abyss. Plan your entire route in advance. You should have a plan of action before you step on the plate, and immediately after activating it, press “Sprint” on the Fairies. Stuck in the middle of the path? Don’t panic. You can pull the mechanism endlessly, and the game doesn’t impose penalties for repeated attempts.
By the way, finally learn to distinguish between the types of activators—it will save you a ton of nerves. The pressure pads with the orange pattern permanently lock the lilies, so there’s no point in rushing. Rushing is only justified on the timed plates with their specific patterns. Before jumping, lower the camera and look at what’s beneath your feet. To avoid running around empty locations, clearly align your goals with the current dungeon timeline. Without the right equipment, venturing into specific time periods is pointless.