Sira’s quest chain in Gothic 1 Remake isn’t a couple of quests, but a full-fledged story arc stretching from Chapter 2 all the way to Chapter 4. Miss one mandatory step, and you’re stuck. Moreover, some steps are strictly tied to specific chapters, so if you’re already past the midpoint of the game, the only option is to load a manual save from Chapter 2. Or start over, but that’s a last resort.
Table of Contents
How do I begin Sira’s quests in Chapter 2?
Why should I choose the Old Camp faction?
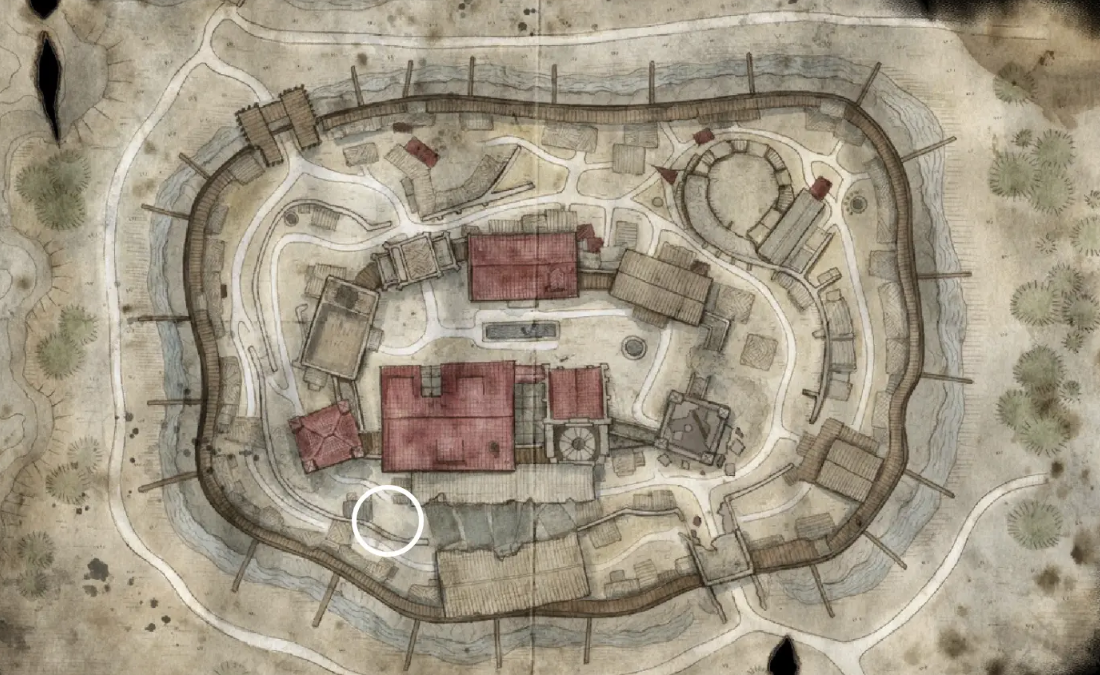
Sira resides in a small kitchen in the courtyard of the Old Camp castle—the very territory guarded by Torus. You won’t be able to access it until you complete the quest “Casting Shadows” or join any of the three camps. But if you join the Old Camp right away, life will become significantly easier: the quest will require multiple visits to the inner courtyard and even Gomez’s main hall. Being a member of the New or Swamp Camp won’t completely block access, but each visit will result in a serious scuffle with the guards—it’s possible to get through, but it won’t be much fun.
So, we recommend choosing your faction early on. If your goal is to safely complete all of Sira’s quests, join the Old Camp immediately after your first meeting with Gomez. Then Sira will appear on your radar in Chapter 2, as soon as you leave the castle with his approval. For members of other camps, the path is more difficult: you’ll have to wait until the storyline leads you to the inner castle for a quest—but Sira will still be available starting in Chapter 2.
How do I get the “Special Pieces” quest from Santino the merchant in the mine?
Before looking for Sira, make sure you have the “Special Pieces” quest in your journal. It can be obtained in the first or second chapter, and it starts not with Sira, but with the merchant Santino in the Old Mine. Diego will send you there during “Casting Shadows”—the quest requires you to pick up a supply list. Just beyond the first bridge, you’ll notice a table with Santino standing at it. Talk to him—he’s looking for rare items, and that’s how the quest begins. Without an active journal entry, Sira’s quest chain won’t complete; it’s mandatory.
Where to save in Sira’s quests: five important points?
Sira’s quest chain is notorious for its tricky structure: one dialogue error or an unnecessary plot step, and you ruin your progress, leaving you stuck in Chapter 4. To avoid replaying dozens of hours because of a stupid autosave, get into the habit of manually monitoring your progress. We’ve compiled five key points where a hard save will literally save your nerves.
-
Transition to Chapter 2 (immediately after visiting the Old Camp) Your starting point. As soon as Gomez gives his approval and you leave the castle, reserve a fresh save slot for this task. If you only realize this halfway through the game, this save will be your only chance to roll back and fix any bugs.
-
Meeting Sira in the courtyard. She’s usually standing guard by the stove or sitting on a bench near the kitchen. Don’t rush toward her—conversation will automatically activate the “Bully for Bullit” mission. Pause before the courtyard arch: an incorrect line or attempt to move away will block the starting trigger.
-
Stealth mission in Gomez’s castle (quest “Secrets”) Getting inside without the Shadow of the Old Camp status is quite a challenge. Guards at the door, Raven, and constant patrols will dispatch the hero instantly at the first sign of exposure. And don’t try to sneak in as a Meat Bug—the watchful guards will crush the insect on the spot. Your only effective tactic is to sneak up quietly and use lockpicks. Save just before breaking down the door. A backup save will prevent you from having to run back here from the very camp gates.
-
Chapter 3 Conclusion (quest “Flame in the Flow”) Here, the game presents you with a stark choice. You can cowardly flee through the tunnel with Milten or unleash a bloodbath, slaughtering Gomez and his entire retinue. Choose the second scenario—this is the only way you’ll get Sira’s chain into Chapter 4. The camp leader hits incredibly hard and has a huge health pool, so lure out enemies one by one. Save before storming the castle and refresh it after each cleared room.
-
Santino’s Secret Entrance in Chapter 4. The front gate to the Old Camp is blocked, so you’ll have to use the secret passage Santino gave you. Be aware: once you reach the kitchen, you’ll find Sira already dead. This is the point of no return, triggering the story’s finale. Be sure to save at the tunnel entrance if you want to replay decisions from Chapter 3.
Important: Forget about one save slot. Keep at least 3-5 manual saves in your rotation. The slightest shift in the main storyline instantly ends all side activities, causing any unfinished quests to become failed.
How to complete the Bully starting quest for Bullitt?
The easiest way to find Sira is to head straight to her kitchen in the courtyard. Alternatively, accept the “Double, Double” quest from Snaph in Chapter 2; it will also lead to her. During your first conversation, Sira will ask you to deal with a certain annoying guy—Bullitt, the same one who beat up the hero in the opening cutscene. A perfect excuse to settle old scores. The quest is called “Bully for Bullllitt,” and its completion is required to continue “Double, Double.”
Where to find Bullitt in the Old Camp at night?
Where to look for Bullitt? Sira claims he wanders around the Old Camp at night, but the location is vast. In practice, the easiest way is to watch the road between the north gate and the entrance to the inner castle—the very place where you usually cross paths with Diego. Bullitt appears there with surprising regularity. However, if you visit Sira after midnight, she’ll be sleeping on the second floor of the kitchen—so choose your time wisely.
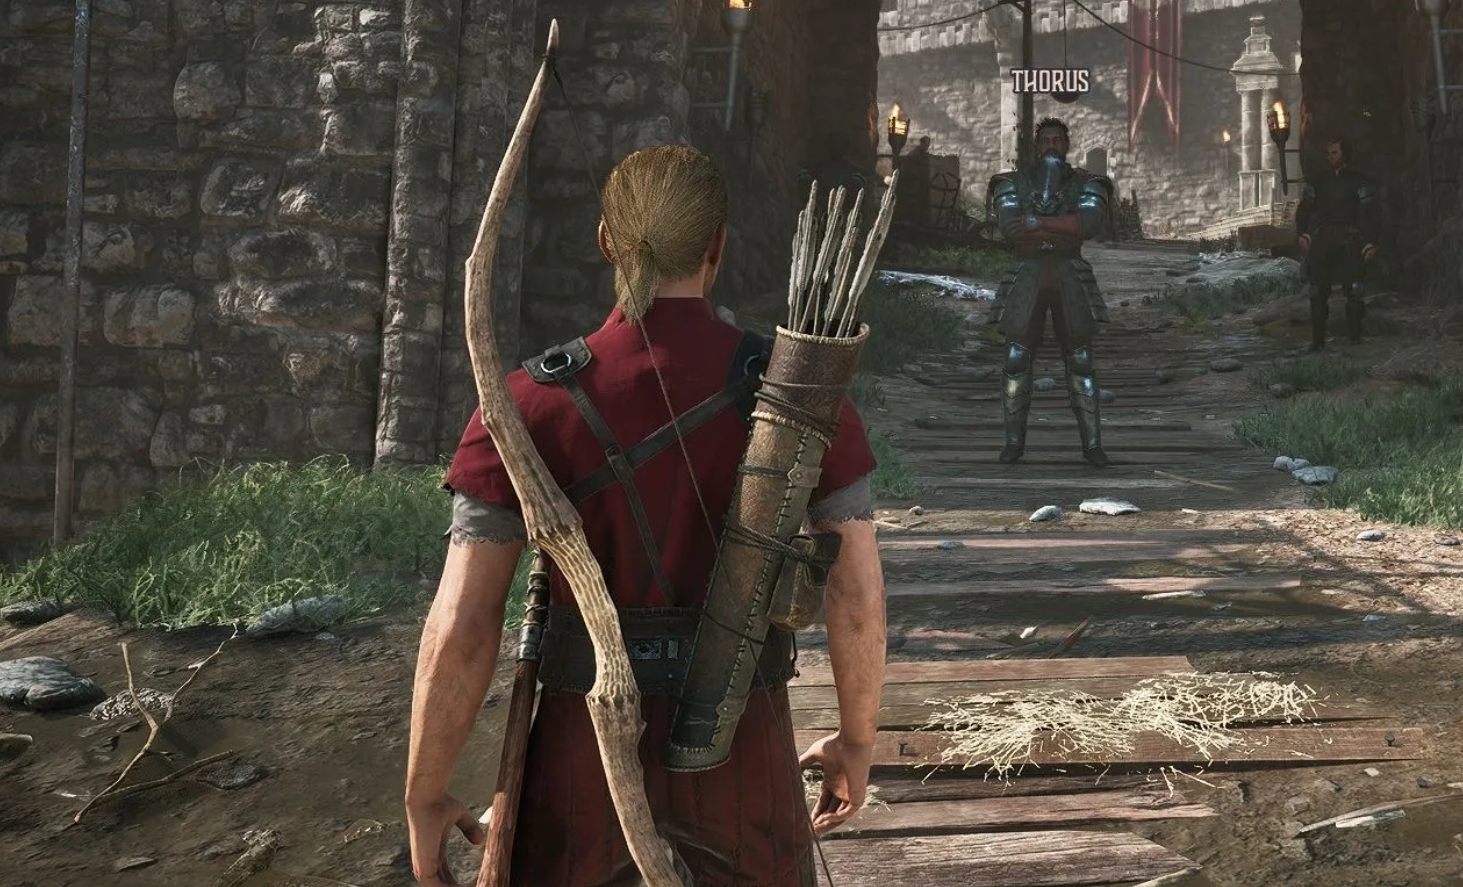
By the way, if you haven’t encountered Sira yet, here’s a tip: after passing Torus, hug the right wall all the way to the corner; you’ll see a door there. She’s either sitting on a bench outside or fiddling around the stove inside. Overall, it’s hard to miss her—the main thing is to have all the required quests in your journal and the right camp behind you.
How to track Bullitt and what to do next?
Sira sends you to Bullitt, but doesn’t give you a precise route. The only clue is that he wanders around at night. In practice, it’s simpler: after midnight, around 12:15 AM, Bullitt emerges from the inner castle and stomps toward the north gate. He’s easy to spot—he’s carrying a massive crossbow behind him. Stand in his way, and a dialogue will automatically trigger. From there, there’s no choice: choose your attack and methodically knock him out. When he wakes up, a conversation will begin, and Bullitt will promise not to approach Sira again. He keeps his word, by the way.
Return to Sira, and the “Bully for Bullitt” quest is complete. If you already have “Double, Double” from Snaph, now’s the time to ask Sira for the recipe. Ask her to make an exception; she won’t refuse. But the conversation doesn’t end there: Sira will ask you to visit the Swamp Camp and find out if it’s safe for women there. This is an unmarked quest, but it’s crucial to the continuation.
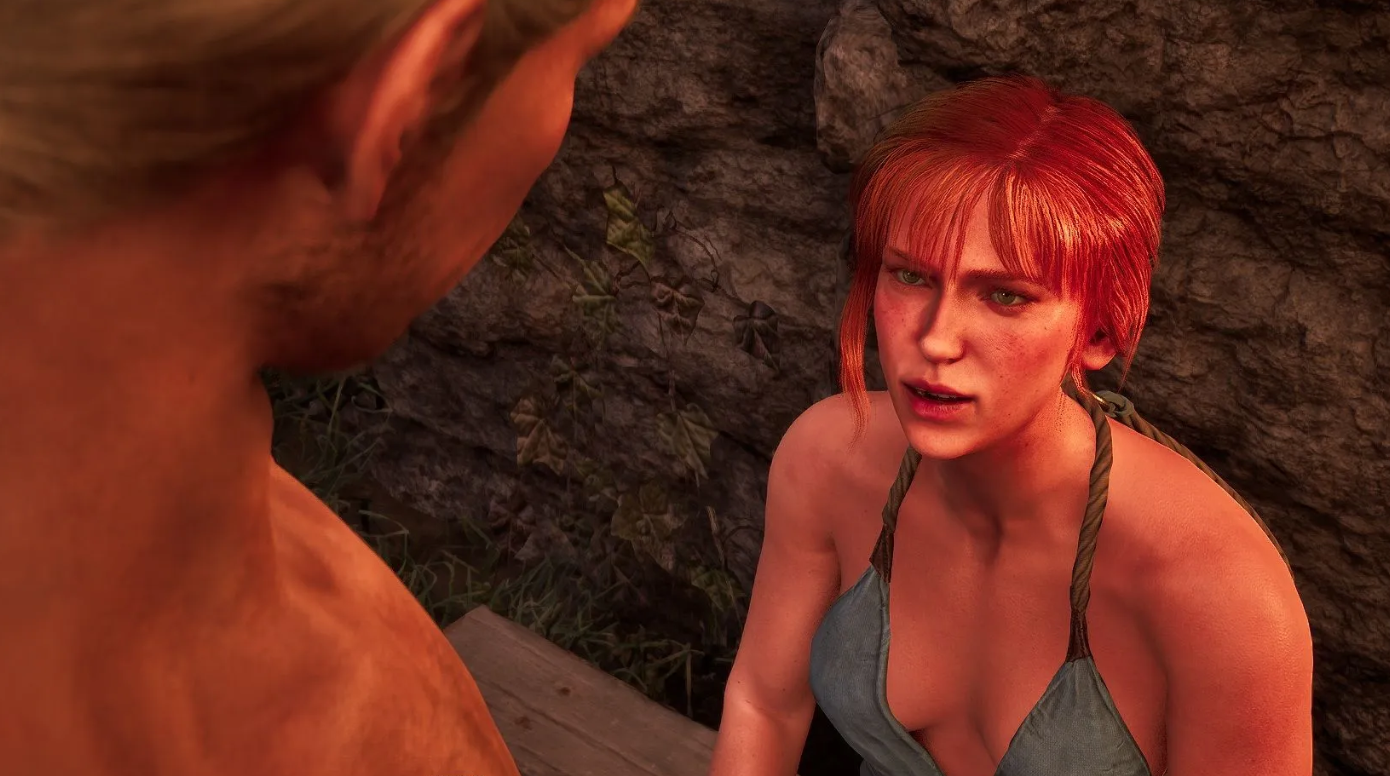
How do I talk to Chani in the Swamp Camp?
Your target is Chani, a woman who lives in the Swamp Camp temple. You won’t get inside right away: access will only unlock in Chapter 2, once you achieve Y’Berion status. Chani is usually standing by the pool in the second hall—look for her near the end of the chapter. In dialogue, select the question “Is it safe for women here?”—she will confirm that it is. However, if you run to Sira right away, she won’t want to talk. Be patient.
Only at the beginning of Chapter 3 will Chani change her tune. When you talk to her again, she will ask if you’d like to bring anyone. Now you can return to Sira and tell her the good news.
The Secrets Quest and Infiltration of Gomez’s Inner Castle
After meeting Sira in Chapter 3 after this dialogue, you’ll receive the “Secrets” quest. She’ll ask you to tell Velaya and Seraphia that she plans to escape to the Swamp Camp. This is where your faction affiliation comes into play. If you’re a Shadow of the Old Camp, you have unimpeded access to Gomez’s castle—Velaya on the second floor, Seraphia in the main hall. The best time to catch them together is at 2:00 PM in Gomez’s chambers.
However, as an outsider, the task becomes more difficult. You’ll have to slip past Raven and the guards—running and never looking back. Disguising yourself as a Meat Bug won’t help: the guard at the door will kill the bug in a heartbeat. You can try sneaking up and picking the door, but it’s risky—be sure to save before attempting. The door to Gomez’s room is locked, and a guard stands a few meters away.
After speaking with both women, return to Sira—the quest will be complete. Incidentally, if you speak with Serafia again later, she’ll agree to accompany Sira, but this won’t affect the outcome. The important thing is that Sira has received the go-ahead, and her escape is now a matter of technique.

Where is Santino the Merchant’s Secret Passage in the Camp?
Remember Santino from Chapter 1? The merchant in the Old Mine who asked for special items? He’ll be back in Chapter 3, but under different circumstances. By this point, you’ll have collected four Focusing Stones—one of them is in the Mountain Fortress. When you reach the library, Lester will offer you a land deed. Agree to his terms: sell the deed and split the proceeds. This way, you’ll have the deed and the stone in your pocket.
Return to the Old Camp. The Old Mine is now closed, so Santino has moved into the camp—he’s standing by the stairs opposite Whistler’s hut. Strike up a conversation and tell him you have something valuable to trade. He’ll ask for a price—there are three options. If you say 1,500 ore, you’ll get a paltry 500. But if you say 2,000 or 3,000, Santino will fork out 1,000. The best bet is 2,000 nuggets.
The money has been received, and now the merchant will lead you to a secret passage that leads into the inner castle. Remember this place: in Chapter 4, it will be the only way to reach Sira.
Ending of Chapter 3 and Activating the Escape Plan quest
Chapter 3 ends with the quest “Flame in the Flow,” and you have a choice. Either escape with Milten through the underground tunnel, or remain in the castle and slaughter all the guards along with Gomez. The second option is brutal, but it allows you to visit Sira in the kitchen immediately after clearing the area. Talk to her—this will advance the quest, after which head to Saturas at the New Camp. The report is accepted, and Chapter Four begins.
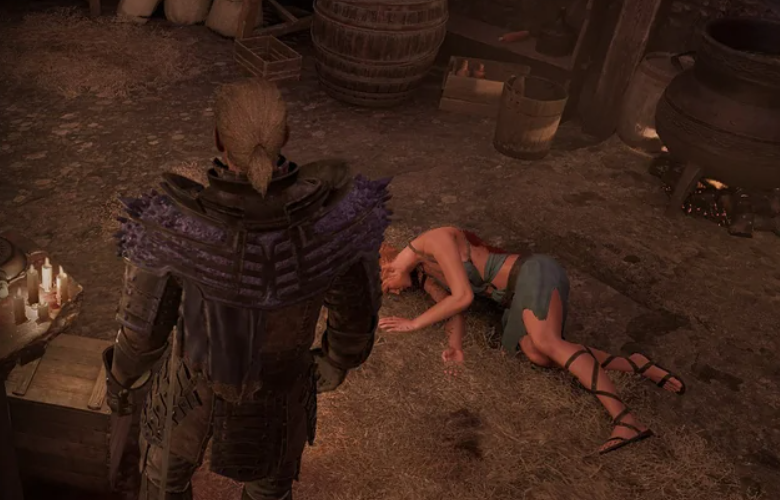
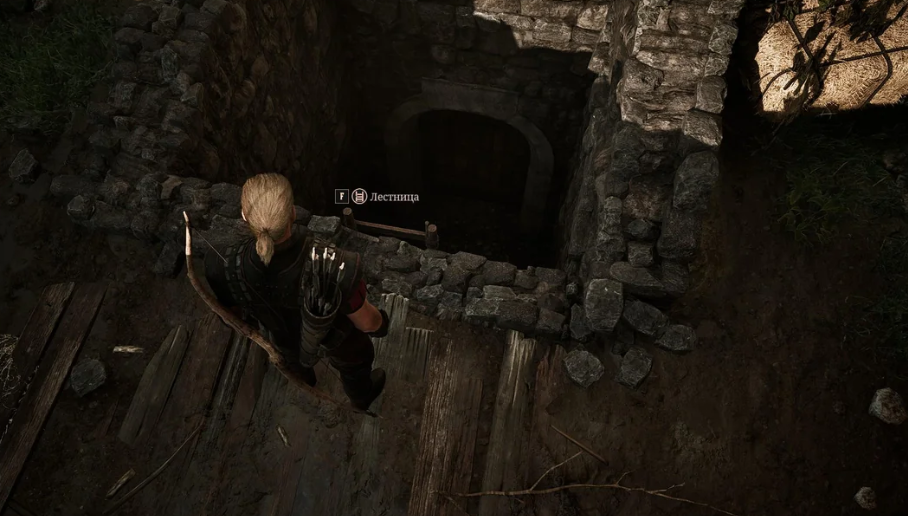
Now it’s time to return to the Old Camp to continue Sira’s quest. But the regular entrance is blocked, and only the secret passage shown by Santino is open. Go through, head up to the kitchen, and find Sira dead on the floor. Search the body; there’s a note in her pocket. Read it to activate the “Escape Plan” quest.
Investigation of Sira’s Death and the Finale of the Quest
Head back to Gomez’s room on the second floor. There are no easy ways out: you’ll have to fight your way past the guards, every step a battle. Inside, you find Velaya and Seraphia. Velaya immediately reveals that it was Sera who betrayed Sira and is responsible for her death. You’ll have three dialogue options, but they all lead to the same outcome: no matter what you say, Velaya will kill Seraphia on the spot and flee to the Swamp Camp.
Wait a bit, give Velaya time to reach the temple, then go to Chani. She’ll confirm that Velaya is safe. Go to the temple’s farthest chamber—you’ll find the fugitive there. Talk to her, and Sira’s quest chain will finally conclude.
Is it really possible to save Sira in Gothic 1 Remake?
The question that haunts everyone who’s completed this journey: is it possible to save Sira? The answer is no. Even if you kill all the guards before the Fire Mages’ massacre, even if you kill Seraphia beforehand, Sira will still lie dead in the kitchen in Chapter 4. The quest log may indicate she’s safe, but that’s just an illusion.
An indirect confirmation of this fatal inevitability are the beds in the Swamp Camp temple. Every significant NPC in Gothic 1 Remake has their own sleeping place. In the far cell, where Velaya is hiding, there’s only one bed. The others are occupied by Natalia and Chani. There’s simply no bed for Sira—the developers left this detail as a silent hint. Her fate is sealed, and no amount of player effort can change it. All that remains is to accept this bitter fact and move on.
A complete list of experience and rewards for all of Sira’s quests
Each completed stage of this story provides a significant level boost, and the starting missions offer useful loot. The full experience distribution structure is shown below.
Mission Rewards
In total, you’ll earn 2,700 XP for completing all the conditions perfectly. If you choose the alternate scenario at the end of Chapter 3 and save the girl by clearing Gomez’s residence, the game will award an additional 1,500 XP. However, in this case, you’ll lose the “Resolver” achievement. Remember, don’t expect top-tier gear or rare artifacts here—the final reward in this chain is pure XP only.