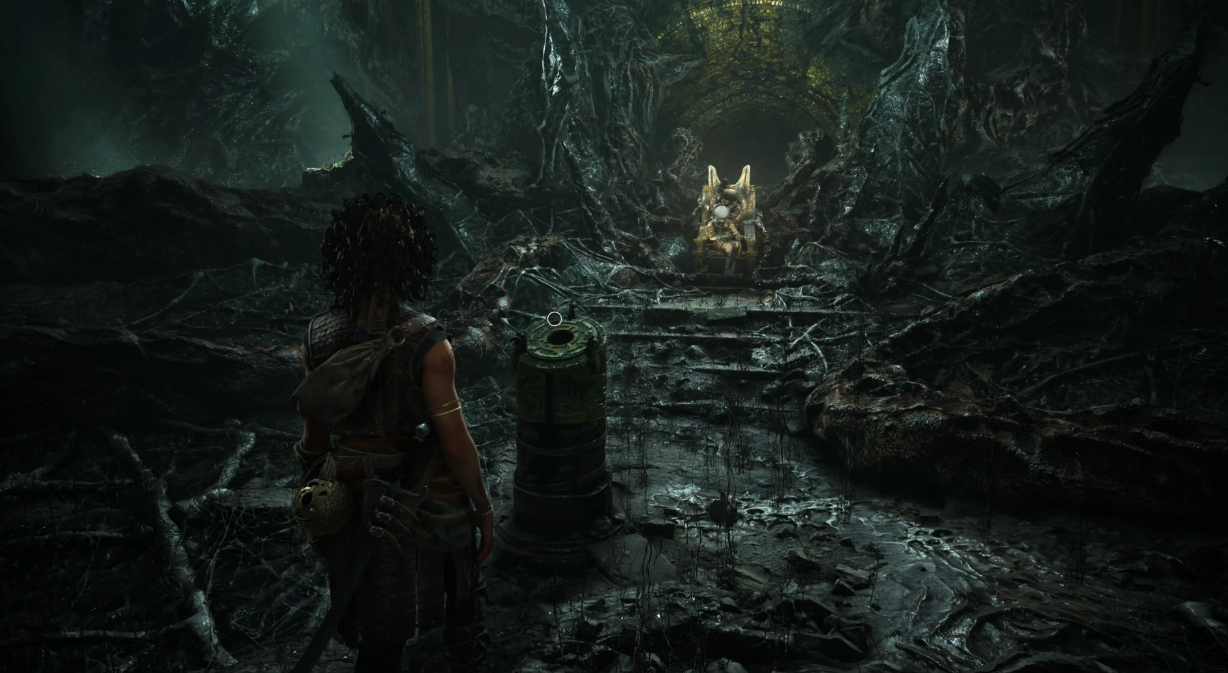
Keglord Garnier is quite a surprise for newcomers to Crimson Desert. Without understanding the mechanics, this circus boss will smash you across the arena faster than you can blink. But there’s one trick—it turns the fight into a formality.
First, you’ll need to unlock the “Night Circus” quest chain. To do this, advance the story to Demenisse and unlock the House Marshell faction quests. Incidentally, this will only become available after defeating Lucien Bastier. From there, follow the quests. The first step is “The Mysterious Messenger.” Look for him directly under the “M” in “Demenisse” on the map. Talk to him, and he’ll tell you that Lord Keg is looking for you. This begins “Nightmare on Stage.”
Now head to the large tent. Lord Keg is waiting there, but only at night. Prepare thoroughly for the battle with Keglord, or you won’t have any fun (we’ll talk about preparation below).
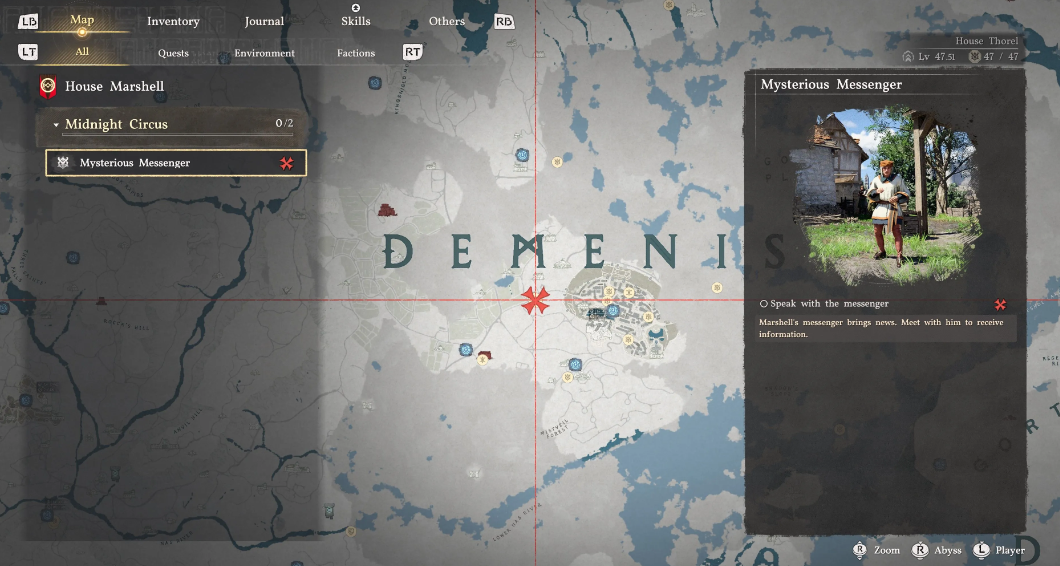
Table of Contents
Where to find and how to unlock the Keglord Garnier boss
Before approaching the large tent, check your gear. Skills are the foundation. It doesn’t matter whether you come with a bow or a sword.
Recommended skills and equipment for victory
Must-have set (suitable for any fighter):
-
Focus (Spirit)
-
Keen Senses (Spirit)
-
Roll (Spirit)
-
Thrust (Stamina)
-
Stamina 9+
-
Health 5+
-
Spirit 4+
For archers, we add:
-
Close Range Shooting (Stamina)
-
Marksmanship (Stamina)
For melee combat (instead of ranged weapons):
-
Roundhouse Kick (Stamina)
-
Weapon Mastery (Stamina)
-
Forward Shoulder Slash (Stamina)
By the way, don’t forget to equip the Leather Helm of the Fallen Kingdom—it increases the damage of Roundhouse Kick by 35%. A significant bonus. Now on to the fight itself. Come to Lord Keg and you will be greeted by… Keglord Garnier Mk. 23.
The best character build and stats for the fight
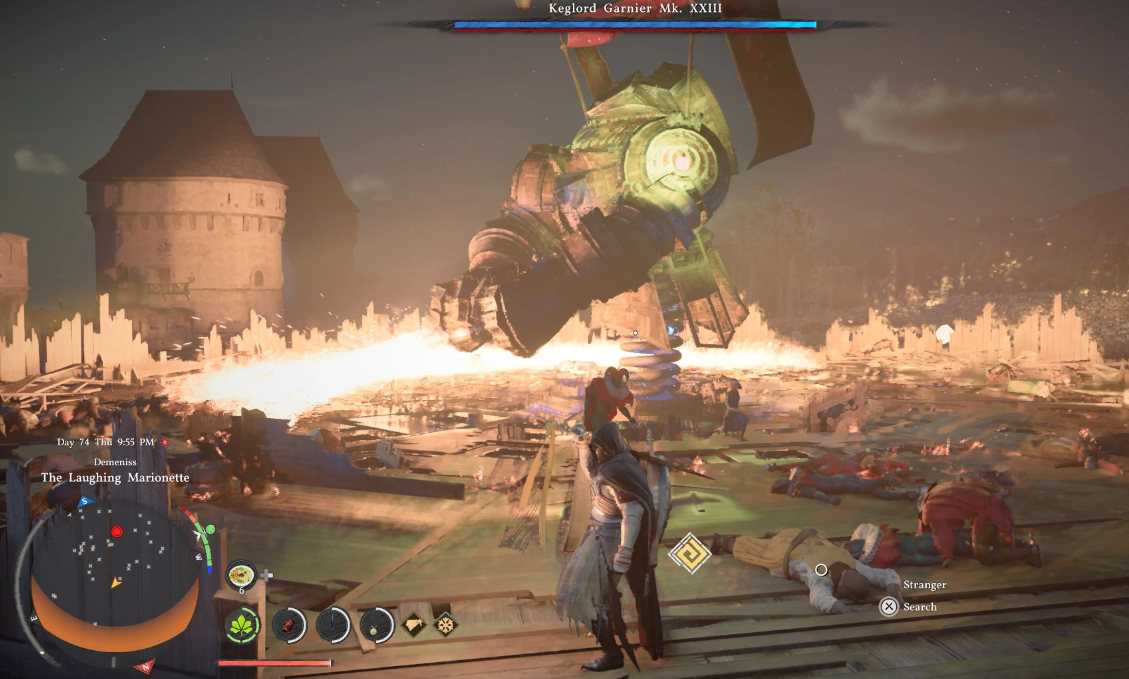
The secret to survival in this fight isn’t routine level grinding, but smart stamina management. Keglord quickly punishes those who rush into the arena without a clear plan. Maintain a healthy base stat level: Stamina 9+, Health 5+, and Spirit 4+. This is the minimum threshold of adequacy that transforms the fight from pure randomness into a controlled process. Next, build your skill base. Be sure to equip Focus (Spirit), Keen Senses (Spirit), Roll (Spirit), and Thrust (Stamina)—without them, you won’t be able to survive the boss’s burst or penetrate its vulnerabilities. Weak points won’t open themselves.
In terms of gear, forget about bare armor numbers (they’re of little use in this fight). Focus on boosting damage to the shoulders and back, or multipliers during enemy stuns. The Leather Helmet of the Fallen Kingdom is an ideal choice. It provides a solid 35% bonus to Roundhouse damage and greatly accelerates stun buildup.
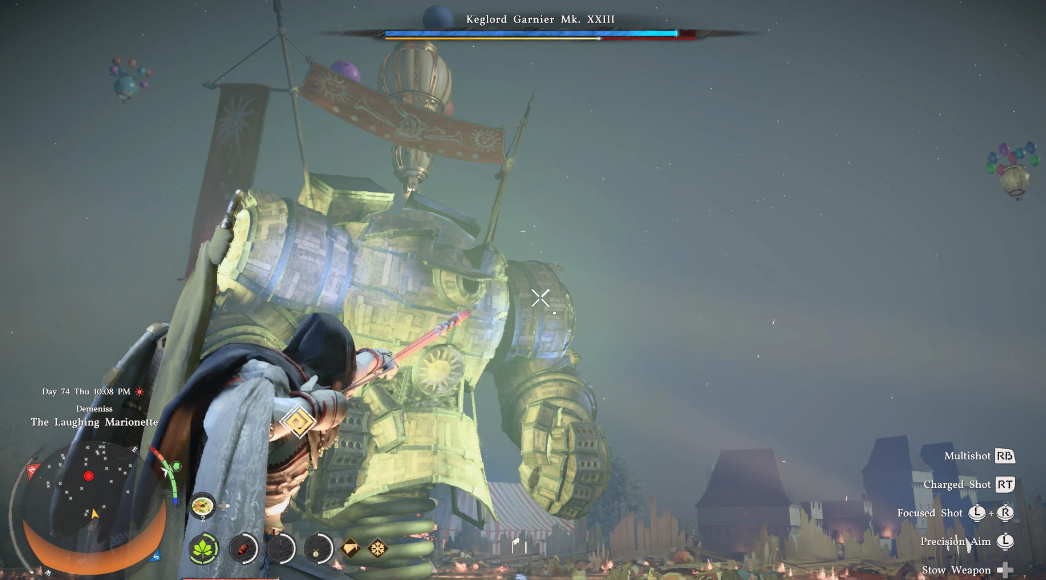
If you prefer to play tight and stay close to your opponent, build a setup around Weapon Mastery, Forward Shoulder Slash, and the aforementioned Roundhouse Slash. The latter will be your primary damage tool. We’ll save Thrust for finishing moves. For ranged combat fans, Close Range Marksmanship and Marksmanship are crucial. The bow allows you to target Garnier’s green vulnerabilities from a safe distance—less rolling, more resource.
Phase Analysis and Defense Tactics for Keglord’s Attacks
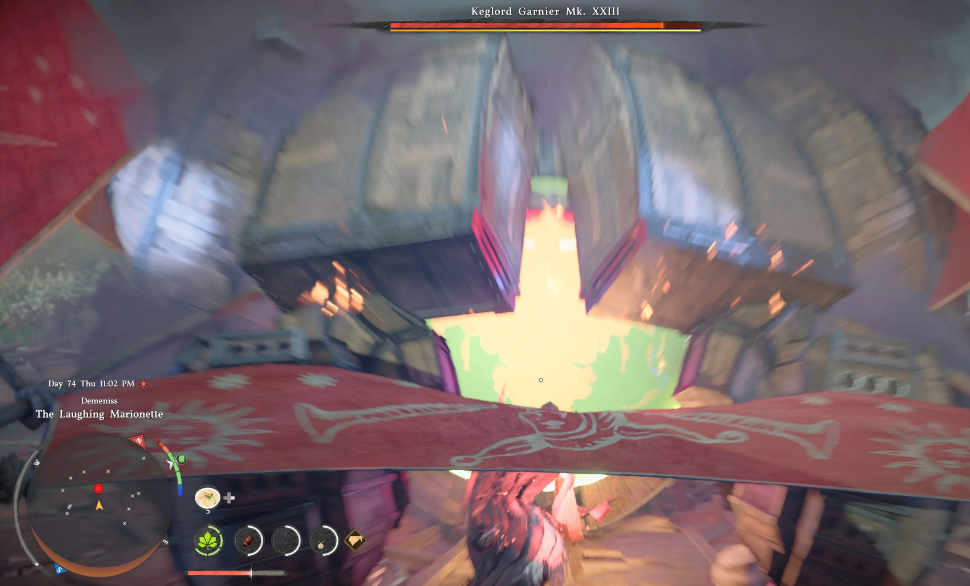
The boss’s moveset is easy to read. No panic or frantic button spamming at point-blank range. The main thing is to react to the telegraphs promptly:
-
Missile Barrages. As soon as the shoulder compartments open, immediately press Focus. Know the timing and work directly along the trajectories of incoming projectiles (this is a key mechanic). Reflected missiles fill the boss’s stagger bar faster than any other weapon.
-
Melee attacks and the flamethrower. The spinning flames and arm swing are a clear signal to dodge. But it’s during the melee animation that those green markers appear on Garnier’s body. Strike the exposed spots. Throw the enemy off-balance. Then, when the armor is completely broken, close the window of maximum damage with a powerful Stab and Pierce combo.
How to break Garnier’s shield and find his weak points
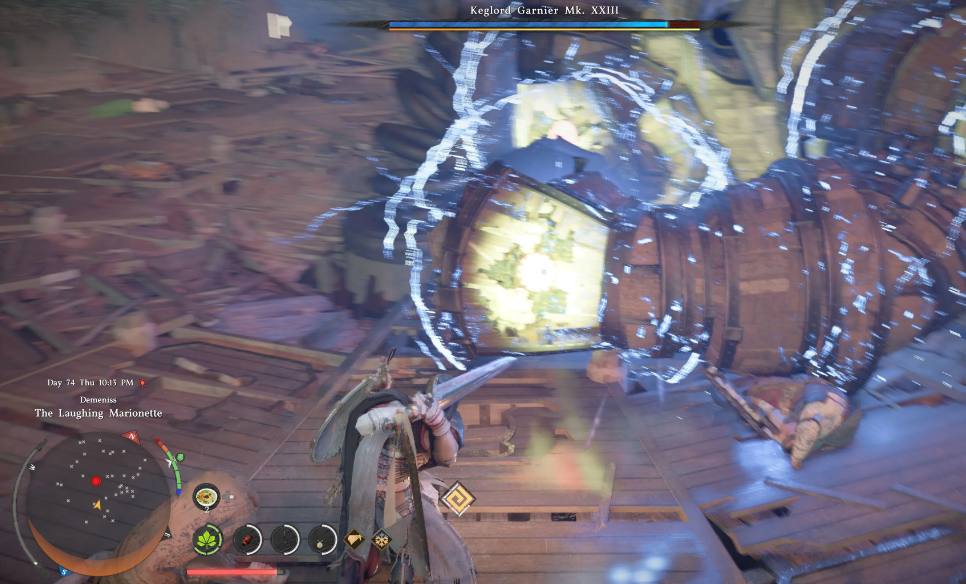
The first step is to survive. The boss starts with lightning and a spinning flamethrower. Roll away and wait it out. And when he attacks with his arms, that’s when you need to take action. Slash or shoot at his arms during the attack. Green dots will appear—hit them there. Keglord’s central electrical core is your primary target. Use explosive arrows or a “Spinning Kick.” The stun builds quickly.
The boss is stunned? Great. Now focus your damage on one arm. Follow the prompt: pierce it. Hold RB+Y / R2+Triangle to pierce, then press RT/R2 to “Pierce.” A powerful explosion will occur, and Keglord’s shield will weaken. Repeat on the other arm. That’s almost it. Once both arms are pierced, hit the boss again with explosive arrows until he’s stunned. Climb onto the torso and use a “Stab” on the shoulder. The residual damage from the explosions will finish off the shield. (No explosive arrows? Then you’ll have to stab both shoulders.)
Instructions for completing the second phase of the battle
The shield has disappeared. The main health bar has appeared. This is where archers have their fill. For melee combat, stick to the “Spinning Kick”: it provides maximum HP and stun. Your goal is to stun again. After the stun, use a “Stab” on the open green dome on Keglord’s body. Then “Pierce.” And that’s it. The boss falls.
Rewards and loot for defeating the boss in Crimson Desert
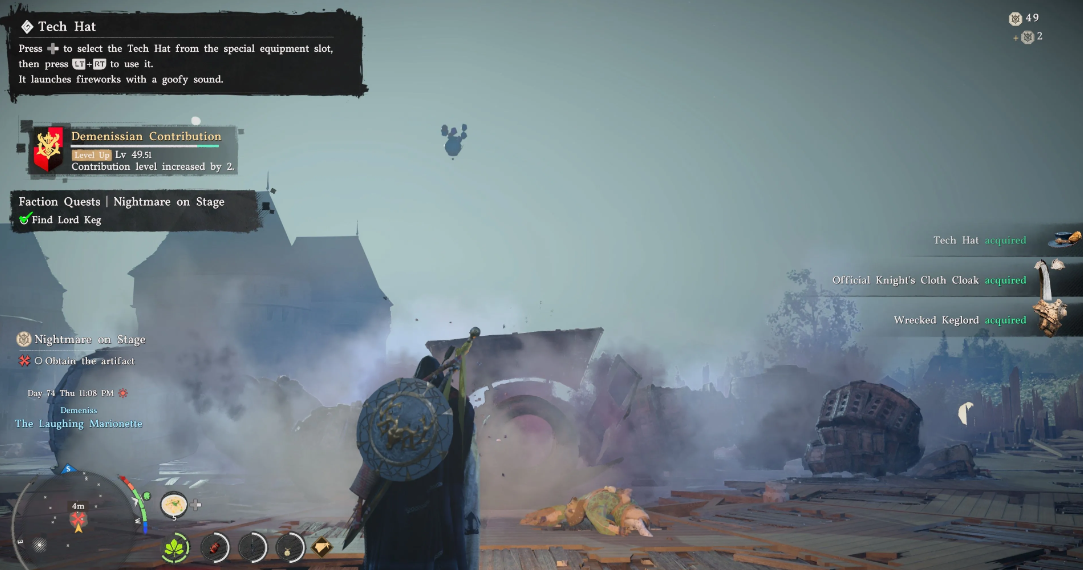
A short cutscene, and you stand over the defeated monster. Rewards pour in instantly.
-
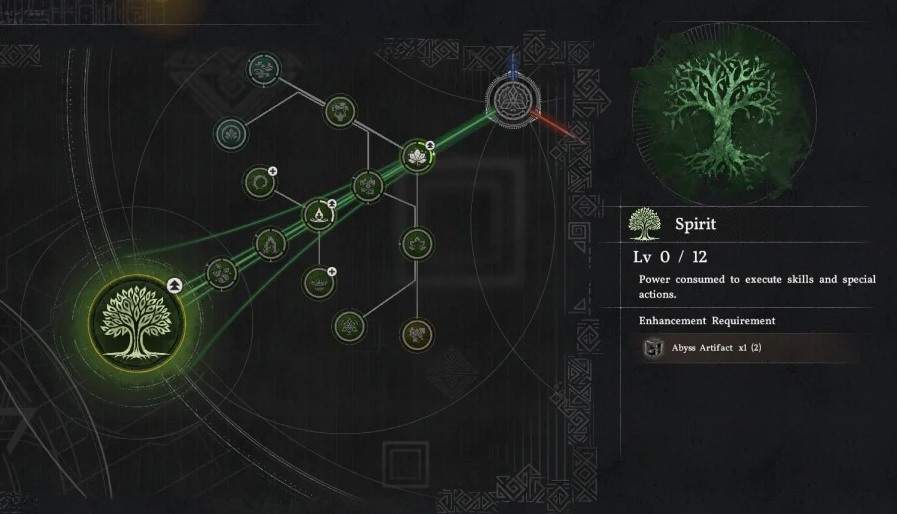
Abyssal Artifact (rare, useful)
-
Tekdok Helmet – 2 defense. Plus, a fun bonus: “Fanfare” launches fireworks with a silly sound. A small thing, but a nice touch.
-
Knight’s Officer’s Cloak — 4 defense, 4 upgrades, level. And also frost resistance — 3 units.
-
Broken Keglord — a one-time use item. Gives a lot of camp wood. But be careful: activating it can accidentally trigger other one-time use items in your inventory (for example, the Golden Piggy Bank in the shape of a pig). So check what else is lying around.