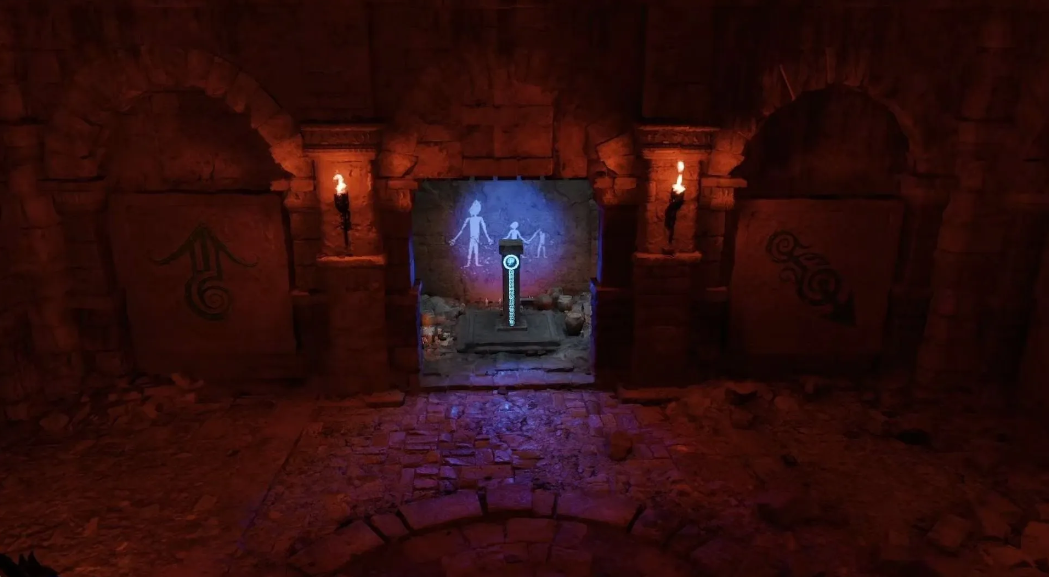
The Memories-Filled Ruins in Crimson Desert is a puzzle that initially baffles you. It’s all about the room with the buttons: to figure out which ones to press, you’ll have to decipher the diagram on the wall. The map in the first chamber of the ruins shows landmarks—the correct symbols are etched on them. Memorize their locations, and the rest will be easier.
Table of Contents
Memories-Filled Ruins Location on the Map
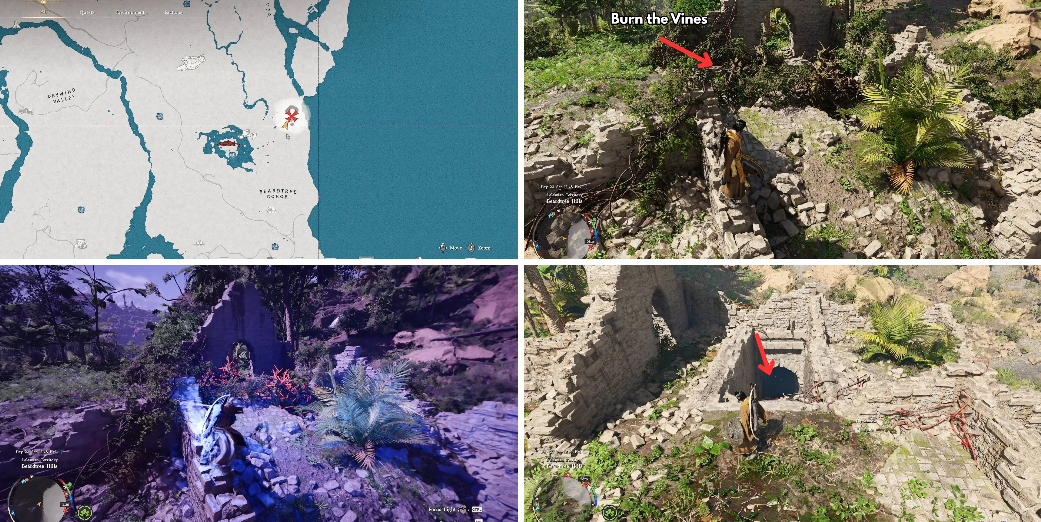
Look for it on the eastern shore, directly north of Delesia—just above Bearded Tree Gorge. The landmark is above on the map. When you approach, the system will highlight the “Mysterious Energy” point of interest. This is the entrance to the ruins.
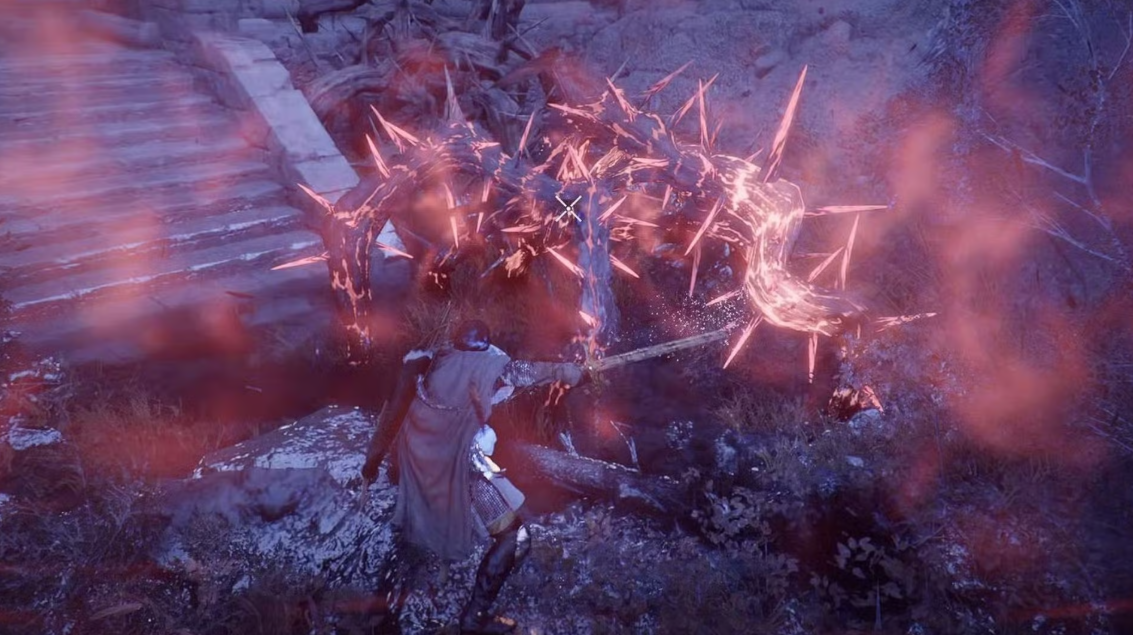
The area itself looks like ruined stone buildings, densely overgrown with red, thorny vines. Getting rid of them is easy—use the Explosive Arrow or the Reflect ability. The vines will burn, revealing a staircase leading down.
How to solve the Memories-Filled Ruins puzzle step by step
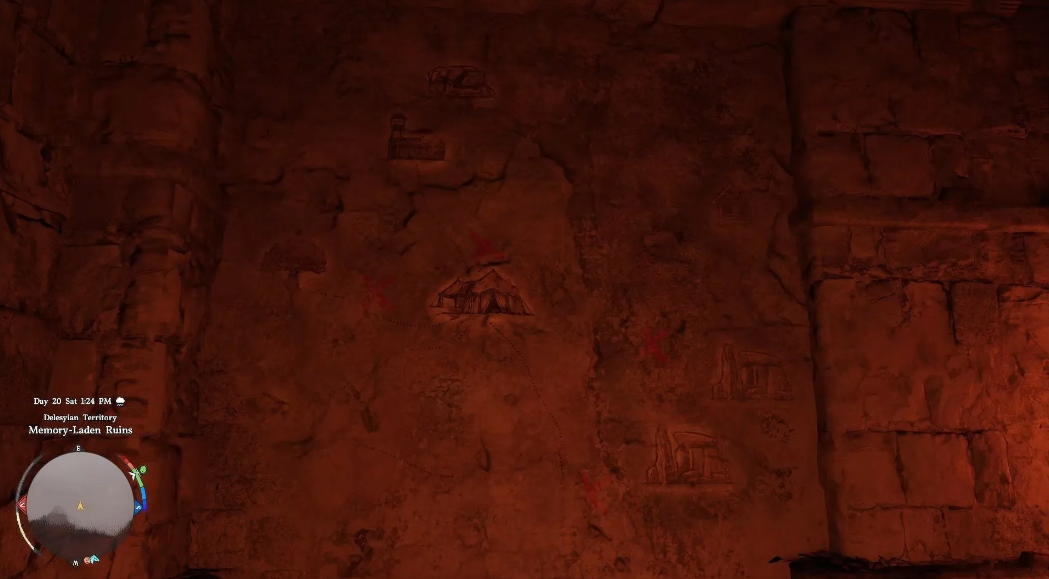
We’ve descended. Ahead of you is a room with two braziers and a metal door. On the walls next to the door are two identical engravings: a map with four red crosses next to landmarks. These are clues to where to look for the correct symbols.
Don’t worry about it yet. Open the metal door—behind it is a room with spikes. Wooden platforms on ropes hang to the right and left. Shoot the ropes, and the platforms will fall. Use them as springboards to reach the other end of the room.
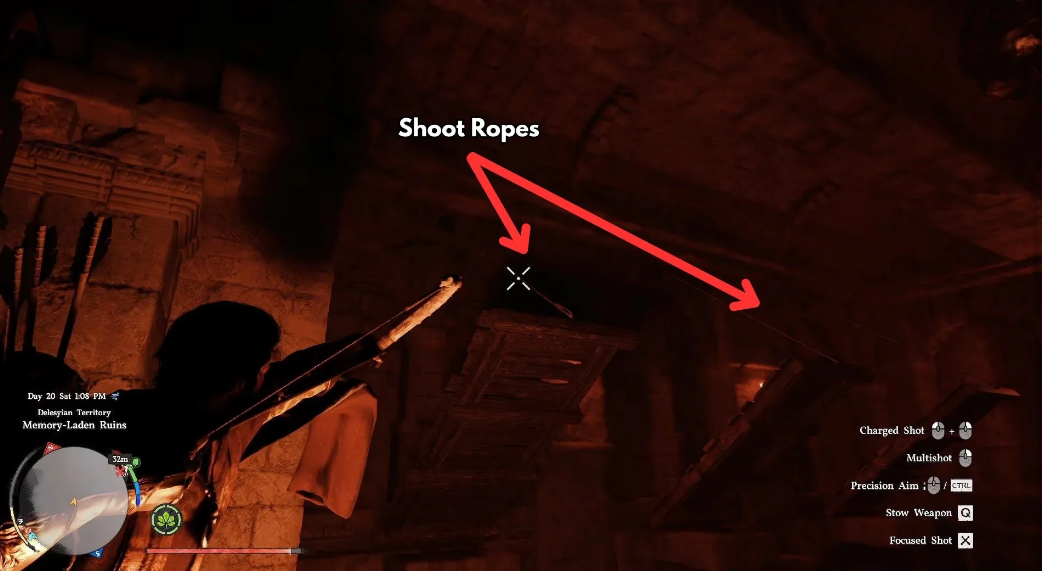
At the end is another door. Beyond it is the final room with eight buttons (four on each wall). The official solution: return to the map from the first room, go to the places marked with crosses, and read the symbols.
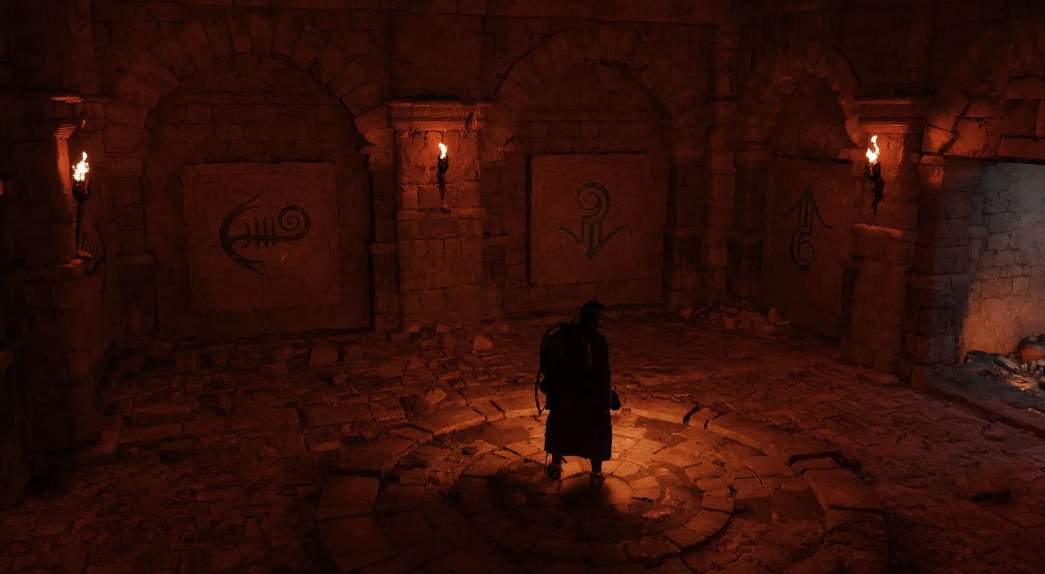
Where can I find trees with symbols near the Red River
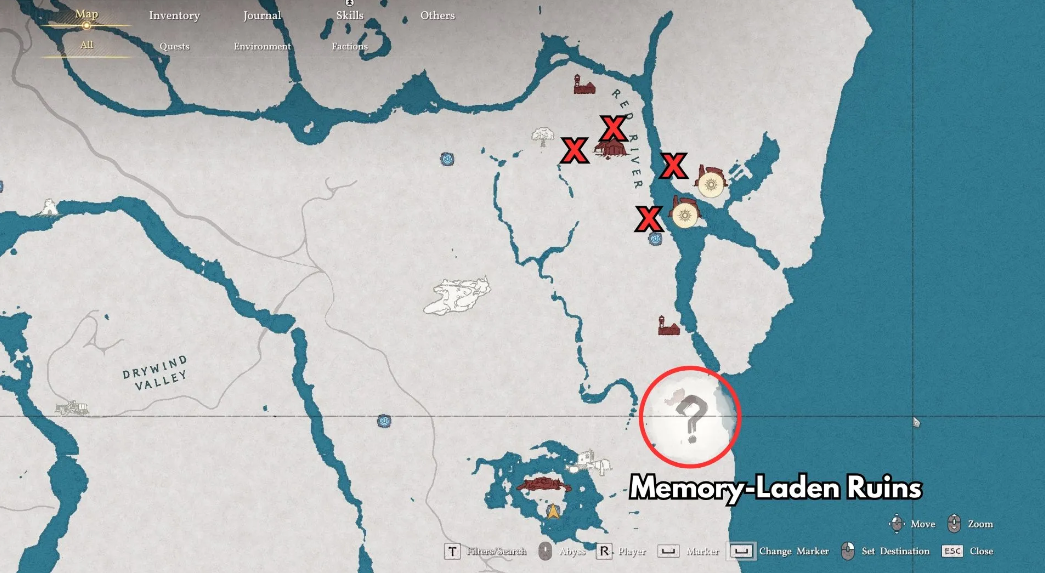
The engraving on the wall is a map of the area around the Red River, which flows directly north of the ruins. The four crosses point to large tropical trees—each with the desired symbol engraved on it. The screenshots above show exactly where the trees are located and what signs to look for on them.
The right button combination and a ready-made solution
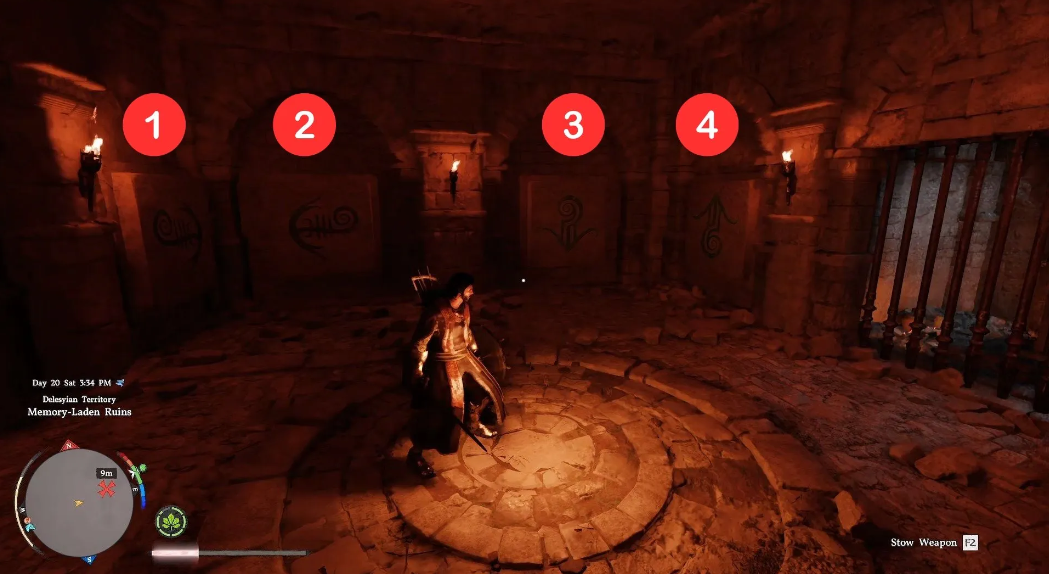
Forget about long searches. Simply use the Palmara Strike on the four buttons in the final room:
-
Down Arrow
-
Up Arrow
-
Left Arrow
-
Right Arrow
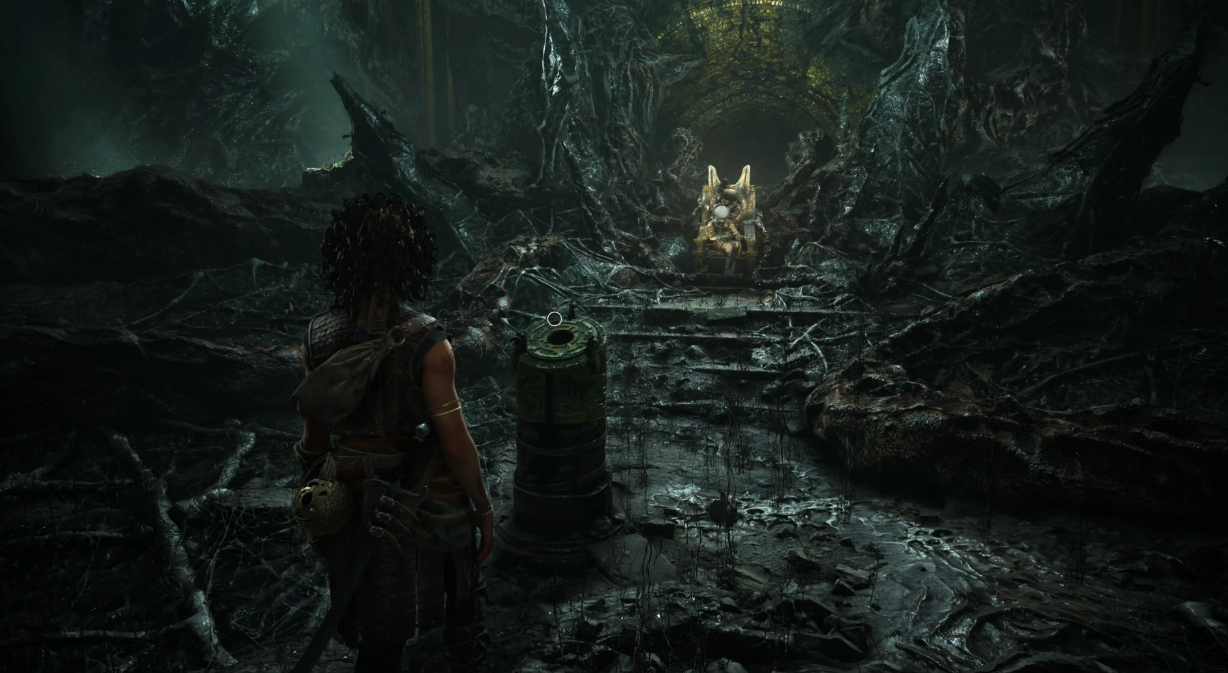
All of them are located on the left side of the room. The order you press them doesn’t matter—press them in any order. Once you use the Palmara Strike on all four, the metal grate blocking the passage to the reward will slide down. Approach the Abyss Stone, activate it, and the challenge will be completed. You’ll unlock a new fast travel point and receive the Forgotten Memory.
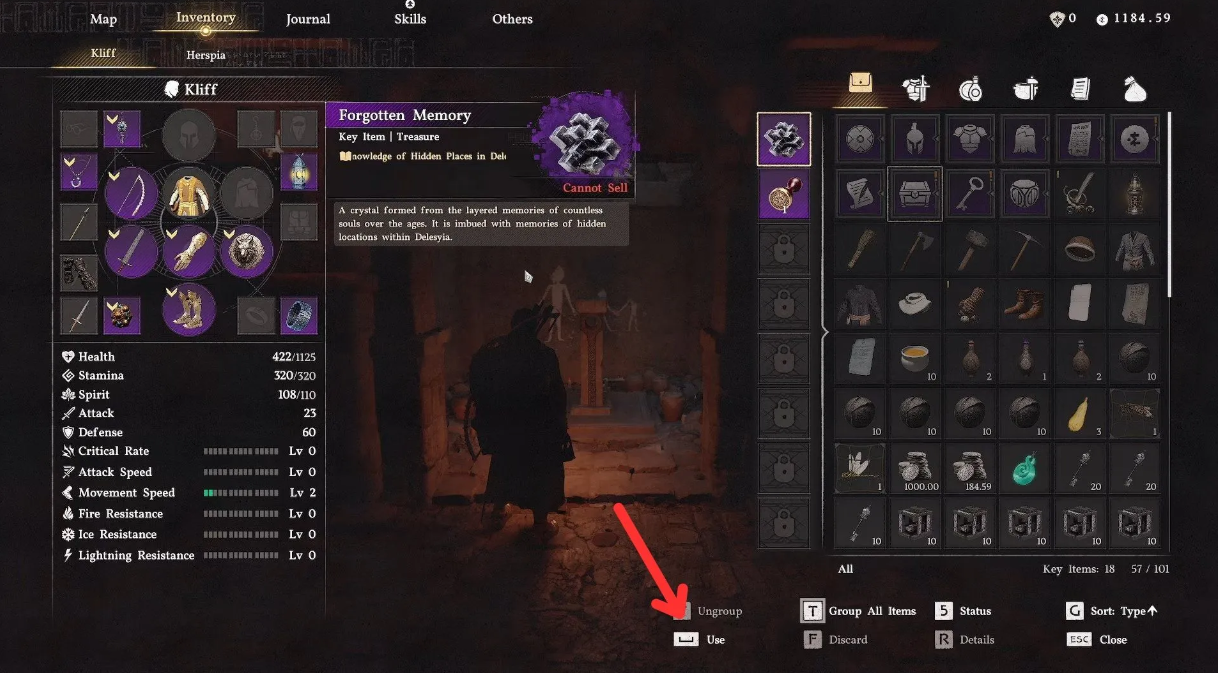
By the way, this item is in the “Key Items” section of your inventory. Use it, and five coastal caves will appear on the map—the same ones hidden behind the waterfalls in Delessia.
Why aren’t the buttons being pressed and Abyss Stone bug
On paper, the puzzle seems like a piece of cake, but in practice, players spend hours stuck here. Let’s figure out where exactly most players screw up and how to get through this stage without unnecessary headaches.
Most often, newbies try to breach the mechanisms with regular attacks or pepper them with arrows from a simple bow. This is a dead end. The local buttons only recognize “Palmyra Strike”—if this perk hasn’t yet been unlocked in the skill tree, the progression is officially blocked. Trying to get through without the required ability is pointless; the game simply won’t register the hit.
Another tricky trap awaits in the final room. Many people, for some reason, start frantically hitting the buttons on the right wall, even though there are eight of them. Remember: the task force is located strictly on the left. Focus on the directional signs (up, down, left, and right), and ignore the right side entirely. This is a classic trap for those accustomed to guessing combinations by trial and error rather than looking for clues.
Deciphering symbols also poses problems. Players often read the symbols on the first objects they encounter, even though the engraving clearly points to specific tropical trees near the Red River. It’s easy to mistake them for ordinary palm trees or distinctive boulders. Ultimately, they bring the wrong code to the room, and the puzzle fails.
Equally epic are attempts to burn the red, thorny vines at the entrance with a regular torch or fire magic. The thickets are completely immune to them. To clear the way, you’ll need either “Explosive Arrows” or the “Reflection” skill. Regular fire is useless here—the system simply ignores this type of damage.
Platforming is also tricky. Many try to get right up to the ropes, although they should be shot from a distance. As soon as the wooden platform falls, it turns into a springboard. You have to run across it in one breath. If you hesitate for a second, the board will give way under the hero’s weight, sending the character straight into the spikes.
Troubleshooting & Puzzle Guide
A separate headache is a technical bug with the Abyssal Stone. Sometimes something unpleasant happens: you land four accurate hits, the grate goes down, but the Abyssal Stone itself doesn’t activate. The cure is extremely hacky, but effective. Simply exit the ruins, quick-teleport to any point, and immediately return. All progress in the room will be saved, and you won’t have to fiddle with the buttons again.