The third chapter of Crimson Desert isn’t just another storyline. It’s here that the game stops leading you by the hand and begins to trust you. The “Estate” quest chain takes center stage, combining several mechanics: exploration, bug-building, and dialogue that truly impacts the gameplay. There are six subquests in the chapter, and we don’t recommend skipping any of them—especially if you care about the Gray-Manes’ story.
Table of Contents
All 6 quests in the “Estate” chain

Before diving into the details, here’s a short list of what awaits:
-
An Old Friend
-
The First Step to Rebirth
-
A New Beginning
-
A Reward for Hard Work
-
A Comrade’s Return
-
Familiar Curses
“An Old Friend” quest: where to find Marius
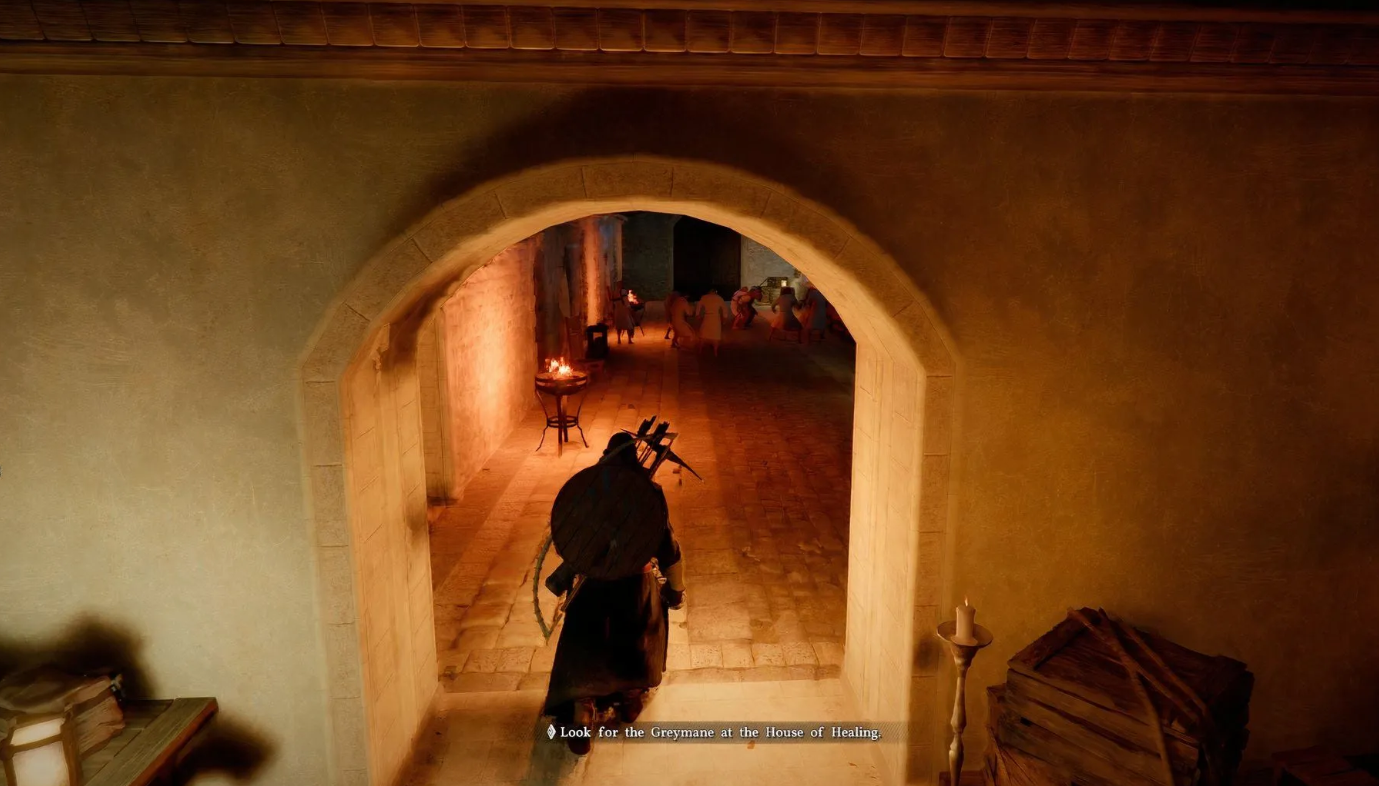
After the intense battle with Kailok, the developers give you a chance to catch your breath. The quest begins in the backstreets of Ernand—you come across a rumor about a surviving Graymane. It leads to Marius. Look for him in the northwest of the city, near the forge and tavern. He’ll be leaning against the wall in a grassy area—you can’t miss him.
The conversation is short but important. Marius confirms that Andrew and Naira are alive. This is a reference to the events of the first chapters and a hint that the Graymanes will still make their mark. Marius leaves quickly, but not before stating the goal: a meeting with the Marquis and the beginning of restoration.
“The First Step to Revival”: Graymane Base
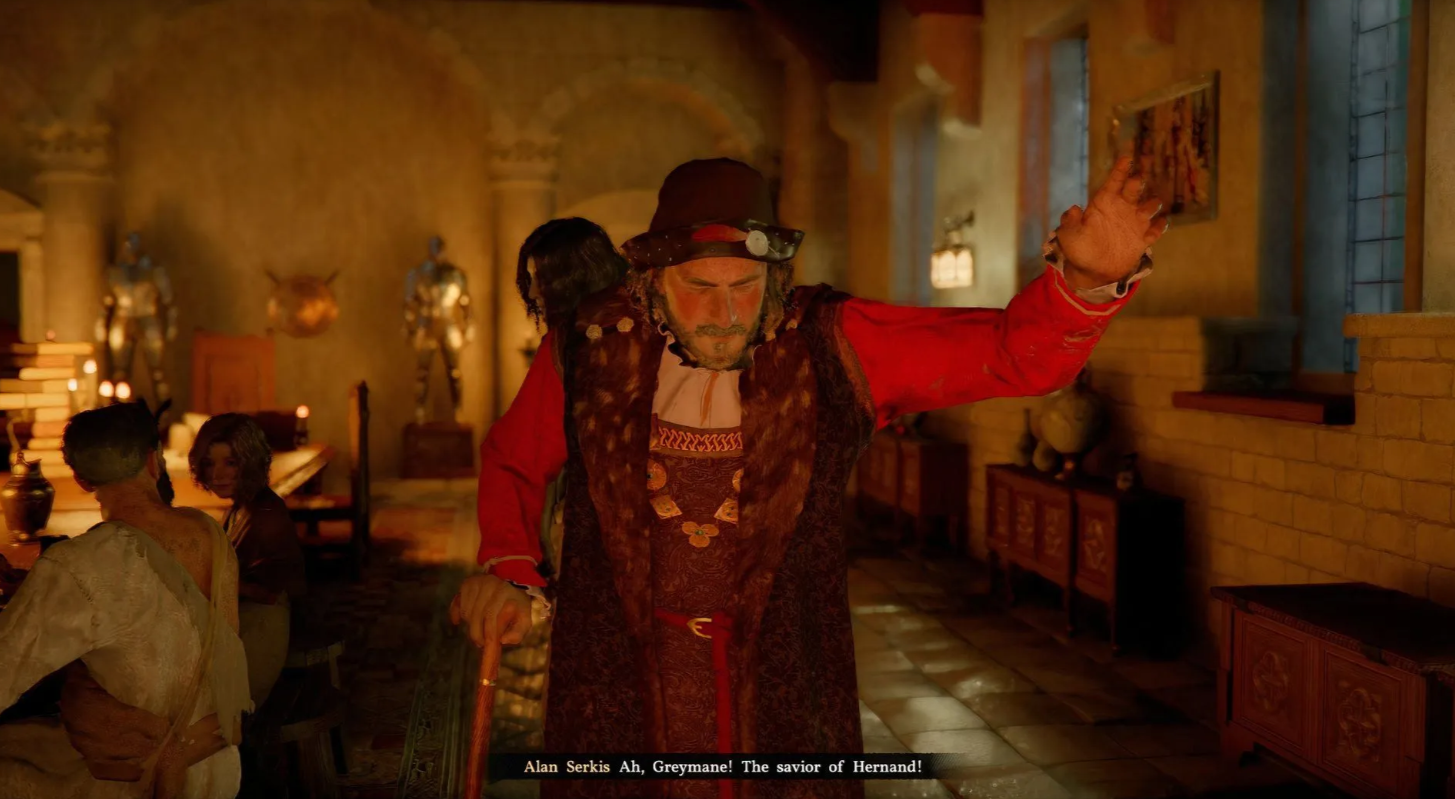
Next stop: Oakenshield Estate. A large manor with a central courtyard. A servant greets you outside, and Marquis Serkis is inside. Dialogue with him triggers a key event: the Graymanes receive land and their first real base.
Before leaving, don’t be lazy—activate Visione in the reception hall. There’s a “Memory Shard” hidden there. It’s optional, but worth picking up for the sake of context and the world.

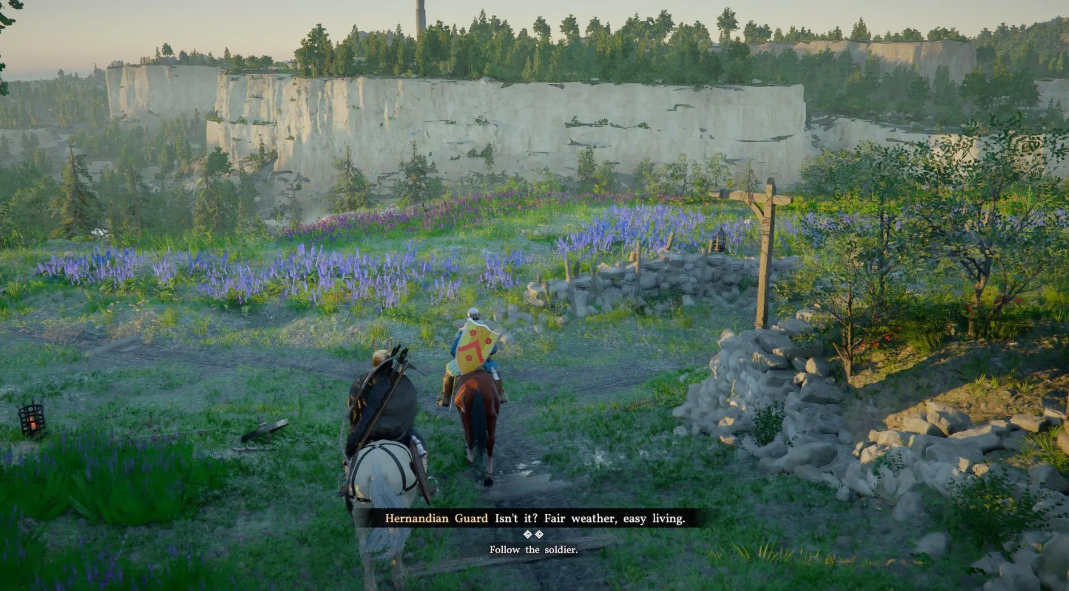
The Path to Howling Hill Without Losing an NPC
Once you’re done, follow the escort out of the estate. The path to Howling Hill is quiet, with no unexpected bosses. This is a great time to collect reward posters along the way. Easy money at the start, and you’ll be too lazy to chase them later.
Along the way, you’ll come across the Bluemont Barrel Works. There’s a crowd of enemies there, and the temptation to clear it out is strong. Don’t do that now. The NPC soldier in the escort may simply retreat back to the starting point if you get into combat, stalling the progress.
Just stick with the horseman and reach Howling Hill.
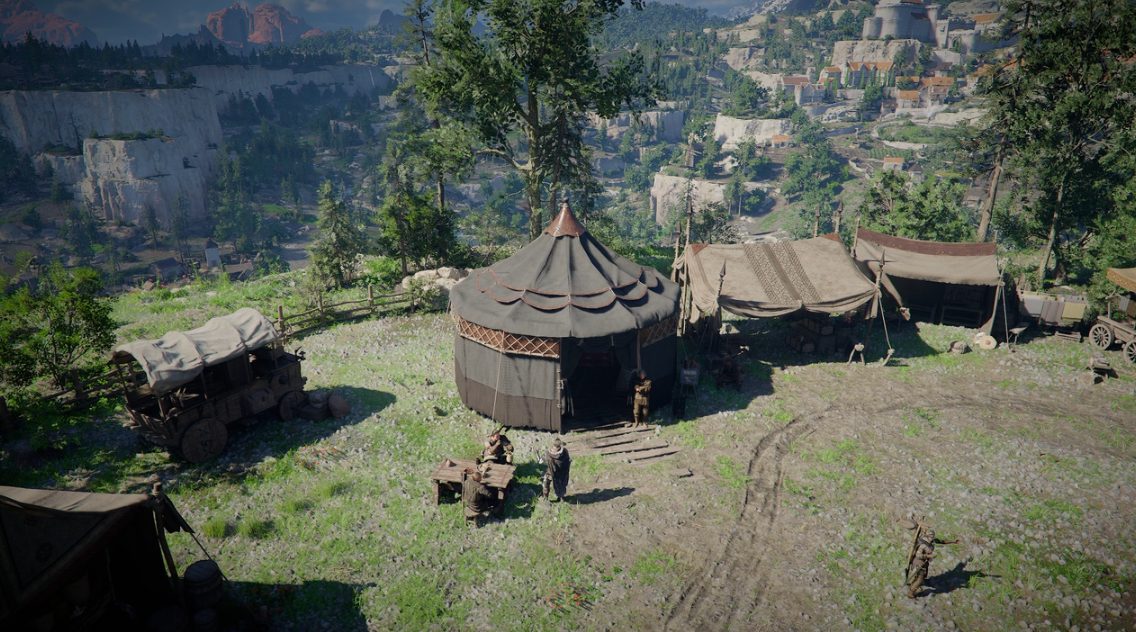
“A New Beginning”: Damiana and Camp Construction
As soon as you reach Howling Hill, Damiana, the second playable character, enters the game. She’s immediately introduced to the story and given her first task: to restore order in her new home.
Damiana is the complete opposite of Cliff. While Cliff relies on bows and stealth, Damiana prefers firearms and an aggressive style. Her ranged combat feels much more brutal. Spend a quarter of an hour getting used to her mechanics—she handles most side activities with ease. However, there’s a catch: Damiana isn’t up to the task of quests that focus solely on Cliff.
4 Steps to Setting Up a Base
Setting up a base is broken down into simple yet clear steps:
-
Carry the Sacks
-
Drive the Stakes
-
Push the Wagon
-
Raise the Banner
How do you move the sacks in camp?
You need to move three sacks to the marked area, one at a time. It sounds simple, but the markers can be confusing: the target is right behind you, in the wooden storage area, not somewhere on the other side of the camp. Don’t make things difficult for yourself.
Drive Stakes with a Mallet: Instructions
You’ll need a mallet for this. Equip it like a weapon. Look for it on a wooden table near your work area. Aim carefully at the top of each stake—this will ensure they go into the ground evenly, without skewing.
Push the Wagon and Remove Boulders
Before you can move it, you’ll need to clear a path. Boulders are blocking the road—take a pickaxe from the crate near the rocks and remove the obstacles. The rest is simple: stand behind the wagon, lock the forward throttle, and push hard. Push until it’s under the tent canopy.
Planting the Gray-Mane Banner
The final touch is the Gray-Mane banner at the main entrance. Descend the path from the camp and you’ll find a folded flag on the ground. Pick it up, aim it at the stake, and carefully plant it.
Once all four objectives are completed, the camp comes to life. The base is operational—you can move on.
Clear Broth and Gray-Mane Mercenaries
The quest “Reward for Hard Work” sounds pompous, but in reality, it simply asks you to make soup. Clear Broth is a basic item you’ll be brewing constantly. The recipe is on the table next to the cauldron—learn it first, then get started. Ingredients are limited, enough for two servings. If you mess up, you’ll have to run around gathering resources again. Ready? Deliver it to the workers.
“Return of a Comrade”: Opening the Hub
The “Return of a Comrade” mission is short, but without it, the camp won’t be fully operational. Switch to Cliff, mount your horse, and follow Marius to the nearest camp. The road is quiet, and there are no enemies. Once you reach Howling Hill, you’ve got a fully functioning hub. This is where the Gray-Mane system opens up: you recruit fighters, send them on automated raids, and they haul resources (food, materials, currency) in the background. No micromanagement—only profit.
Rescuing Yann and rewards for “The Estate”
The rewards for this quest chain are a generous starter set. Iron Ore (useful for crafting), a Large Bag (expands your inventory—take it without hesitation), and a Clear Broth. You’ll get all of this immediately after the finale.
The finale is called “Familiar Curses.” You need to rescue another Graymane—Yann—from the Sanctuary of St. Halsia. The easiest way is to buy a disguise from the guard at the entrance. It’s inexpensive, and they’ll let you in quietly. Technically, you can climb through the roof or get a visitor’s pass, but that’s a pain in the ass with the same result.
Inside, head to the central courtyard, then into the prison area. Climb to the second floor, cross the common room—there’ll be a commotion that will lead you straight to Yann. From there, it’s simple: follow him, get in the cart, and return to camp.
Bonus: Saint Halsius Priest’s Vestments
If you purchased the disguise, you’ll receive a full set of Saint Halsius Priest’s Vestments. These items are mostly cosmetic, but they do help with stealth. Miss them? No problem—you can buy them separately later. Nothing is lost forever.
Oakenshield Estate Caches: Where the Loot Is Best
Oakenshield Estate isn’t just a backdrop for story dialogue. Four caches are hidden within and around the estate, and wandering around them is a waste of time. Glenbright Cellar offers the biggest payout in a single go, but you can’t get in without a key, and it’s quite noisy. The Marquis’s Office is quieter in terms of risk, but the payoff is less. The attic storage room with the garden stash is a “side loot” drop: you pop in while rushing through the main Gray-Mane chain.
Following is a full breakdown of loot drops, detection chances, and traversal order. The numbers are verified against the current Crimson Desert build and cross-confirmed with Fextralife and Game8’s guides at the time of publication.
Hidden Stashes & Heist Guide
What to take from the caches first
The loot route in Oakenshield Estate is strict, and order is half the battle. Let’s go over the priorities.
-
The Marquis’s Office is the starting point, no other options. From here, you’ll find the key, without which the Glenbright basement becomes a backdrop. A bonus is a letter that unlocks an additional dialogue option with Marius near the end of Chapter 3.
-
The Glenbright Basement is the main prize in the chain. The blacksmith will take the silver bars to upgrade Cliff’s gear at rank 2. The Rare Blueprint is a unique item; you won’t find another one until the end of the chapter.
-
The Garden Stash – visit for the “Silent Bite.” The dagger increases damage from stealth by 12%. It’s indispensable if you’re storming St. Halsius’s Asylum quietly, without purchasing disguise from the guard at the entrance. • The attic storage room is a small crafting spot. A separate run isn’t worth it; only grab it in passing.
Why Glenbright’s basement isn’t the first choice
The temptation to rush to the basement first is understandable. The loot density there is higher than in the other three locations combined. However, you won’t be able to open the door without the key from the Marquis’s office—lockpicks simply don’t work at this stage of the quest; the lock is scripted. Add to this the patrolling guards. Get into a fight, and Serkis will shut down the entire questline with the Gray-Mane base until you restart from an earlier save. Hence the route: the office, then the garden stash, then Glenbright, then the attic—optional if it’s on your way.