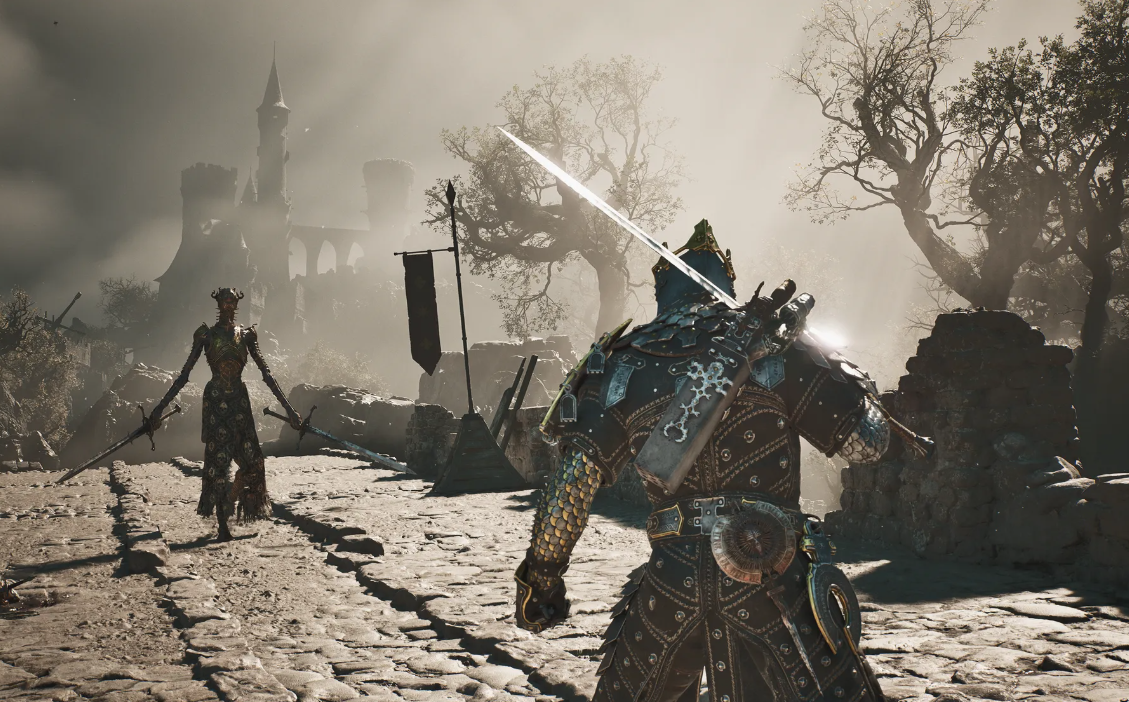
Mortal Shell 2’s defensive system is built around three core mechanics: the standard Block (Sign of the Unsullied), Petrification (Sign of Vatra), and Parry (Infinite Seal). The first has a straightforward toolkit with an energy reserve, the second acts as a tactical clue and insurance with a cooldown timer, and the third involves colossal risk for maximum damage on the Breach meter. The choice of a specific style is based on gameplay experience: classic defense is suitable for beginners, counterattacks are ideal for those who prefer tight timing and counterattacks, and Petrification is recommended for those who prefer complete control over the battle.
Table of Contents
All Seals in Mortal Shell 2 – A Brief Overview of Defensive Mechanics
The developers at Cold Symmetry equipped the sequel with four key Seals: Unsullied, Vatra, Infinite, and Assassin. Each of these artifacts radically changes the approach to defense. The first two are available to the player in the prologue, and the Infinite Seal is obtained after a brief tutorial with Genessa in the Marrow Citadel.
Block and Perfect Block are reliable defenses for beginners
The Seal of the Unsullied is available from the very first minutes of the game. To block, simply hold ALT or LB while facing the enemy. If you press the button exactly at the moment of contact with the enemy’s weapon, the character will perform a Perfect Block.
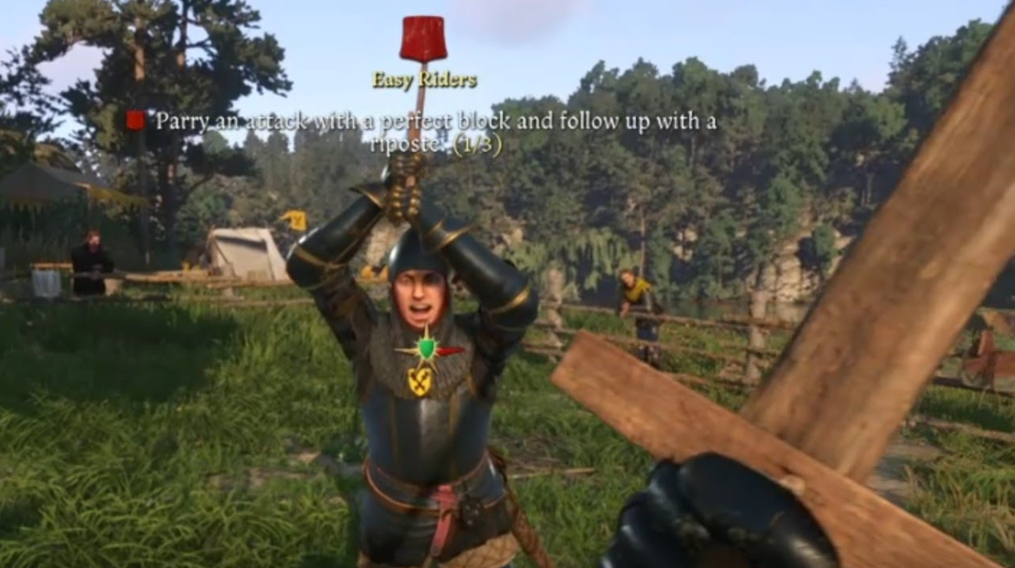
Defense directly drains the block energy bar. Constantly holding the stance will overfill the bar and stun the character, so it’s important to release the block promptly to restore the resource. Remember: attacks with a red indicator cannot be blocked—they can only be dodged.
Petrification and Perfect Petrification are stone insurance
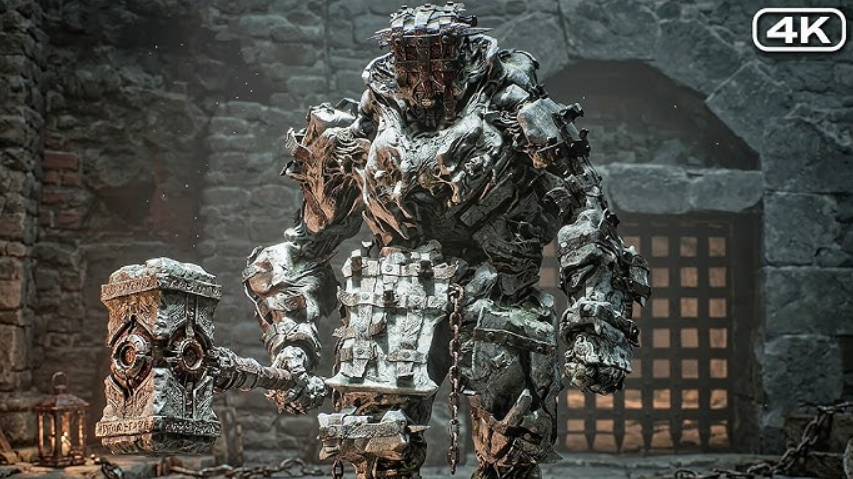
The Seal of Vatra is awarded as a reward for defeating the Tar Golem in the prologue. This mechanic transforms the character’s body into a monolith: holding ALT/LB reduces damage taken to zero. Reuse is limited by a timer under the health bar.
However, a well-timed Perfect Petrification instantly resets this timer, allowing the defense to be reactivated without waiting. As with blocking, the horror of red attacks pierces the stone crust.
Advanced Technique: Animation Cancellation with Petrification
Petrification can be activated mid-attack. This allows you to instantly “freeze” your swing animation, take damage without losing health, and immediately continue your combo. This technique is especially effective against fast opponents with sudden attacks.
Parrying is high risk, high reward
The Infinite Seal is unlocked after speaking with Genessa. Pressing Q or LB causes the hero to swing his arm. A successful parry not only completely negates damage but also deals massive damage to the Breach meter—approximately three times that of a Perfect Block. A missed parry guarantees a missed heavy hit.
Riposte is the final blow to a broken enemy
Filling the Breach meter highlights a red dot on the enemy’s body. A normal light strike to this area triggers Riposte, a devastating finishing move. While the easiest way to break an enemy is with Parry or Perfect Block, the Assassin’s Seal, specialized Tharstones (Steady Blade Stone, Hand Stone), and Eredrim Shell skills can also help activate this state.
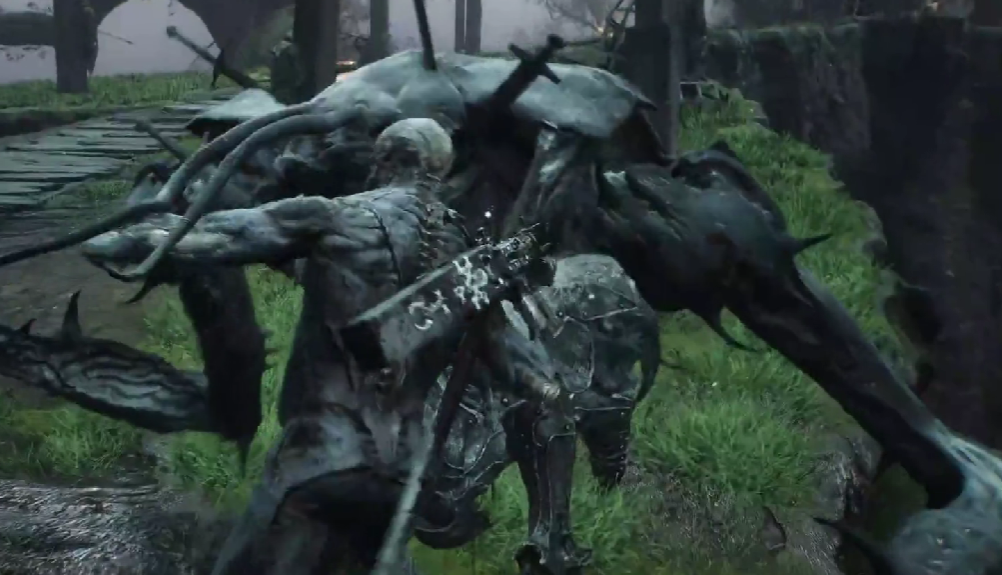
Comparison table of all defensive mechanics
How to choose the perfect Seal for your playstyle?
-
Beginner: Seal of the Unsullied. Allows you to calmly study enemy timings without the risk of instant death.
-
Counterattacker: Infinite Seal. Allows you to quickly break the Breach meter and enter Riposte.
-
Tactician: Vatra’s Seal. Ideal for controlling distance and disrupting animations.
-
Advanced: Combination approach – start the encounter with Block, then switch to Parry after learning the boss’s patterns.
Visual cues – how to read enemy attacks
During the tutorial, Genessa convincingly displays a yellow indicator, helping you find the right timing for a block or parry. Standard and yellow attacks are freely parried and blocked. If a red symbol flashes above the enemy, blocking and petrification are useless; only a well-timed dodge will help.
Top 5 mistakes when using defensive mechanics
-
Attempting to petrify under a red attack – the damage will go completely.
-
Constantly holding Block – the meter will quickly overflow, stunning the hero.
-
Spamming Parries – the window is narrow; a miss guarantees a missed attack.
-
Ignoring the Vatra Seal timer – attempting to petrify during the cooldown will result in a fatal error.
-
Ignoring Perfect Versions – normal defense does not immediately increase the Breach meter.