It’s not missing creeps or poor ability skills that slows your ranking in Deadlock. Players get stuck at low ranks due to a complete lack of systemic thinking, while opponents simply take key points and build economic advantages. Let’s understand how macroplay works so you can confidently outperform your opponents at any stage of the match.
Table of Contents
Why Microplay and Good Aim Do Not Guarantee Victory in Deadlock
Microplay is the ability to land headshots and use your abilities at the right time. Macroplay is a global map view, decision-making, and the ability to seize the initiative. You can have perfect aim but consistently lose matches if your farming and rotations are not keeping up with your opponents.
In Deadlock, the winner is the one who converts resources into enemy objective destruction faster. Every action on the map should be driven by a specifically calculated profit, not chaotic fights for the sake of a fight. Pace is not determined by frag count, but by what you do between fights—and that’s the only aspect that immediately distinguishes a strong player from an amateur.
How the Ranking System and Hidden MMR Rating Work in Deadlock
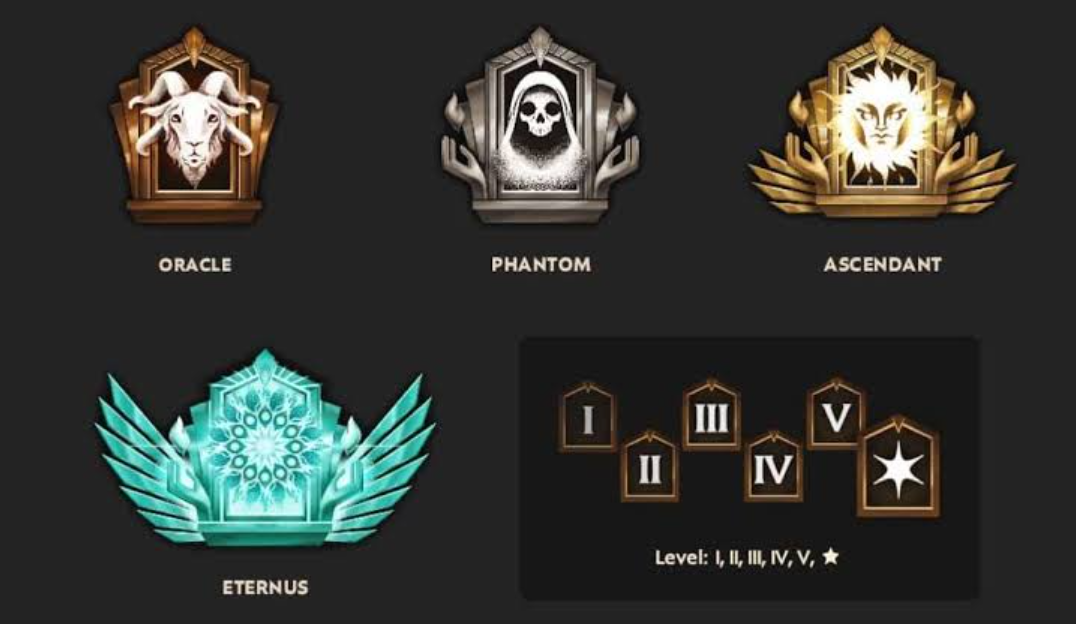
Deadlock’s ranking ladder has 11 main ranks, from Initiate to Eternus, each with six subranks (I–VI). Most players sit in the Alchemist–Ritualist range, while Emissary ranks represent approximately the top 30%.
However, your visible rank is merely a delayed display of your hidden MMR. The system updates your badge not after every match, but rather upon reaching certain thresholds. Even a 10-win streak does not guarantee an immediate increase—your hidden rating must first exceed the threshold for the next subrank. Accumulating enough MMR is only possible through consistent performance over time, not by hoping for a random win streak.
An important detail: after calibration, you cannot reach a rank higher than Oracle VI. To participate in ranked matches, you need to have at least 60 wins in normal mode and at least 3 heroes with 15+ wins.
Deadlock Macro Timing Chart from 2 to 20 Minutes
Disciplined timing is built around your mechanics and provides a vast advantage.
Nine Macro Patterns for Quick Ranking in Deadlock
Lane Management and Proper Rotations for Map Control
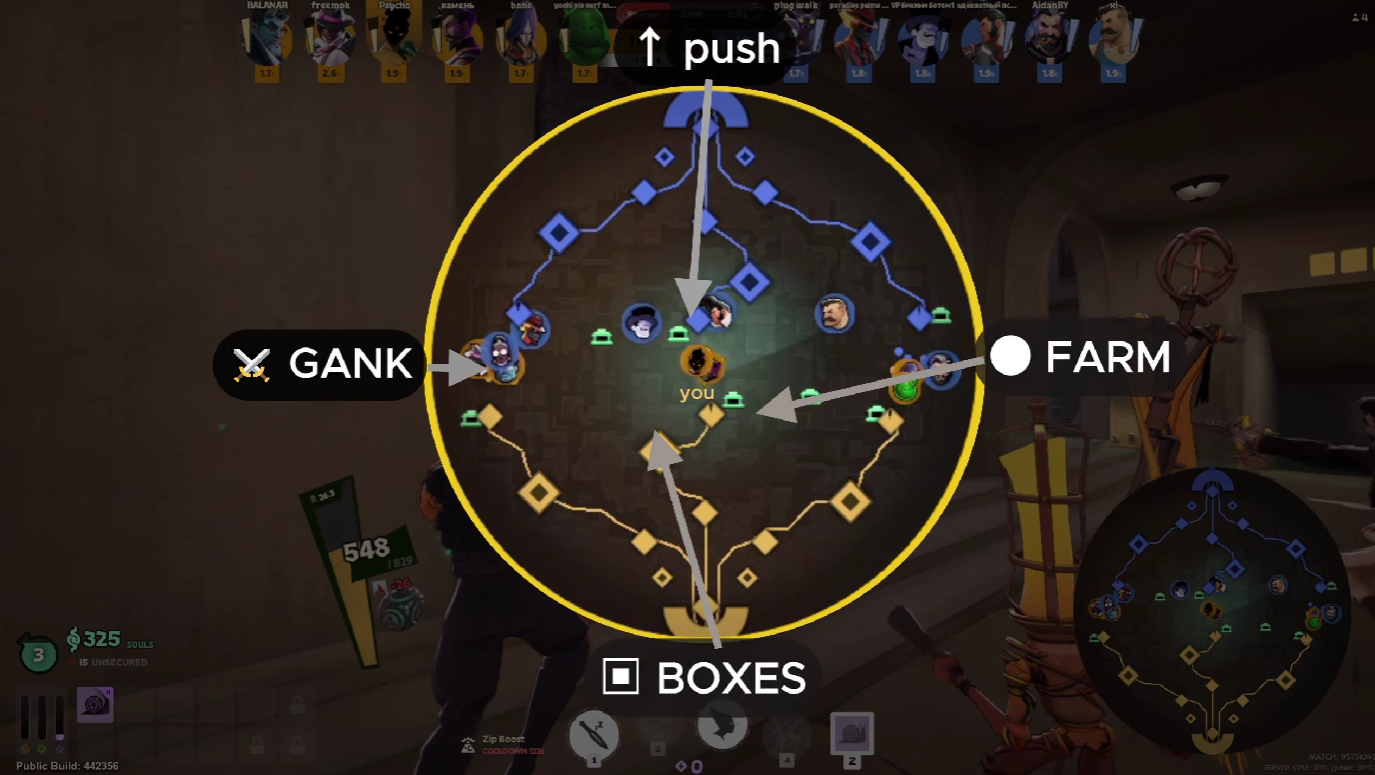
Pattern 1: Offlane Prioritization. Understanding the difference between the safe and offlane lanes sets the entire starting tempo. In the offlane, it’s more important to survive and accumulate your base soul capital without losing kills than to take the tower.
Pattern 2: Reset the lane before the rotation. Never leave the lane while creeps are pushing your side. First, push the wave completely under the enemy tower—this gives you freedom of movement and hides your movement.
Pattern 3: Control respawns. Plan any rotation with an eye on the enemy respawn timer to avoid running outnumbered.
Resource Management and Farming Neutral Camps
Pattern 4: Take synergies based on timing. At 8 minutes, synergies provide a powerful resource boost for the entire team. Ignoring them is deliberately giving the enemy an advantage. The problem is that two assault rifles take a combined 640 HP—a lot for a core at this stage. Therefore, by the eighth minute, the support or roamer should return to their core, help push the pack, and safely take the synergies.
Pattern 5: Safe farming. Jungle camps are cleared en route to the objective, not instead of it.
Pattern 6: Urn control. Carrying the Urn at the 10th minute requires preparation: one lane should be pushed to force the enemy to defend. If the enemy has taken the Urn, but your teammates do not want to play around it, at least get into a good position to deny if they give up.
Capture Team Objectives and Choose the Right Moment for Fights
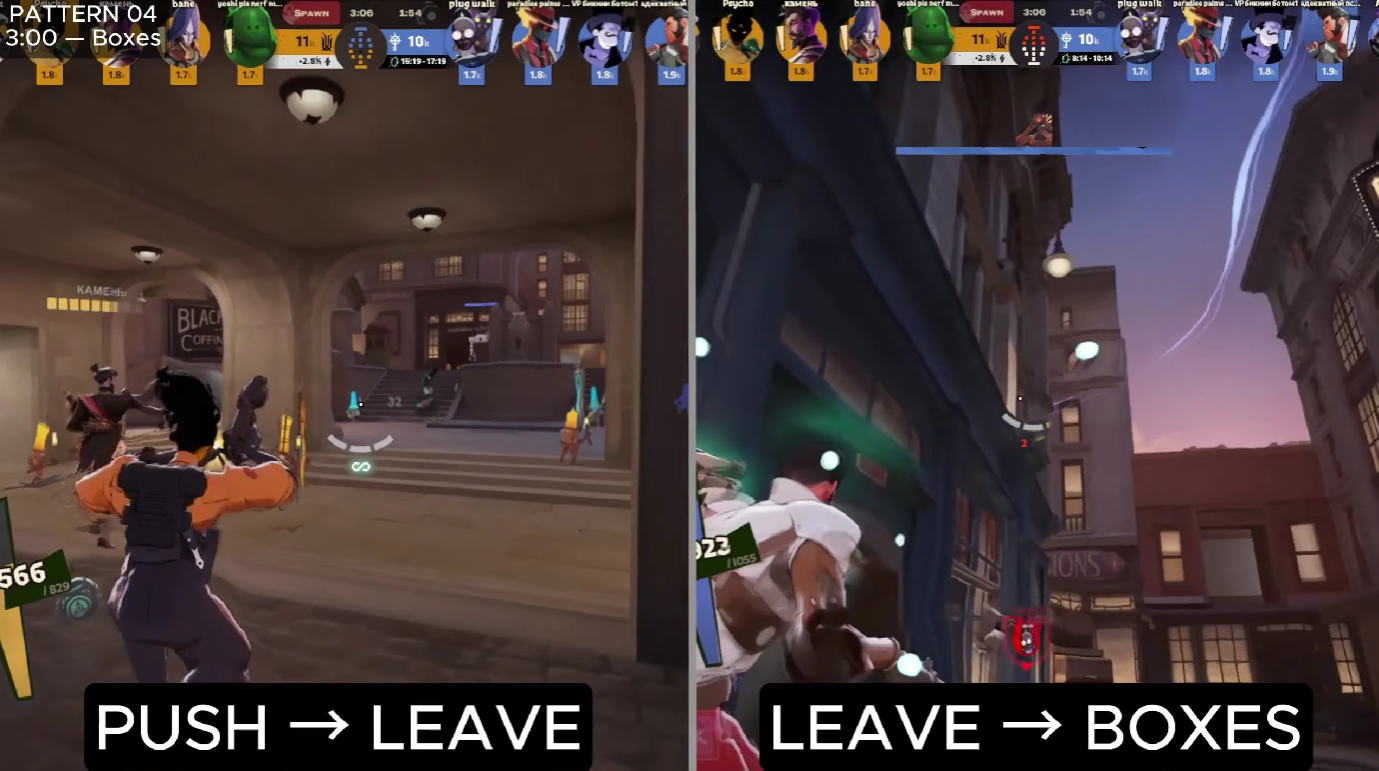
Pattern 7: Mid-Boss only after the pick. Don’t start taking the Mid-Boss when the enemy has all six players alive. The ideal moment is when you’ve mined two enemy players and the lanes have been pushed. The Rejuvenator that the boss gives is the buff you use to close out the game.
Pattern 8: Timing your soul spending. Visit the shop as soon as you’ve reached the required amount for the target item. Carrying 3,000+ unused souls into a fight is a clear mistake.
Pattern 9: Converting kills into kills. Every successful fight should end with the destruction of Volker or Shryne, not just a retreat to base. Taking down a tower creates space and allows you to push deeper into the lane. The further away the pack is, the more time you have to gank or farm neutrals.
Hierarchy of Objectives and Object Priority in Deadlock
When choosing where to shift, follow this strict order:
Patron > Shrines > Walkers > Guardians > Urn > Mid-Boss > Buffs > Jungle Camps
A Walker is always a priority over regular farming, as destroying it opens up the map, provides new slots, and pins the enemy team on their side. Fighting for a Walker at 18 minutes is much more dangerous than at 12 minutes—heroes take longer to respawn, and the enemy team is already well-stocked. Dying at these timings can cost you the Mid-Boss.
How to Start Climbing in Deadlock Right Now
Stop chasing meaningless kills on the map. Open the next match with one goal: track the 2, 5, 8, and 10 minute timings, take objectives at the right time, and organize your movements based on the objective hierarchy. Shifting your focus from micro to the global map will instantly boost your win rate—and that’s not just talk, it’s evidence the developers have built into the MMR mechanics themselves.