You can find over a dozen tools in Big Walk, from a flashlight to a walkie-talkie and a brush. Some are in plain sight, others are hidden in blue buildings or unlocked after completing towers. This guide covers all the locations, the collection order, and hidden features, including night scenarios.
When you first arrive on this Australian-inspired island, it seems like the main thing is to simply move forward and solve colorful puzzles. But you quickly realize: without the right equipment, even a close-knit group risks getting lost in the dark or getting bogged down searching for each other. The developers have provided a whole arsenal of useful items—some make navigation easier, others expand your inventory, and still others make socializing enjoyable. And almost all of them are well hidden. Below is a complete tool map, including those left out of the early guides, as well as a clear plan for what to grab first to avoid wandering the island empty-handed.
Table of Contents
Complete Tool List in Big Walk
All tools are divided into four useful groups. Navigational tools help you stay on track, inventory tools allow you to carry more items, communication tools keep your team on a tight leash, and puzzle tools unlock the most challenging challenges.
Navigational Tools
-
Binoculars – zoom in on your vision, like a good scope. Allows you to scan the horizon without having to reach for stationary telescopes. They’re located near each control tower – just look inside.
-
Compass – a lifesaver for coordination. With it, phrases like “go southeast” make sense. You can pick it up from the table in the Map Room, but it won’t open until you’ve dealt with the Red Tower – a detail many people overlook. The flashlight is the only portable light source you always have with you. It’s located to the left of the red bridge, just past the lowering section that activates after the tutorial. Important: glowing orbs and stationary illuminated telescopes are scattered around the map—they also provide light, but you can’t carry them.
-
Map: There are two types. The static version hangs in the Map Room and shows full detail, but it’s a bit of a stretch to reach. The portable version is also there, on the table, and can be taken with you. It features colored towers and major landmarks, though without the smaller paths.
-
Telescope: Stationary, located at observation platforms in the mountains. When aimed at a target, it highlights it on the map—handy for showing your teammates directions.
Inventory Tools
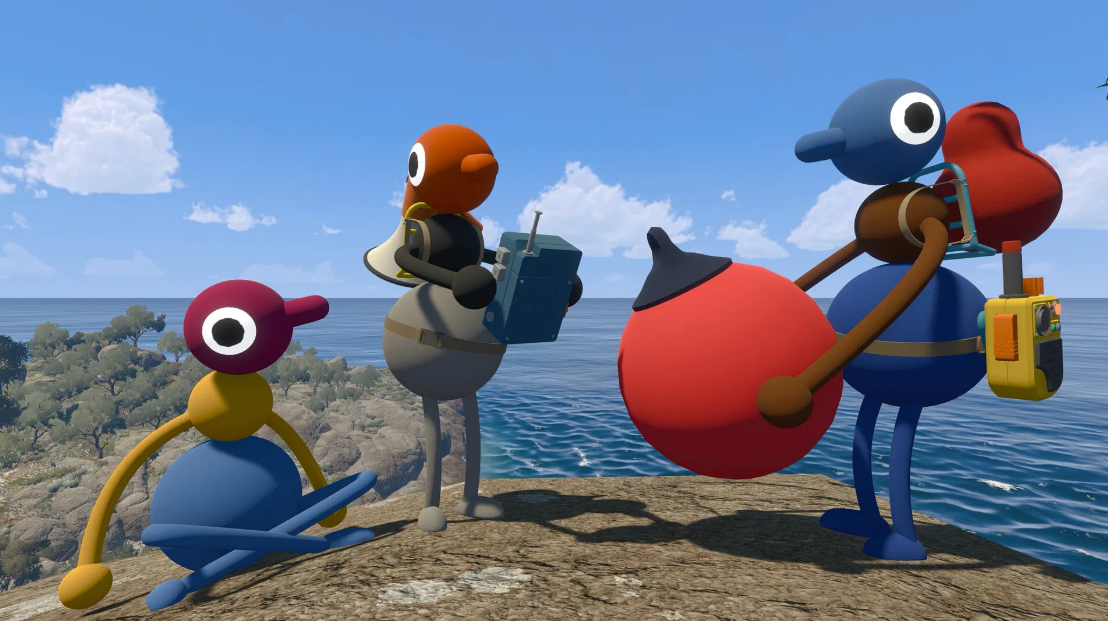
Backpacks: Hidden in the round blue buildings scattered around the island. There are ten such buildings, each containing either a backpack or a fanny pack. The colors vary: orange, light blue, yellow, turquoise, pink, red, green, and purple. The backpack can be attached to a friend’s back, allowing them to carry an additional item hands-free—almost anything, from a map to a radio.
Belt pouches are found in the same blue buildings. Unlike backpacks, they only hold small items—like a map or a radio. Ideal when you don’t want to burden your friend with a large backpack.
Communication Tools
-
Flare Gun – Fires a bright volley into the sky, like that rocket from the launch pad. Helps regroup scattered groups before more precise means become available. Usually found near puzzle areas.
-
Laser Pointer – Fires a thin beam that can be used to point at distant objects. Seen a strange hatch or a suspicious statue? Just shine it, and your friends will know where to look. Found on the table in the Map Room.
-
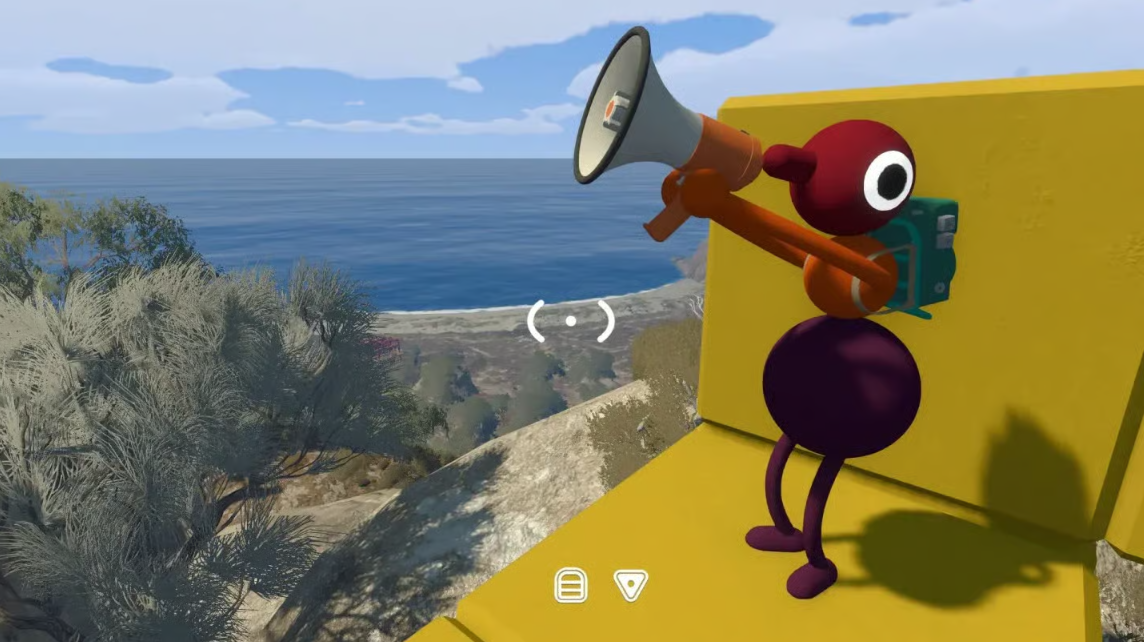
Hyperphone – Amplifies your voice, increasing the range of your voice chat. Perfect for when you know your friends are nearby but can’t see them because of the rocks. You can find it on a pile of yellow figures north of the Yellow Tower, as well as in the forest east of the Green Tower – a second copy is useful if the first gets lost.
-
Radio – Plays pleasant melodies that can be heard from afar. Your friends can easily find you by the sound of the music, even if your radio is low on battery. Taken immediately behind the flashlight, along the red bridge.
-
Walkie-Talkie – Allows you to talk to any team member, no matter where they are, regardless of distance. You can attach it to your belt and forget about communication issues. Found on the platform under the Red Tower and in the red tunnel underneath it.
-
Whiteboard – Hangs in the Map Room. Leave text messages on it for those who come later – hints, warnings, or just greetings.
Puzzle Tools
-
Paintbrush – Draws marks directly on the ground and walls. Helps leave clues for the team or mark completed areas. Found at various points on the map, often near towers.
-
Bell – Comes in small, medium, and large sizes. Produces a ringing sound that can be heard far away. Used not only to attract attention, but also in some sound puzzles.
-
Sound Shrine – A special area where walking in a circle changes the pitch of the tone. Needed for solving audio puzzles, most often found in the purple structure area.
-
Item Scanner – Highlights interactive objects with an “X” on the screen. Simplifies finding hidden levers and doors.
-
Timer – Activates for a set amount of time. Used in challenges where you need to complete a task within a limited time.
-
Key Cutter – A required tool for completing tower challenges. Without it, you won’t be able to access certain mechanisms. Located near each tower.
In what order should you collect tools – collection priority
The island doesn’t give you everything at once, and the correct order will save you hours of wandering.
Starter Pack (first 10 minutes): After exiting the tutorial, immediately collect the flashlight (near the red bridge) and the basic map (in the Map Room, if you managed to open it). If the room is still locked, don’t worry; the flashlight will be your best friend in the dark.
After the Red Tower: The Map Room opens – pick up the compass, portable map, laser pointer, and whiteboard. This turns chaotic wandering into a meaningful route.
After the Yellow and Green Towers: look for a megaphone (near the Yellow Tower and in the forest near the Green Tower) and a walkie-talkie (under the Red Tower and in the tunnel). By this point, the group usually spreads out across the map, and communication becomes critical.
Along with the towers: look inside the blue buildings – there are ten of them, and each contains either a backpack or a fanny pack. Prioritize the backpack because it allows you to carry a second item, such as a walkie-talkie or map, without occupied hands.
What to get after all the towers: puzzle tools – a brush, scanner, timer, bells. These are needed for secret areas that open after completing the entire mission.
Map of all instrument locations with landmarks
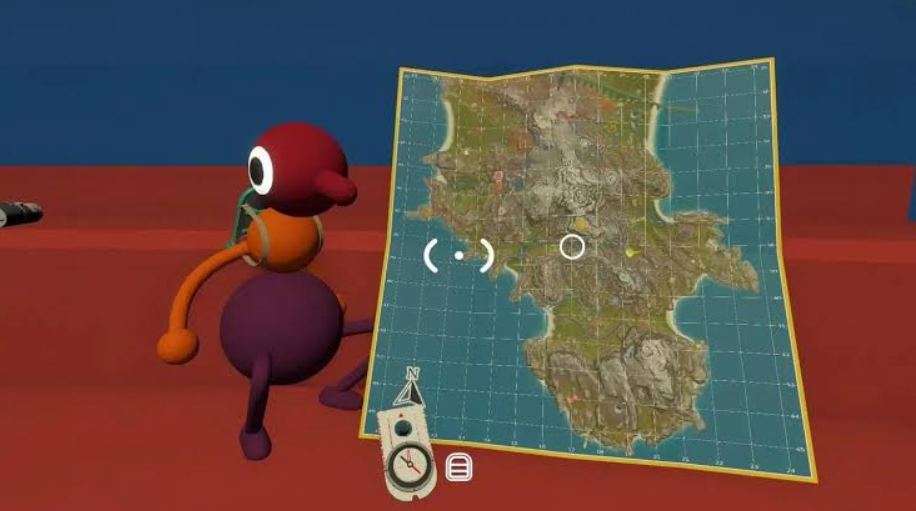
Below is a summary table of all the main instruments, with coordinates and requirements for obtaining them. This table isn’t found in any other guide—we’ve compiled the data from various sources.
️ Complete Tool List
Categories, locations, and unlock conditions
* Tool colors: Navigation — yellow, Inventory — blue, Communication — pink, Puzzles — purple
Inventory Limits and Usage Nuances
The main rule: you can carry no more than three items at a time – one in your hands, one on your belt (if you have a belt pouch), and one in your backpack (if a friend has secured it to your back). You can’t equip a backpack or fanny pack—your friend must do the same. This means you’re limited to one item when you’re alone.
-
A backpack can hold almost any item, including a map, a walkie-talkie, a megaphone, and even a flare gun.
-
A fanny pack can only hold small items: a map, a walkie-talkie, or a laser pointer.
-
Items can be transferred between group members, but this takes time during the game, so plan ahead.
Tricky bit: if you’re holding a flashlight and your friend is carrying a backpack with a map, you can swap, but the free hand immediately grabs the new item—there are no free slots.
Creative Use of Tools and Night Scenarios
Tools can be combined in non-obvious ways:
-
Laser pointer + telescope – aim the laser at a point you see through the telescope, and the map will highlight that area for the entire group.
-
Megaphone + walkie-talkie – if your walkie-talkie is dead or far away, the megaphone increases the voice chat range, allowing you to shout over the wind.
-
Flare pistol + radio – firing into the sky in time to music creates a light show visible from anywhere on the island.
What should you do if you’re lost at night without a flashlight?
First, don’t panic. Pick up the glowing ball lying in the bushes – you can kick it, and it will create a small glow around you. Second, use sound: turn on the radio or ring the bell so your teammates can hear you. Third, if you have a flare pistol, fire it upward, but only when you’re sure there are no enemies nearby (there aren’t any in the game, but the sound can attract attention). And fourth, find the stationary telescope on the nearby mountain: it illuminates targets and acts as a beacon.
Practical advice: the most efficient route is to first grab the flashlight from the red bridge, then open the Map Room through the Red Tower, grab the map, compass, and radio, and then methodically explore the blue buildings for backpacks. This way, you’ll have light, communication, and the ability to carry extra items—and you’ll be able to explore every corner of the island without any hassle.
Read on: Big Walk — full trophy guide, completion time, and 100% secrets