Fortnite’s Ranked mode is one of the most brutal challenges in the game. Here, every step, every dash, and every jump either brings you closer to Unreal or sends you back to the lobby with a deep sense of disappointment. And if you think it’s just about aim or building speed, you’re sorely mistaken. In 2026, mobility has become more important than ever. Sprites, updated physics, and the gap between Builds and Zero Build require a completely new approach to movement. We’ve compiled the key techniques you need to commit to memory before you hit “Play” in Ranked. Let’s get started.
Fortnite Ranked currently has millions of players worldwide, and according to Esports Charts, back in 2019, 78% of eliminations in the World Cup Finals occurred while moving, not in static firefights. This figure has only increased this season. The game has become faster, and the cost of error is higher. Fortnite’s speed limit is hard-coded at 6.2 tiles per second—anything faster simply doesn’t work; it’s a waste of keys. So it’s not about pressing more, but rather pressing smarter. And yes, those life signs on the map aren’t just decoration; they’re your chance to survive.
Table of Contents
Sliding to conserve stamina and heal on the move
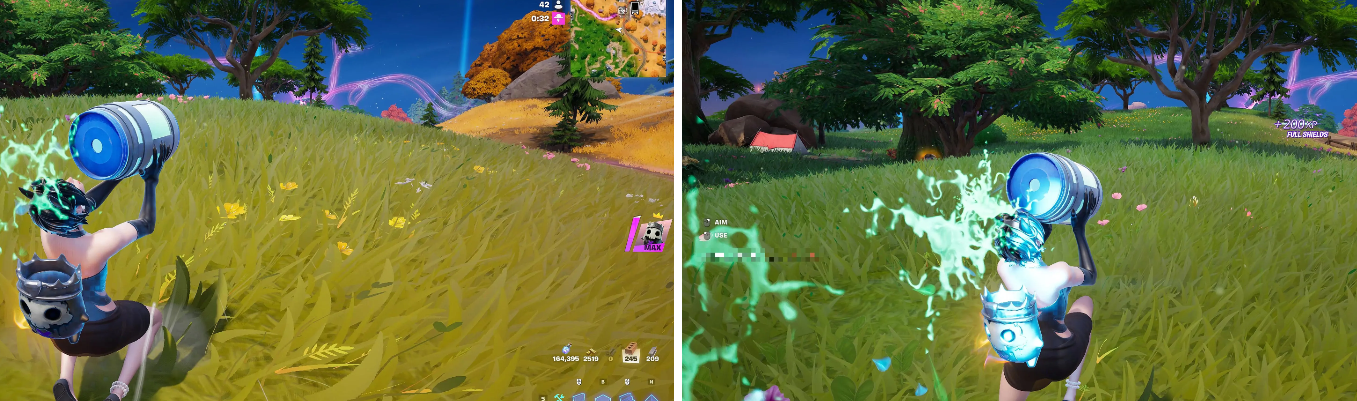
Let’s start with a basic technique that many underestimate. Sliding isn’t just a way to gracefully slide down a hill. It’s your primary tool for preserving stamina when you need to cover a long distance without losing momentum. When you sprint, your stamina drains quickly. But if you slide and then sprint again at the end of the slide, before losing momentum, you’ll travel much further with the same amount of stamina.
How it works in practice:
-
Accelerate by sliding down slopes—it gives you 10-15% extra speed.
-
Use bunny hops: jump at maximum acceleration, then slide, jump again, slide again. Repeat the cycle.
-
And the main life hack: you can heal while doing this. Yes, you heard that right. Use the Chug Jug or Big Shield while moving, combining the slide and bunny hop. By the way, sprays work, but health packs and shield potions don’t activate while sliding, so keep that in mind.
Alternating crouching and standing up while shooting
This technique is more common in Zero Build, but it works everywhere. When shooting at an enemy, you should simultaneously make yourself as difficult to target as possible.
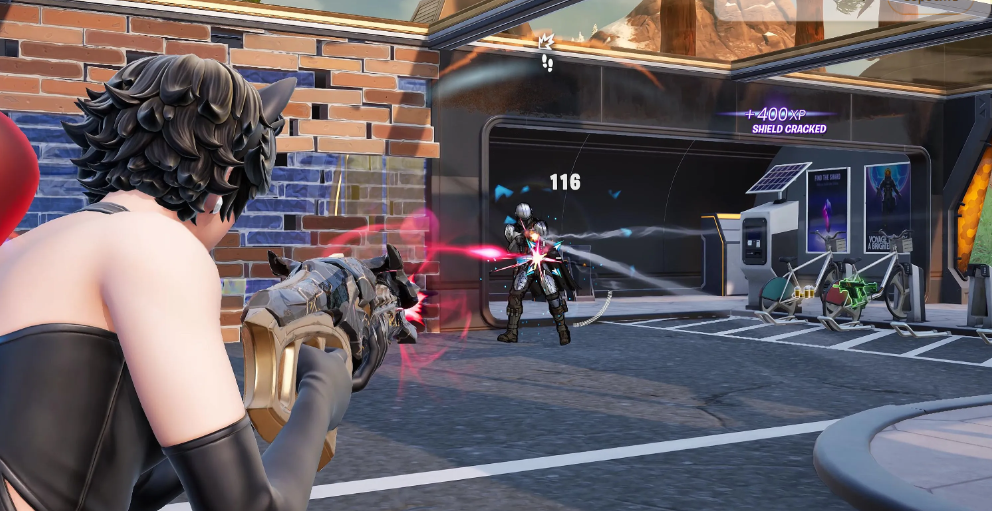
The simplest method is to alternately crouch and stand up during close- and mid-range firefights. This disrupts your aim, preventing headshots and forcing them to waste an extra split second adjusting their aim. But there’s an important caveat: don’t spam the crouch button like a maniac. Do it mindfully, rhythmically, and simultaneously adjust your aim to avoid missing your target. This is the only aspect where randomness is punishable—precision is required.
Ramp Rush: How to Quickly Climb the Heights
There are countless ways to perform a Ramp Rush. Every pro has their own tricks. But there are two basic, most resource-efficient methods that everyone should know. If the target is in front of you, use the sequence “floor below → wall in front → ramp in front” and repeat. Alternatively, use “ramp below → floor below → ramp in front → wall below” and repeat.
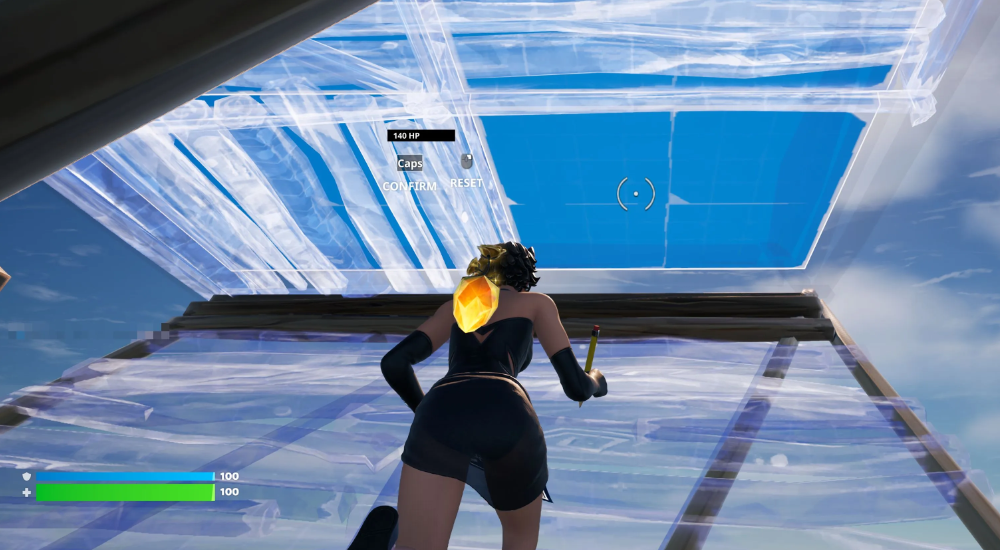
If the target is taller than you, change the pattern. Use “ramp in front → floor above → pyramid above,” then adjust the floor and pyramid, and repeat. Yes, it’s more difficult, but that’s how you take away height from someone already on top. And don’t forget about double binds—many pro players use them to execute these combinations more smoothly and quickly, surpassing the standard setup.
Tunneling—Safe Movement in the Late Game
Tunnels are your insurance in the late game, when every step you take can cost you the match. There are a few basic patterns you need to know.
-
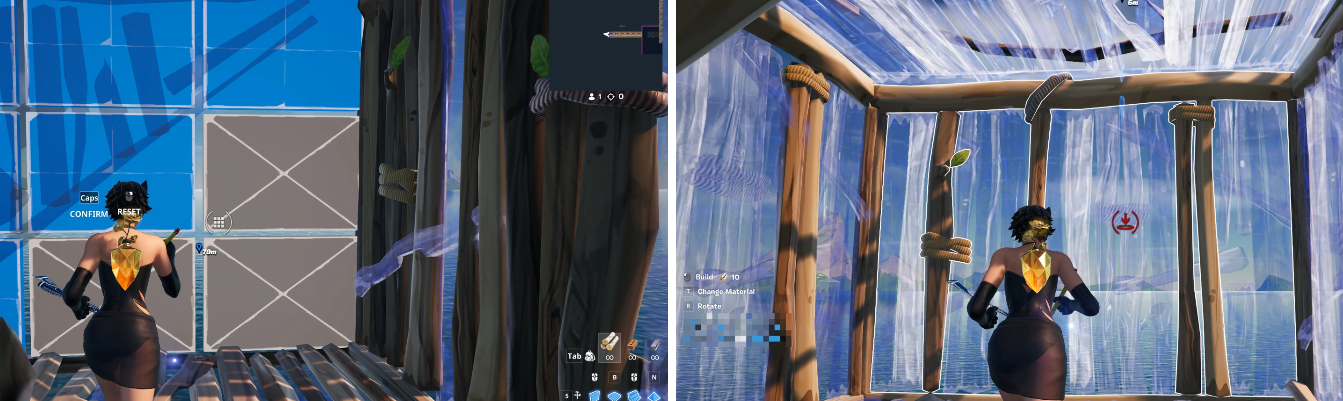
Straight Tunnel: As you move forward, place a floor below, walls to the left and right, and a floor above. Repeat with each step.
-
Tunnel with a Front Wall: Add a front wall to block shots from the front, edit it, move forward, and repeat.
-
Ramp Advance: To save materials, use a floor below, a wall to the left, and a ramp facing left—this way you’re protected from both the right and the top.
-
Diagonal Tunnel: As you move diagonally, place a floor below, a floor above, and walls in front of you and to one side.
And yes, mid-game rotation is an art unto itself. When should you use a tunnel and when should you use grenades? If you’re in an open field and the zone is far away, tunnel. If you need to quickly retake a position or escape pursuit, grenades are your choice. Don’t try to jump off a tunnel unless you’re sure it’s safe—it often results in instant death.
Shockwave and Overdrive Grenades – Sprint Grenades
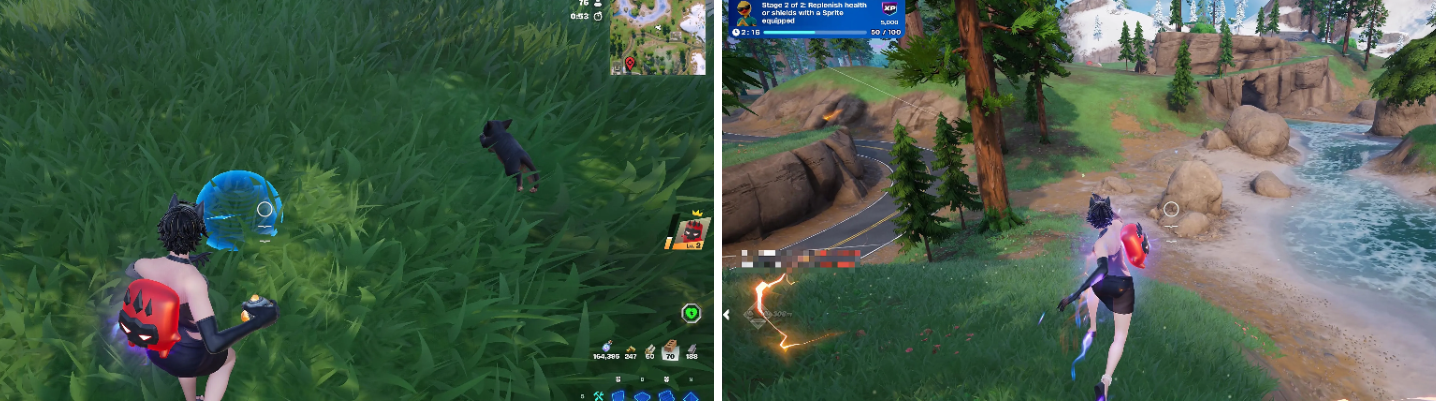
An important clarification: in the current loot pool, Shockwave Grenades are only available in the Zero Build, while Overdrive Grenades are available in both Builds and Zero Build. This changes the strategy.
Four ways to use them:
-
High Slam: Look down, throw the Shockwave, then perform a running jump forward to launch you a long distance.
-
Low Slam: Throw the grenade at your feet and run forward. Finish the maneuver with a bunny hop to maintain momentum. Works best on level ground.
-
Vertical Slam: Look straight at the ground, throw the grenade below you, and jump just before detonation.
-
Subtle Slam: Stand still and throw the grenade straight ahead, behind you, or to the side—depending on where you want to go.
And remember: Shockwave penetrates structures, Overdrive does not. This is the key difference that determines when and which grenade to use.
Builds vs. Zero Build – which movement technique performs better in the rankings?
This is probably the most common question I hear. And the answer isn’t as simple as it seems. With the release of update v40.40, Zero Build received significant changes: it now features Pocket Items, Glider Redeploy, and lethal fall damage has been disabled. This has made rotations in Zero Build noticeably faster and less punishing.
Here’s how the techniques are distributed by mode:
By the way, sprites—a new mobility element in the 2026 season—work in both modes. They provide temporary boosts, repositioning tools, or vertical lift. In ranked lobbies above Diamond, they’re no longer just a mechanic, but a rotational weapon. Players who learn to track the cooldown of their opponent’s sprites gain a huge advantage. Intercept the moment an enemy just uses a sprite and immediately apply aggressive pressure. This innovation completely changes the timing of familiar rotations.
Key binds and settings for fast movement
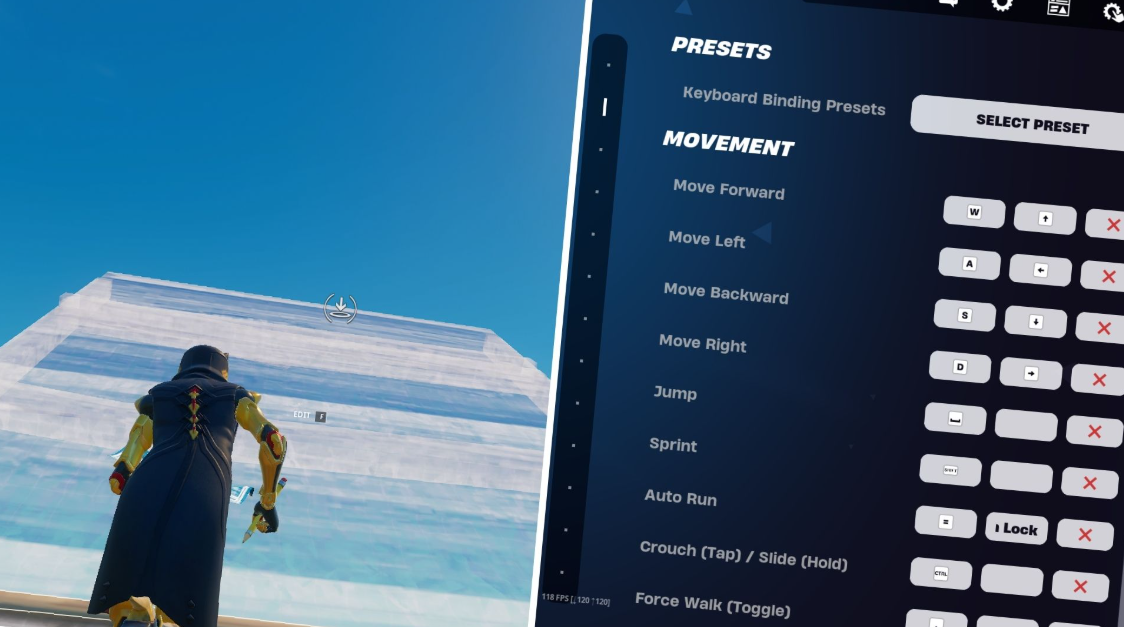
Without the right settings, even the most powerful techniques will be half-hearted. What do the pros recommend?
-
Bind slide/crouch to a convenient key that you can press without releasing WASD. Many use the side mouse buttons or the Caps Lock key.
-
Sensitivity settings – for sharp movements, it should be high enough to allow you to quickly turn, but not so high that you lose accuracy. The sweet spot is around 8-10% at 800 DPI.
-
Dual binds – when the same key is duplicated for different actions. For example, the Q key can be used for both wall and editing, depending on the context. This takes some getting used to, but it definitely increases speed.
It’s a good idea to get into the habit of checking your settings before each ranked session. Even a small tweak like changing your bind to a slide can give you those split seconds that decide the outcome of a battle.
The Best Creative Maps for Practicing Movement Techniques
Practicing in real matches is the longest and most painful way. Use creative maps. Here are the proven codes:
-
Jazz’s Movement Map —
0401-0054-5856. An excellent map for practicing movement in firefights: peaks over ramps, right-hand peeks, and much more. -
Raider464’s Mechanics Training Map —
2523-1902-2802. Training courses of varying difficulty levels, from beginner to pro. -
Skaavok’s Aim Training —
8022-6842-4965. A map for aiming, but it also works with movement. -
1VS1-F8N —
9521-9222-4521. A clean arena for practicing construction and movement.
The source map—8534-2582-6519—allows you to enable slow motion, which is perfect for practicing techniques at a comfortable pace. Take advantage of it.
The end result is simple: in 2026, Fortnite Ranked is a game of speed, predictability, and split-second decision-making. The techniques we’ve covered aren’t just fancy moves. They’re your insurance, your shield, and your sword. Practice them in creative mode, integrate them into real matches, and don’t be afraid to make mistakes. Every mistake is a clue that leads to the right decision in the next run. Start with one technique, perfect it, then move on to the next. And remember: even the most powerful mechanics are useless without proper timing and positioning. Move in a way that makes it impossible for your opponent to predict your next move. Then Unreal is just a matter of time.