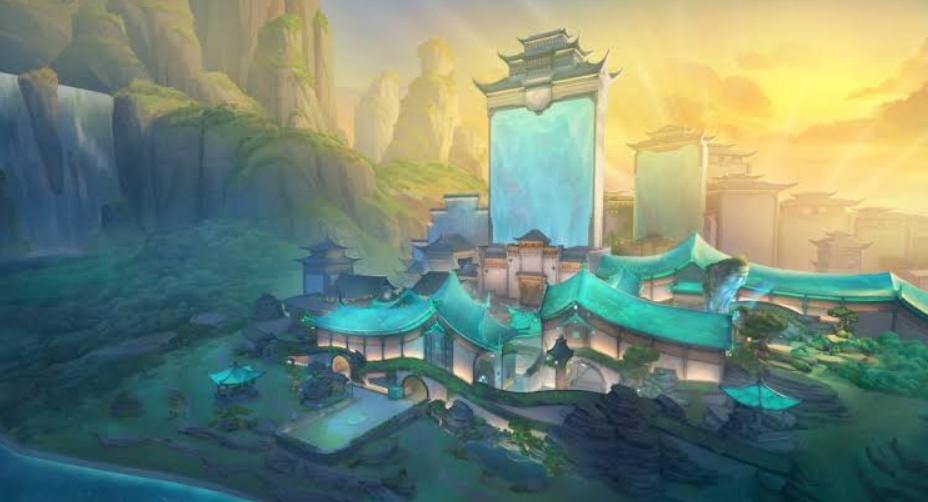
Riot Games’ latest FPS offering, Valorant, has taken a wild vertical turn with the introduction of the Abyss map. The borderless, precipitous design of this arena opens up a whole new world of outplay potential – namely, the ability to send your opponents plummeting off the edge into the abyss below. If the idea of strategically shoving, knocking, or otherwise evicting your foes into the void piques your tactical interest, then you’re in the right place. We’re going to teach you how to become a true master of this game-changing maneuver.
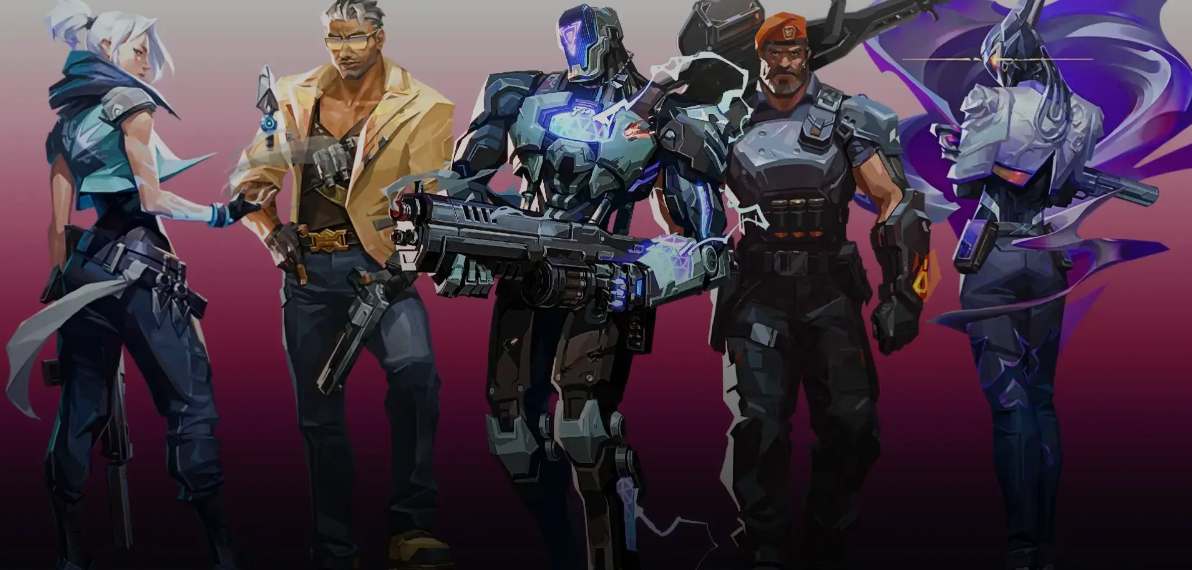
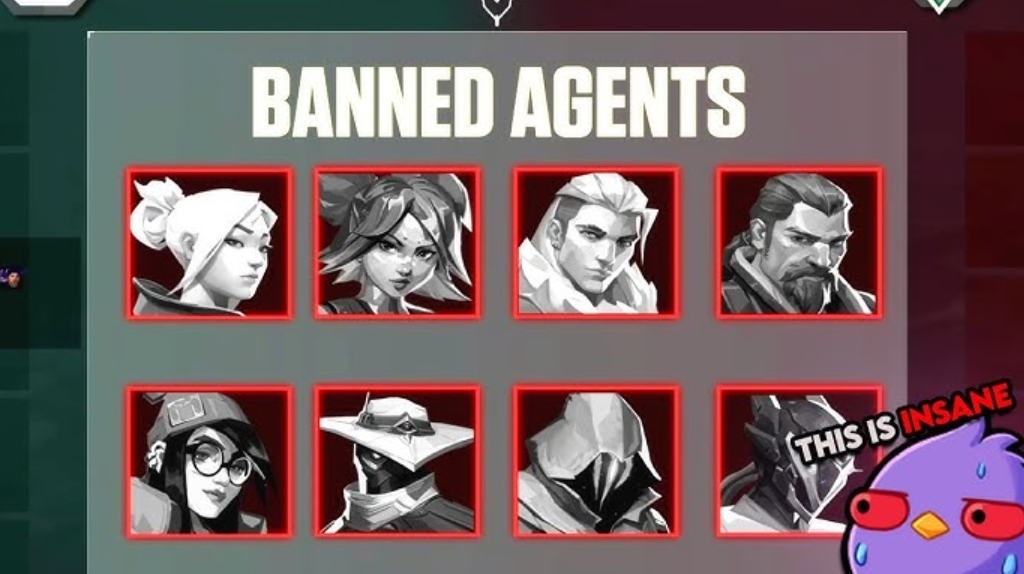
We’ll be covering the top 5 Valorant agents whose abilities are perfectly suited for giving your enemies an unexpected one-way trip down into the depths. From Raze’s explosive bumps to Jett’s airborne shoves, we’ll explore all the ways you can leverage disorientation, knockback, and good old-fashioned brute force to dominate this thrilling new battleground. It’s time to take your Valorant gameplay to dizzying new heights – or should I say, depths. Whether you’re looking to make a deadly defensive stand or catch your opponents completely off-guard, mastering the art of airborne evictions on the Abyss map can give you a major edge. So strap in, agents, and get ready to learn how to send your rivals on an unexpected trip into the unknown.
Table of Contents
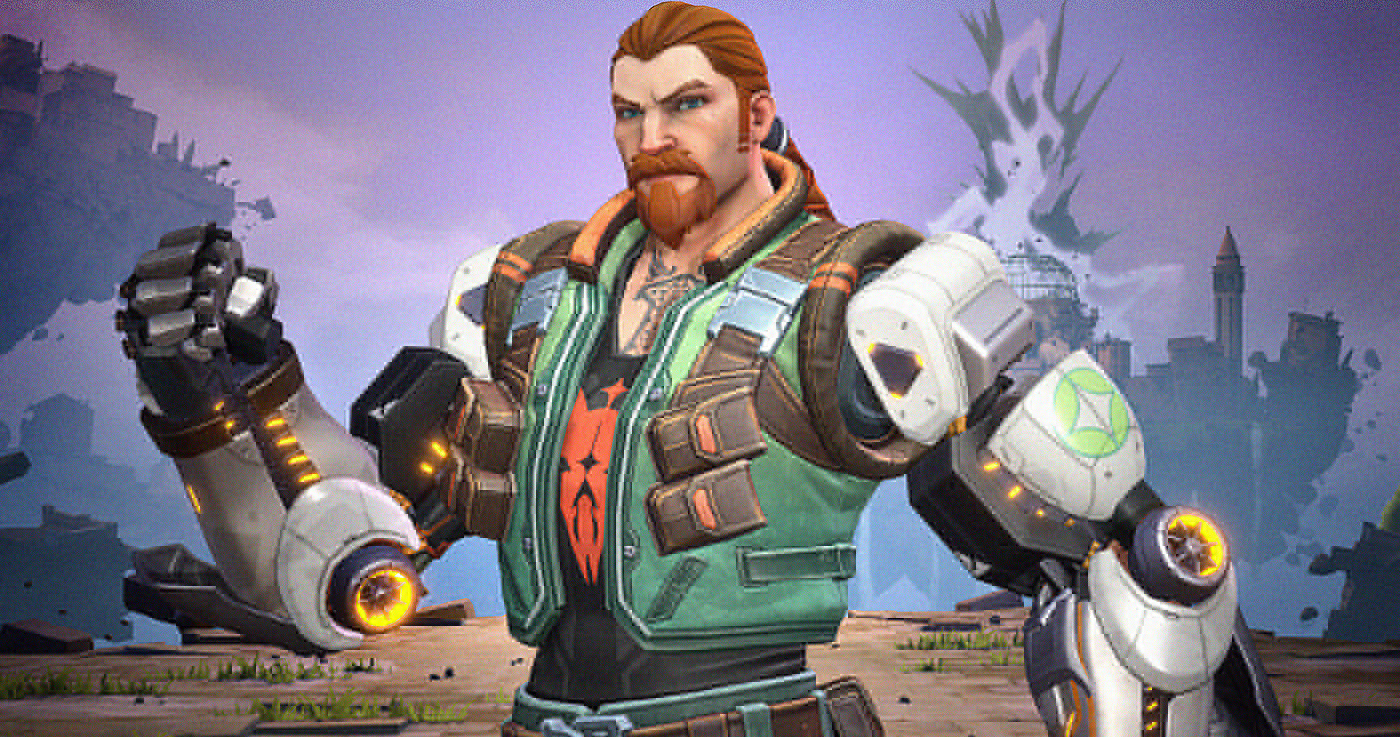
Breach
When it comes to knocking enemies off the edge on the Valorant Abyss map, Breach reigns supreme as the undisputed king of ledge evictions. His ultimate ability, Rolling Thunder, unleashes a powerful cascading shockwave that can quite literally send the entire enemy team plummeting off the edge – if the stars align just right, that is. Just be warned, this ability is a double-edged sword, and it can also send any unsuspecting teammates for an unwelcome trip down into the abyss if you’re not careful. So while Breach’s ultimate is an incredibly potent tool for precipitous pushes, you’ll need to wield it with the utmost caution and precision to avoid collateral damage. Master the timing and positioning of Rolling Thunder, and you’ll be racking up the environmental eliminations in no time. But don’t get too cocky – one misstep, and you might just find yourself joining your foes on the express elevator down. Tread carefully, agent. Of course, Breach isn’t the only Valorant agent whose kit is well-suited for delivering a shocking eviction off the Abyss map. Let’s take a deeper dive into the top 5 agents whose abilities excel at sending enemies plummeting to their doom. Raze is another prime candidate, with her explosive Boom Bot and Showstopper ultimate packing a major punch when it comes to knocking foes off the edge. Her Blast Pack ability can also be used creatively to launch both yourself and your opponents skyward, potentially leading to some dizzying airborne evictions. Just be mindful of your own positioning – Raze is as much a danger to herself as she is to her enemies when it comes to these high-flying antics. Jett’s mobility-focused kit makes her another natural fit for the Abyss map. With her Tailwind dash and air control abilities, Jett can set up some devastating airborne shoves that catch opponents totally off-guard. Her ultimate Bladestorm ability is also a potent tool for sniping enemies off the ledge from a distance. Just be sure to coordinate with your team to fully capitalize on these opportunities – Jett’s solo plays can be high-risk, high-reward on the Abyss.
For a more defensive approach, Sova’s Hunter’s Fury ultimate is a great way to zone out and displace enemies from key ledges and platforms. The ability’s bouncing arrow trajectory allows you to rain down damage from unexpected angles, potentially knocking foes off the map in the process. Pair this with Sova’s Recon Bolt and you’ve got a formidable tool kit for locking down the Abyss. And let’s not forget about Phoenix, whose Curveball flash can be a game-changer when it comes to creating disorientation and chaos on the Abyss. Catching an enemy in the blinding flash at a precarious moment can leave them vulnerable to a well-timed shove. Combine this with Phoenix’s own mobility from his Blaze and Run It Back abilities, and you’ve got a versatile agent who can both initiate pushes and capitalize on enemy mistakes across the treacherous Abyss. Of course, these are just a few of the standout options when it comes to Abyss map domination. Creativity and adaptability are key – you’ll need to constantly experiment with different ability combos and positioning to stay one step ahead of your opponents and maximize your chances of scoring those dizzying environmental eliminations. And let’s not forget the importance of solid team coordination. Communicating with your allies to set up synchronized shoves, flashes, and distractions will be critical to consistently pulling off these high-risk, high-reward plays. An uncoordinated attempt to send an enemy plummeting is just as likely to backfire and send one of your own teammates over the edge instead. So gear up, agents, and get ready to reach new heights (or should I say, depths?) of Valorant mastery on the Abyss map. With the right agent selection, ability synergy, and team coordination, you’ll be dominating the skies and sending your rivals on some unforgettable one-way trips to oblivion. Just remember to keep your wits about you – one wrong move, and you might find yourself taking the express elevator down alongside them.
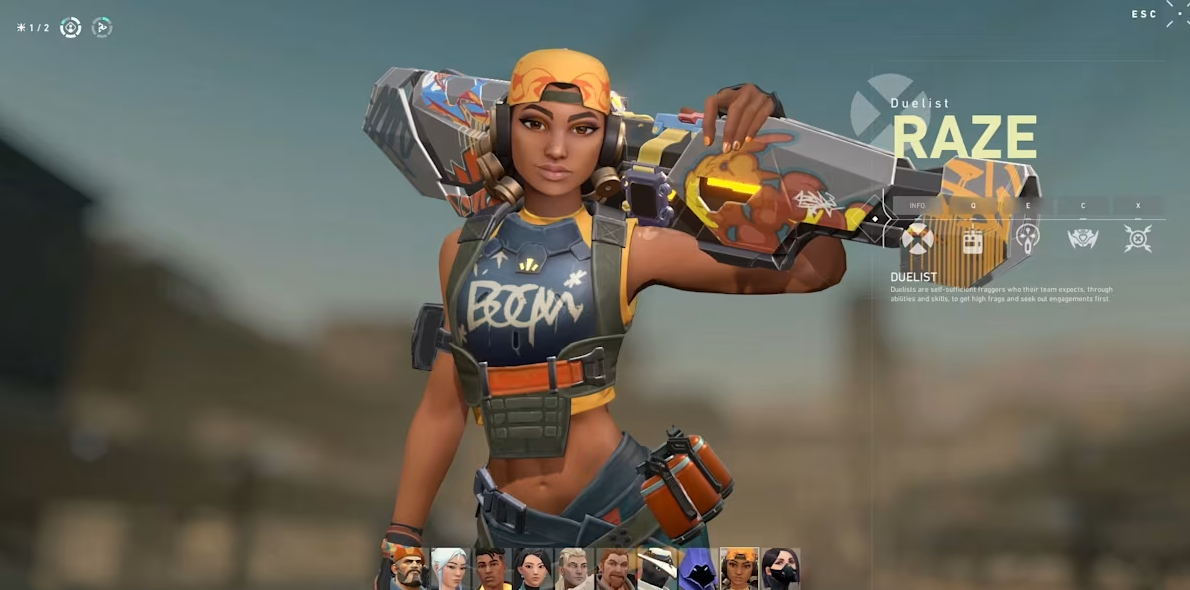
Raze
Raze may not be able to take to the skies quite like Jett, but who needs flight when you can just as easily send your enemies plummeting downwards with the sheer explosive force of your Blast Pack ability? This signature tool of Raze’s is a game-changing asset on the Valorant Abyss map, where narrow chokepoints and perilous ledges abound. A well-placed Blast Pack detonation can send unsuspecting foes flying off the edge, taking them on an abrupt and unpleasant one-way trip straight down to the abyss below. Of course, you’ll need to be careful not to overcommit and end up joining your target on that express elevator to oblivion. Raze may be a terror to behold when it comes to knocking enemies off the map, but she’s no less vulnerable to an unexpected shove herself. Positioning and timing are everything when wielding that explosive Blast Pack – one wrong move, and you might just find yourself taking an unscheduled skydiving excursion. But when you get it right, oh man, is it ever satisfying to watch your opponents go ragdolling helplessly over the edge. The look of panic on their faces as they plummet into the depths below? Priceless. Just try not to get too cocky – the Abyss demands respect, and even the mightiest Raze player can meet a sudden and ignominious end if they let their guard down for even a moment. So strap in, take aim with that trusty Blast Pack, and get ready to send your foes on the ride of their lives… one-way trip to the bottom included. The skies may not be Raze’s domain, but the Abyss most certainly is. Time to school some agents in the fine art of high-altitude evictions. Of course, Raze isn’t the only Valorant agent with abilities well-suited for the Abyss map’s deadly drop-offs. Let’s take a look at some of the other top contenders for the title of “King (or Queen) of the Ledge Eviction”: Breach, with his earth-shattering Rolling Thunder ultimate, is a natural fit for the Abyss. That cascading shockwave can send entire enemy teams tumbling over the edge if timed just right. But be warned – it’s a double-edged sword, and can just as easily send your own unsuspecting allies plummeting to their doom if you’re not careful. Jett’s mobility-focused toolkit also makes her a real threat on the Abyss. Her Tailwind dash and air control abilities allow her to set up some devastating airborne shoves that catch opponents totally off-guard.
Her Bladestorm ultimate is another potent tool for sniping enemies off the ledge from a distance. Just be sure to coordinate with your team – Jett’s solo plays can be high-risk, high-reward on this map. For a more defensive approach, Sova’s Hunter’s Fury ultimate is a great way to zone out and displace enemies from key ledges and platforms. The ability’s bouncing arrow trajectory allows you to rain down damage from unexpected angles, potentially knocking foes off the map in the process. Pair this with Sova’s Recon Bolt intel-gathering and you’ve got a formidable toolkit for locking down the Abyss. And let’s not forget about Phoenix, whose Curveball flash can be a game-changer when it comes to creating disorientation and chaos on the treacherous Abyss. Catching an enemy in the blinding flash at a precarious moment can leave them vulnerable to a well-timed shove. Combine this with Phoenix’s own mobility from abilities like Blaze and Run It Back, and you’ve got a versatile agent who can both initiate pushes and capitalize on enemy mistakes across the perilous map. Of course, these are just a few of the standout options when it comes to Abyss domination. Creativity and adaptability are key – you’ll need to constantly experiment with different ability combos and positioning to stay one step ahead of your opponents and maximize your chances of scoring those dizzying environmental eliminations. And let’s not forget the importance of solid team coordination. Communicating with your allies to set up synchronized shoves, flashes, and distractions will be critical to consistently pulling off these high-risk, high-reward plays. An uncoordinated attempt to send an enemy plummeting is just as likely to backfire and send one of your own teammates over the edge instead. So gear up, agents, and get ready to reach new heights (or should I say, depths?) of Valorant mastery on the Abyss map. With the right agent selection, ability synergy, and team coordination, you’ll be dominating the skies and sending your rivals on some unforgettable one-way trips to oblivion. Just remember to keep your wits about you – one wrong move, and you might find yourself taking the express elevator down alongside them.
Astra
You know, one of the things I absolutely love about playing Astra is the sheer versatility and creativity you can bring to the table with her kit. Take her Gravity Well ability – on paper, it might not seem all that flashy or game-changing. But in the right hands, it can be a true game-winner, especially on tricky maps like Abyss.The way I see it, Gravity Well is all about leveraging the power of gravity itself to your advantage. You just drop that little star down, and suddenly you’ve got this miniature black hole that starts pulling in anything and everything caught in its radius. And on narrow, precarious ledges like the ones all over Abyss? Well, let’s just say that can lead to some seriously disastrous consequences for any poor soul who happens to get caught in the wrong place at the wrong time. Imagine this – you’ve got an enemy Raze or Jett trying to hold an angle on your team, thinking they’re safe and sound up on some elevated platform. But then, WHAM, you activate that Gravity Well and yank them right off their perch, sending them tumbling down into the depths below. The look of sheer panic on their face as they realize their predicament? Priceless. It’s the ultimate “gotcha” moment. Of course, you’ve got to be smart about how you use it. Timing is everything when it comes to Gravity Well – wait for just the right moment when your target is off-guard and perfectly positioned on the edge, then unleash that suction. If you get it right, you can basically just delete an enemy from the map in the most humiliating way possible. But if you mess it up, you might end up pulling your own team into the abyss instead. Not a great look. That’s the beauty of Astra, though – she’s all about that big brain, high-IQ gameplay. You’ve really got to be on your toes, constantly scanning the map and anticipating your opponent’s moves. Where are they most vulnerable? What angles can you control with your stellar abilities? How can you leverage the environment to your advantage? It’s a constant chess match, and with Gravity Well as one of your key pieces, you can absolutely dominate the battlefield.
But Gravity Well isn’t the only tool in Astra’s arsenal that can come in handy on the treacherous Abyss map. Let’s talk about her Nebula smokes for a second. On a map with so many ledges and environmental hazards, having the ability to block off key sightlines and create pockets of cover can be crucial. Imagine dropping a Nebula right on a crucial choke point, then using that concealment to set up an ambush or flank. Your opponents will be left scratching their heads, trying to figure out where the threat is coming from. And let’s not forget about Astra’s ultimate, Nova Pulse. While it may not have the same edge-eviction potential as Gravity Well, it’s still a force to be reckoned with on Abyss. That massive AOE stun can lock down entire areas of the map, disrupting the enemy team’s movements and allowing your squad to swoop in for the kill. Combine it with some well-placed Gravity Wells, and you’ve got a recipe for total battlefield domination. So next time you’re on Abyss, keep Astra in mind. Maybe you won’t be the one pulling off those flashy, high-flying plays. But when it comes to controlling space, setting traps, and sending overconfident opponents plummeting to their doom, that Gravity Well is a force to be reckoned with. Just remember – with great power comes great responsibility. Use that galactic suction wisely, my friend. The Abyss has a way of claiming the careless and the overconfident. And who knows, if you really master Astra’s celestial toolkit, you might just become the undisputed queen of the Abyss. The agent who’s feared for their ability to manipulate gravity, shift the tides of battle, and send entire enemy teams careening over the edge. It’s a lofty goal, to be sure, but with the right combination of skill, strategy, and sheer chutzpah, I have no doubt you can get there. The stars are yours to command, agent. Now go forth and make your mark on the Abyss.
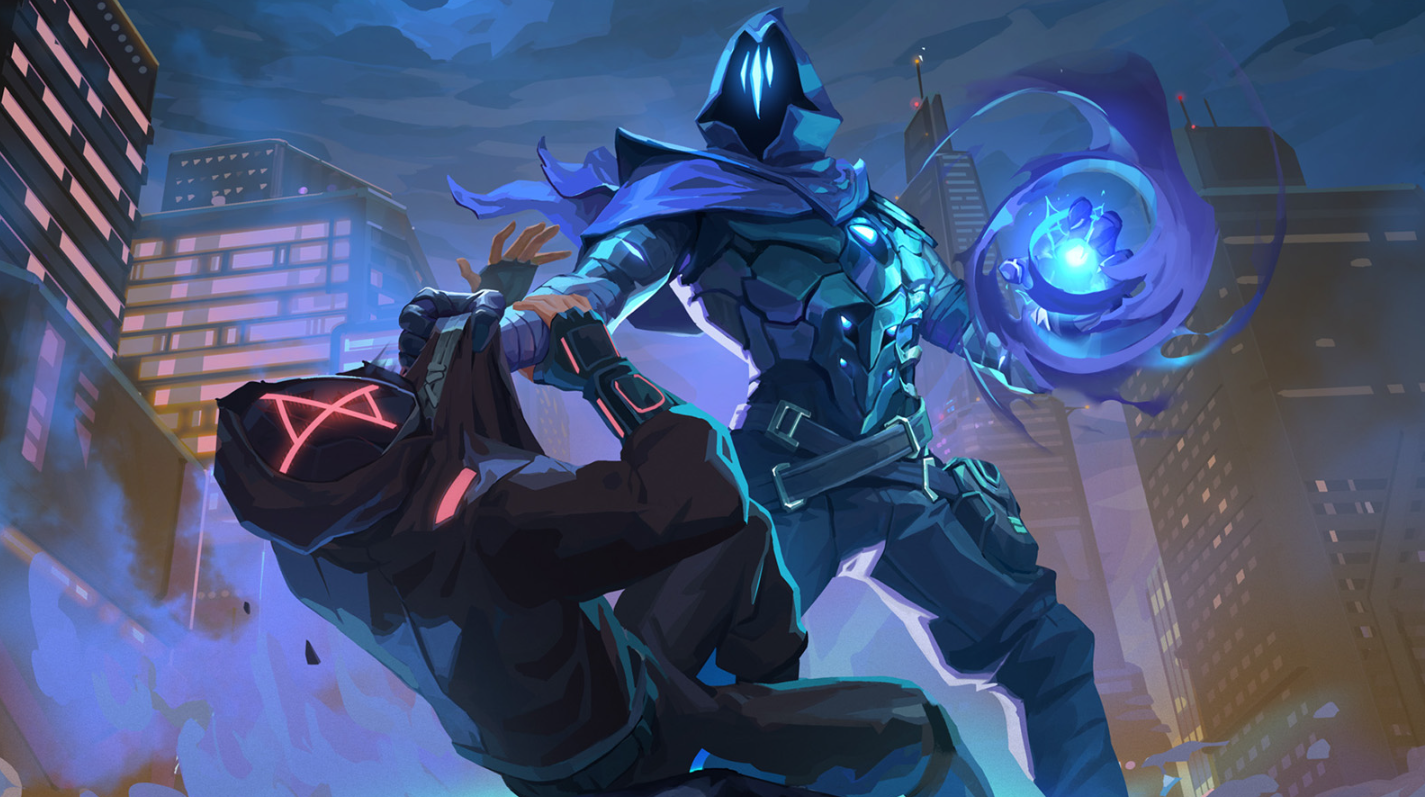
Cypher
Cypher may not possess the physical prowess to forcibly remove enemies from the map (a source of frustration, we imagine), but his Tripwires serve as the ultimate counter to daring jumps. While the Sentinel agent may lack the raw strength to shove opponents off the edge, his ingenious trap devices make up for this shortcoming in a delightfully chaotic manner. As players frequently require a running start to execute perilous leaps over the Abyss, strategically deploying a Tripwire at a commonly used jump location can turn the tables, leading to a humorous, Looney Tunes-esque elimination. Imagine the satisfaction of watching an overly confident foe charge towards what they believed was a clean getaway, only to be unceremoniously tripped up and sent plummeting to their demise. It’s a quintessential Cypher play – outsmarting one’s opponents through cunning trap placement rather than brute force. Of course, Tripwires are not merely a one-trick pony in Cypher’s arsenal. These versatile devices can be utilized in a variety of ways to gain the upper hand. Placing them in choke points or doorways can slow the advance of enemies, buying precious seconds for Cypher or his allies to reposition or unleash a deadly volley of attacks. Their ability to highlight the location of triggered traps also provides invaluable intel, allowing Cypher to better anticipate the movements of the opposing team.
Mastering the art of Tripwire placement is essential for any aspiring Cypher main. The optimal spot is not always obvious, requiring a keen understanding of map geometry, player psychology, and the flow of combat. Positioning a trap too obvious will simply result in it being easily avoided, while too subtle a placement may render it ineffective. It’s a delicate balance that separates the good Cyphers from the great. Beyond their tactical applications, Tripwires also have the potential to produce some of the most entertaining moments in Valorant. Witnessing an arrogant duelist or aggressive initiator get unceremoniously tripped up can elicit equal parts laughter and schadenfreude from spectators. The sheer absurdity of seeing a highly trained combatant reduced to a slapstick routine is almost too good to be true. In the hands of a skilled Cypher player, Tripwires become a versatile tool that can swing the momentum of a match in unexpected ways. Whether used to punish overzealous flanks, set up cheeky ambushes, or just plain embarrass one’s opponents, these unassuming devices represent a core component of the Sentinel agent’s toolkit. And for those who revel in the chaos of the battlefield, few sights are more satisfying than the sight of a hapless foe caught in Cypher’s web of traps.
Sage
Sage’s ledge-blocking strategy doesn’t rely on flashy maneuvers or explosive ordnance. Instead, her Barrier Orb wall can be deployed just as an opponent attempts a daring leap, effectively severing their escape route. By anticipating the movement patterns of the enemy team and timing her abilities with precision, the Healer-Sentinel can turn the very terrain of the battlefield against them. The true entertainment value begins when this tactic is combined with Astra’s abilities. If your teammate has already drawn in an enemy with Gravity Well, your well-timed placement of Sage’s wall can seal their fate, consigning them to a one-way journey into the abyss below. Watching a would-be escape artist suddenly find themselves trapped, with only a plunge into the void as their final option, is the stuff of pure schadenfreude. While not as bombastic as some other agent abilities, Sage’s Barrier Orb demonstrates a cunning and cerebral approach to map control. By anticipating and intercepting the movement of foes, she can create kill zones and deny crucial avenues of escape. When used in concert with Astra’s gravity-manipulating powers, this modest ability becomes a potent trap that can turn the tide of a battle. It’s a testament to Sage’s versatility that her deceptively simple wall can be leveraged in such a devious fashion. There’s a certain satisfaction that comes from watching an overconfident opponent suddenly find themselves trapped, with no recourse but to plummet to their demise. Sage’s wall may not generate the same showy pyrotechnics as other agents’ ultimates, but its capacity to thwart enemy maneuvers and secure valuable kills makes it no less impactful. In the hands of a skilled player, this simple construct can become an elegant instrument of both tactical and comedic brilliance.
Of course, positioning Sage’s Barrier Orb effectively is no easy feat. The timing required to catch opponents in the midst of a leap is exacting, and a misplaced wall can just as easily aid the enemy’s escape as hinder it. Successful deployment demands a keen understanding of map geometry, an awareness of common jump spots, and the ability to anticipate the decision-making of one’s opponents. It’s a delicate dance that separates the good Sage players from the great. When executed flawlessly, though, the results can be nothing short of sublime. Imagine the look of dawning horror on an enemy’s face as they suddenly find their path to safety cut off, mere milliseconds before they’re sent plummeting to their doom. The abrupt transition from confidence to despair, all precipitated by a single, well-placed wall, is the stuff of pure, unadulterated schadenfreude. But Sage’s ledge-blocking prowess is more than just a source of amusement – it’s a vital component of her defensive toolkit. By denying opponents access to key vantage points and escape routes, she can effectively lock down an area, forcing the enemy team to reckon with her presence. This, in turn, opens up opportunities for her allies to capitalize on the disruption, setting up flanks, cross-fires, or coordinated pushes. In the hands of a master Sage player, the Barrier Orb becomes a versatile tool, equally adept at punishing overconfident flanks, thwarting desperate retreats, and setting up devastating ambushes. It’s a deceptively simple ability that, when combined with the right situational awareness and team synergy, can shift the momentum of a match in dramatic fashion. For those who revel in the tactical nuances of Valorant, witnessing the elegant execution of a Sage wall play is a thing of beauty.